
My Mom’s Fudge is the kind of old-fashioned chocolate candy I still think of as a holiday recipe, even though there is really no reason to wait until December to make it. It is rich, smooth, deeply chocolatey, and made with the same simple combination of butter, sugar, evaporated milk, semi-sweet chocolate, marshmallow fluff, and vanilla that I grew up with.
What I like about this version is that it does not require a candy thermometer. The sugar mixture gets a timed boil, then the chocolate and marshmallow fluff are stirred in off the heat. Once the fudge chills, it becomes firm enough to cut into neat little squares while still staying creamy when you bite into it.
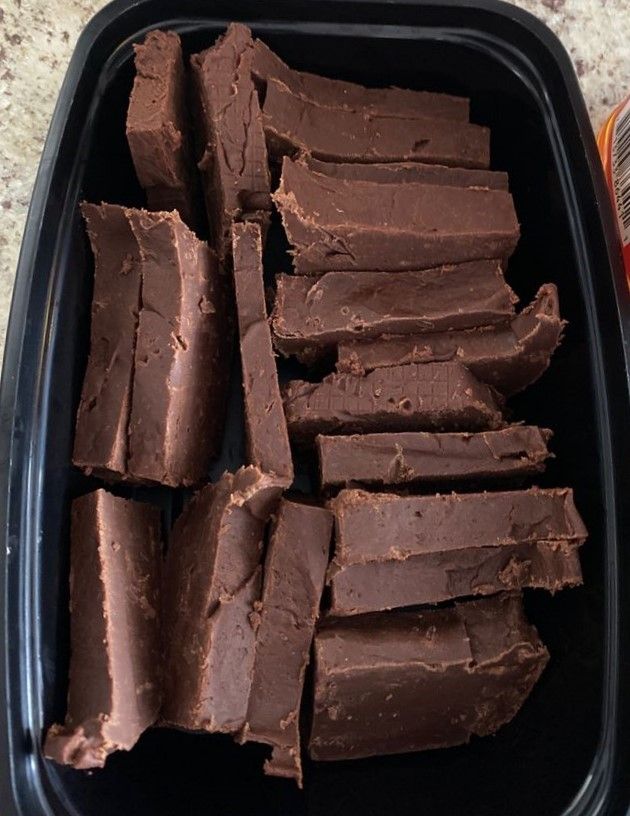
I especially like making a pan ahead for cookie trays, family gatherings, homemade gifts, or a small chocolate bite after dinner. Because the pieces are rich, a single pan goes a surprisingly long way.
Why This Fudge Recipe Works
- No candy thermometer: The recipe uses a controlled five-minute boil rather than relying on a temperature reading.
- Simple ingredients: Everything is easy to find at a regular grocery store.
- Soft, creamy texture: Marshmallow fluff helps the finished fudge stay smooth instead of becoming hard or brittle.
- Easy to make ahead: The fudge needs time to chill, so it fits naturally into holiday and party prep.
- Good for gifting: Once the slab is firm, it cuts cleanly into small squares that are easy to pack into a tin or candy box.
The Five-Minute Boil Matters
The most important part of this recipe is not complicated, but I do pay attention to the clock. Once the butter, sugar, and evaporated milk reach a steady boil, the mixture needs the full boiling time in the recipe card.
If it comes off the heat too soon, the fudge can stay soft and have trouble setting. If it cooks much too long, the texture can become dry or grainy. I keep the boil steady rather than aggressive and stir often enough that nothing scorches on the bottom of the saucepan.
I also measure the chocolate chips, marshmallow fluff, and vanilla before the pan ever goes on the stove. Once the boiling stage is finished, I want to be able to move directly into mixing without stopping to open packages or look for a measuring spoon.
Ingredient Notes
Unsalted butter gives the fudge richness and helps create a smooth base. I prefer unsalted so the chocolate flavor stays clean and I am not adding unnecessary salt to such a concentrated candy.
Granulated sugar provides the structure as well as the sweetness. This is one place where I would not reduce the amount casually because changing the sugar can affect how the fudge sets.
Evaporated milk works better here than regular milk because it is more concentrated and contains less water. It helps give the cooked sugar mixture body without making it overly loose.
Semi-sweet chocolate chips give me the balance I want. Milk chocolate can make the finished candy considerably sweeter, while dark chocolate changes the flavor and melting behavior.
Marshmallow fluff is the shortcut that makes this family-style fudge especially forgiving. It helps produce that creamy, sliceable texture without the more delicate crystallization process used in some traditional fudge recipes.
My Tips for Smooth Fudge
- Use a heavy saucepan. A sturdy pan spreads heat more evenly and lowers the chance of scorching the sugar mixture.
- Prepare the pan before cooking. The fudge begins setting as it cools, so the lined pan should be ready before you start.
- Keep dried sugar crystals out of the mixture. I avoid scraping crusty sugar from high on the sides of the saucepan back into the fudge.
- Add the chocolate off the heat. The hot sugar mixture provides enough residual heat to melt the chips without continuing to cook the chocolate.
- Stir the marshmallow fluff in completely. Keep mixing until there are no white streaks and the fudge looks evenly glossy.
- Let it chill fully. Warm fudge may taste good, but it will not give you those clean little squares.
Why Did My Fudge Turn Grainy?
Graininess usually comes back to sugar crystals. A controlled boil, frequent stirring, and a clean saucepan edge all help. Once the chocolate and marshmallow fluff are mixed in and the fudge is spread in the pan, I leave it alone while it cools rather than continuing to stir or disturb the surface.
If the fudge looks smooth when it goes into the pan, that is a good sign. The texture becomes firmer during chilling, but it should keep that creamy feel rather than turning sandy.
How to Cut Clean Fudge Squares
I wait until the fudge is completely firm, then lift the whole slab from the pan using the foil or parchment. A large sharp knife works better than trying to cut directly in the baking dish. I make long straight cuts first, then turn the strips and cut them into smaller squares.
Wiping the knife between cuts keeps chocolate buildup from dragging across the next piece. If the fudge is very cold and feels unusually hard, a few minutes at room temperature can make slicing easier.
Storage and Freezing
Store the cut fudge in an airtight container with parchment or wax paper between layers. I like the refrigerator for a firmer texture and longer storage, especially if the kitchen is warm.
Fudge also freezes well. Wrap it carefully or place the pieces in a tightly sealed freezer container so they do not pick up odors. Thaw the pieces in the refrigerator before serving.
More Easy Chocolate Desserts
If you are making a holiday sweets tray, try my Paula Deen’s 5-Minute Fudge for another quick candy option. The Caramel Chocolate Crunch Bars are a good choice when you want a baked chocolate-and-caramel dessert, and you can browse the full Dessert collection for more ideas.
Frequently Asked Questions
Do I need a candy thermometer?
No. This recipe is built around a timed boil, which is one reason I like it for home kitchens. Use the full cooking time in the card and keep the boil steady.
Why didn’t my fudge set?
The boiling stage may have been shortened, the ingredient proportions may have changed, or the fudge may simply need more chilling time. I would let it firm completely before deciding the batch has failed.
Can I make this fudge ahead?
Yes. It is actually one of my favorite make-ahead sweets because the chilling time is part of the recipe. Make the pan a day before you need it, keep it covered, and cut the squares once the fudge is fully firm.
Can I freeze the finished fudge?
Yes. Separate the pieces with parchment, seal them well, and thaw them in the refrigerator. Good wrapping is important because chocolate can absorb freezer odors.
My Mom’s Fudge Recipe
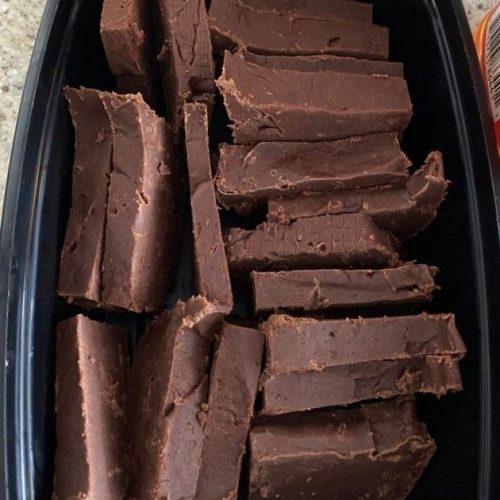
My Mom’s Fudge
Ingredients
- 3/4 cup unsalted butter
- 2 1/2 cups granulated sugar
- 2/3 cup evaporated milk
- 12 ounces semi-sweet chocolate chips
- 7 ounces marshmallow fluff 1 jar
- 1 teaspoon vanilla extract
Instructions
- Line a 9×9-inch baking dish with foil or parchment paper and lightly coat it with nonstick cooking spray.
- Add the butter, granulated sugar, and evaporated milk to a heavy saucepan. Bring to a boil over medium-high heat, stirring frequently so the mixture heats evenly.
- Once the mixture reaches a steady boil, reduce the heat to medium and continue boiling for 5 minutes, stirring often to prevent scorching.
- Remove the saucepan from the heat. Immediately stir in the semi-sweet chocolate chips until completely melted and smooth.
- Stir in the marshmallow fluff and vanilla extract until the mixture is evenly blended with no visible streaks.
- Spread the fudge evenly in the prepared pan. Refrigerate for about 3 hours, or until fully firm, then lift it from the pan and cut into small squares.
Notes
- Measure the chocolate, marshmallow fluff, and vanilla before the sugar mixture begins boiling so you can work quickly once the pan comes off the heat.
- Use a heavy-bottomed saucepan and keep the boil controlled to reduce the chance of scorching.
- For clean cuts, chill the fudge completely and wipe the knife between slices.
