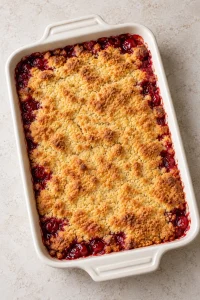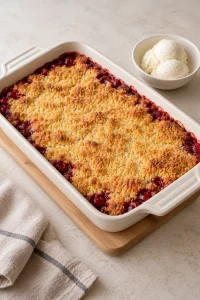
This 3-ingredient cherry dessert bakes a layer of cherry pie filling under a buttery yellow cake-mix topping. You put the ingredients into a baking dish in order, then let the oven do the rest. No eggs, mixer or cake batter to make.
It’s a dessert to scoop, with a soft cherry base and a golden top that breaks into buttery pieces. This version uses one can of filling, so the fruit layer is fairly thin. Plan on about an hour from starting the recipe to serving, including a short rest after baking.
Three ingredients, with a few labels to check
- Cherry pie filling: Use one 21-ounce can, including the thick sauce. Pie filling is already sweetened and thickened. Plain canned cherries in juice are a different product and won’t give you the same base.
- Yellow cake mix: Use a 15.25-ounce box of dry mix. Check the weight on the package, since boxes come in different sizes. Leave out the eggs, oil and water from the box directions.
- Unsalted butter: Start with ¾ cup, or 12 tablespoons, melted. That’s 1½ standard U.S. sticks. If a few areas of cake mix still need moistening, you can use up to 1 cup total, which is 2 U.S. sticks.
Spread the layers right to the corners
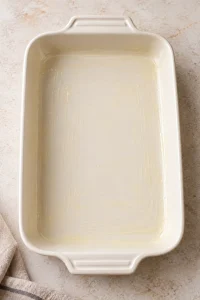
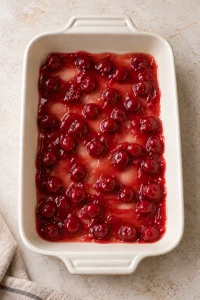
Use a 9-by-13-inch baking dish and heat the oven to 350°F. A teaspoon of the melted butter is enough to lightly grease the inside. Spread the cherry filling across the bottom, taking a moment to move the cherries into the corners rather than leaving most of them in the center.
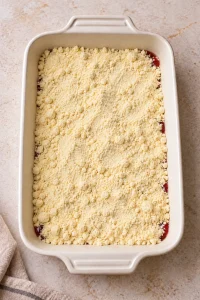
Scatter the dry cake mix over the fruit in an even layer. Break apart large lumps with your fingertips before sprinkling them in. Leave the cake mix loose rather than pressing it down, and keep it separate from the cherry filling.
Give the butter somewhere to go
Drizzle the melted butter slowly in thin lines, working across the pan and then back in the other direction. Save a little for the edges and corners. Pouring it all into the middle can leave wet spots there while the outside stays powdery.
Check the surface before putting the pan into the oven. Use a pastry brush or the back of a spoon to move butter over pale, dry patches, working only on the topping. Add a little more melted butter to any areas that still need it, keeping the total within 1 cup. The goal is even coverage, without stirring the cake mix into the fruit.
Bake for color and bubbling
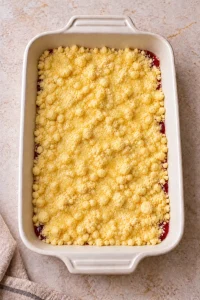
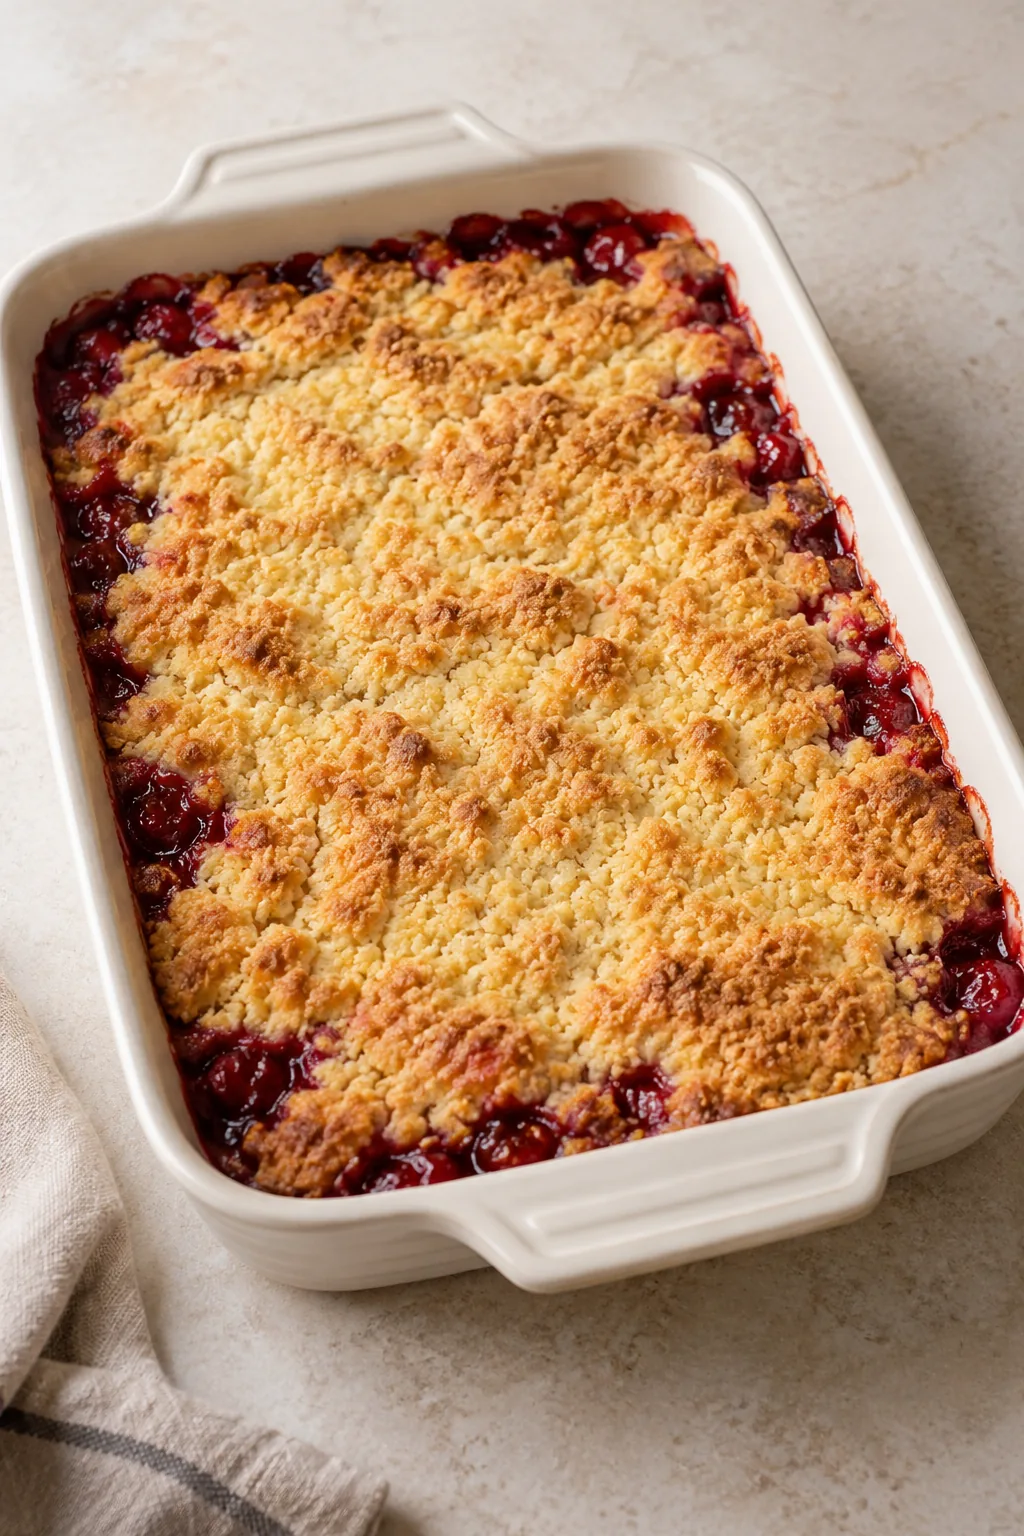
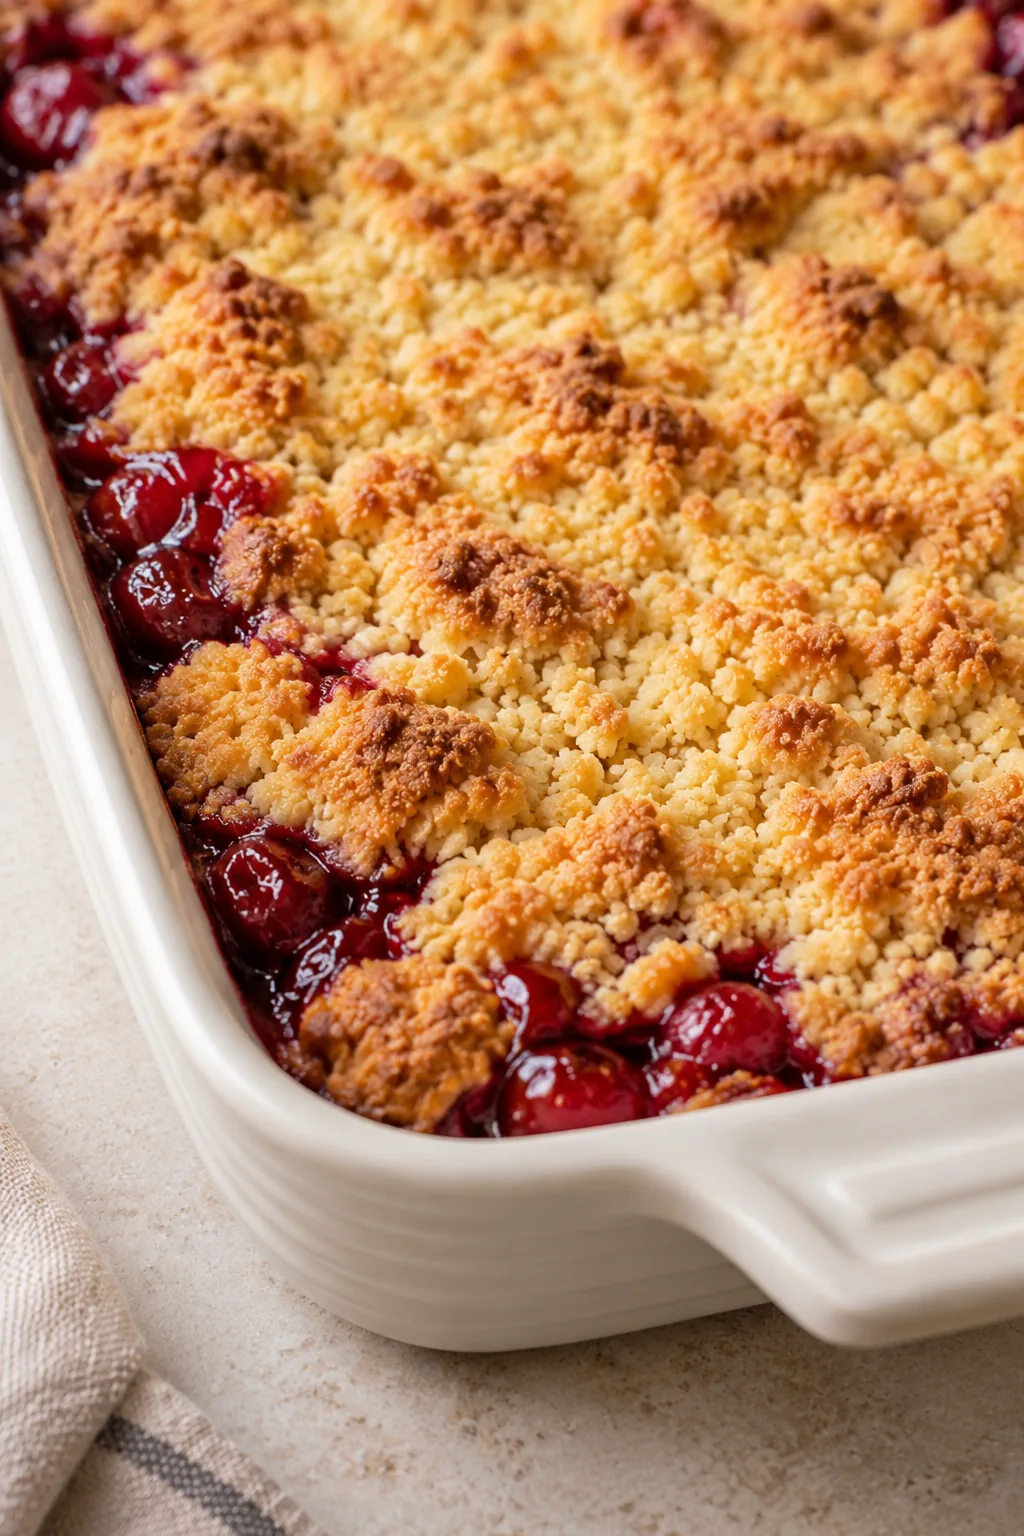
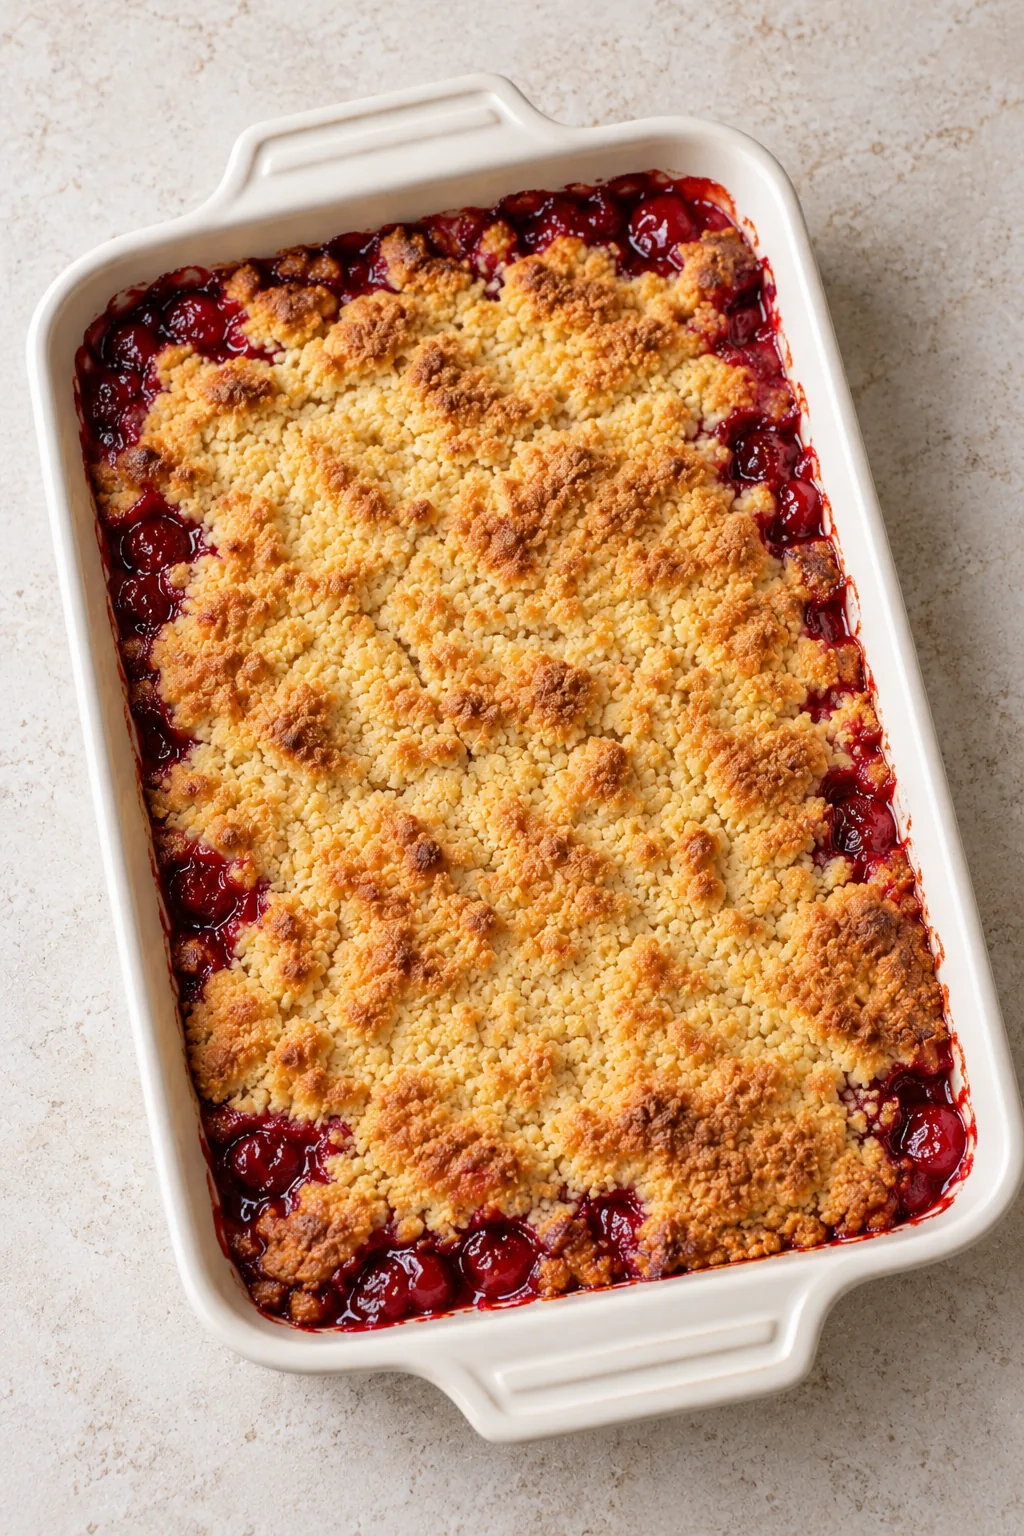
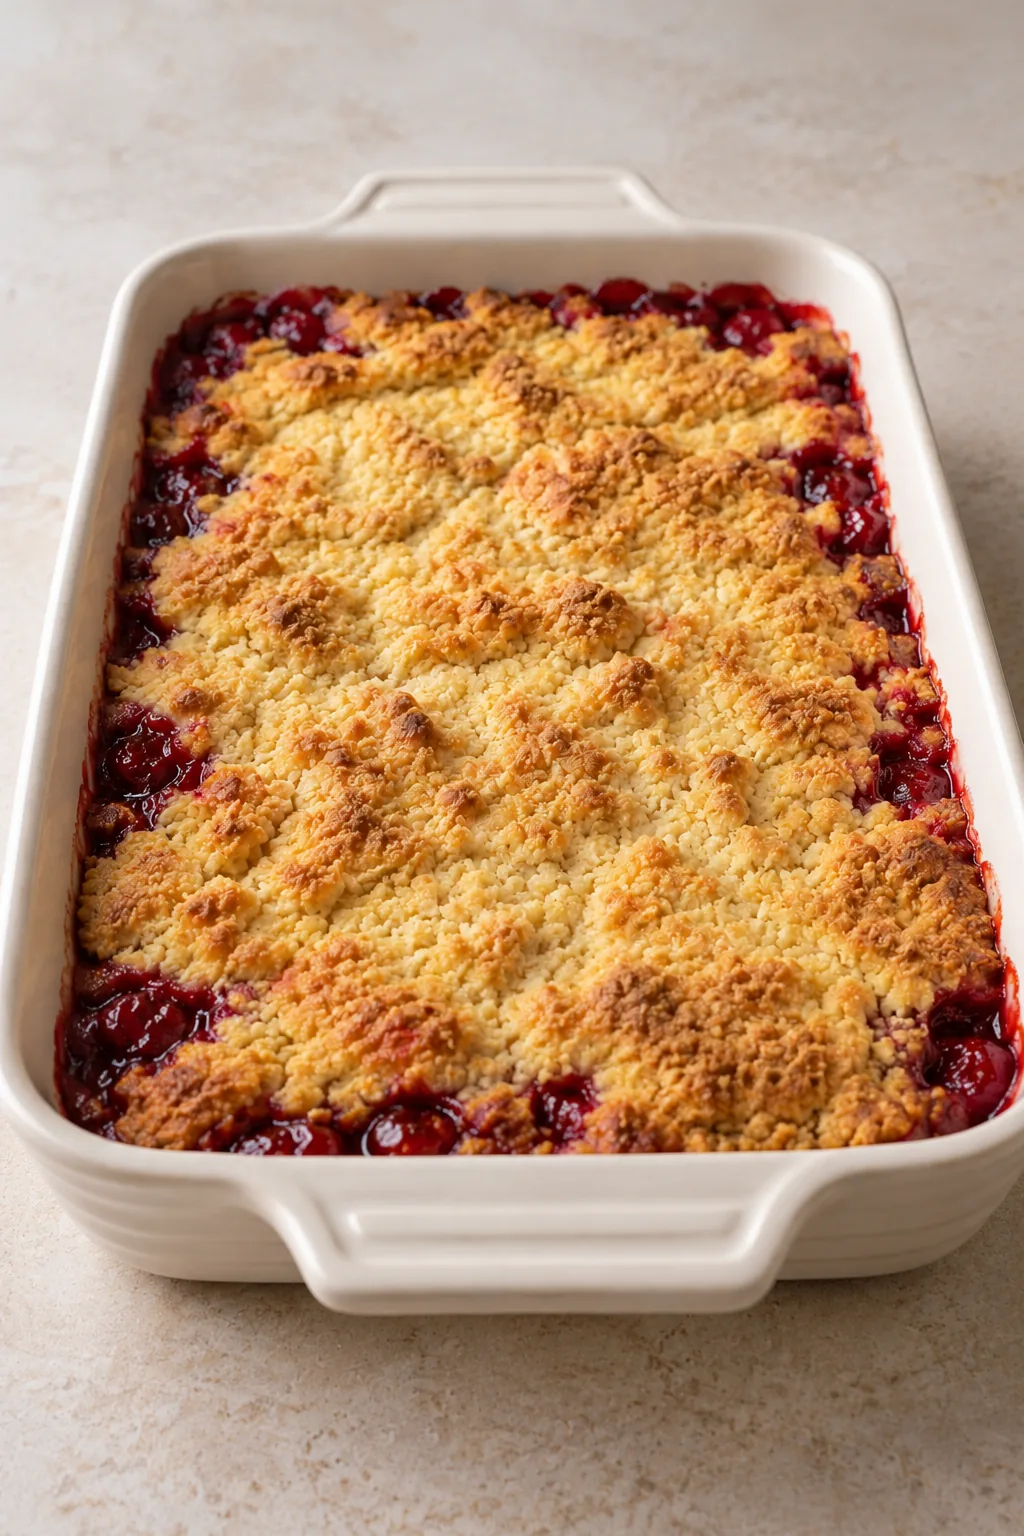
Set the dish on the center rack and bake for about 40–45 minutes. Look for a golden topping with lightly browned edges and cherry filling bubbling around the sides. The center should look baked rather than covered in loose, dry powder.
This won’t have the smooth, evenly risen surface of a regular cake. Small crumbles, softer patches and a few darker edges are part of the texture. Check the pan near the end of the baking time instead of waiting for the whole top to turn dark brown.
If the topping needs a little help
Powdery spots: Those areas need moisture. Drizzle a little melted butter directly over them and continue baking until they look baked, staying within the recipe’s butter range. Extra time alone won’t fix a patch that hasn’t received any butter.
Edges browning ahead of the center: Loosely cover the pan with foil and give the center a few more minutes. Use both the topping and bubbling filling as your guide.
A very soft serving: Let the pan stand for 10 minutes before scooping. The filling settles as it cools, but this is still a spoon dessert. Expect a soft fruit layer rather than a slice that holds a neat edge.
Two questions before you start
Can I use fresh or frozen cherries?
Use prepared pie filling for this version. Fresh or frozen cherries would need their own sugar and thickener, so replacing the can directly would change the recipe.
Can I change the cake-mix flavor?
White or vanilla cake mix can give you a similar topping. Check for the same package weight and follow the layering method here. The flavor and browning may vary with the mix.
Serve it warm
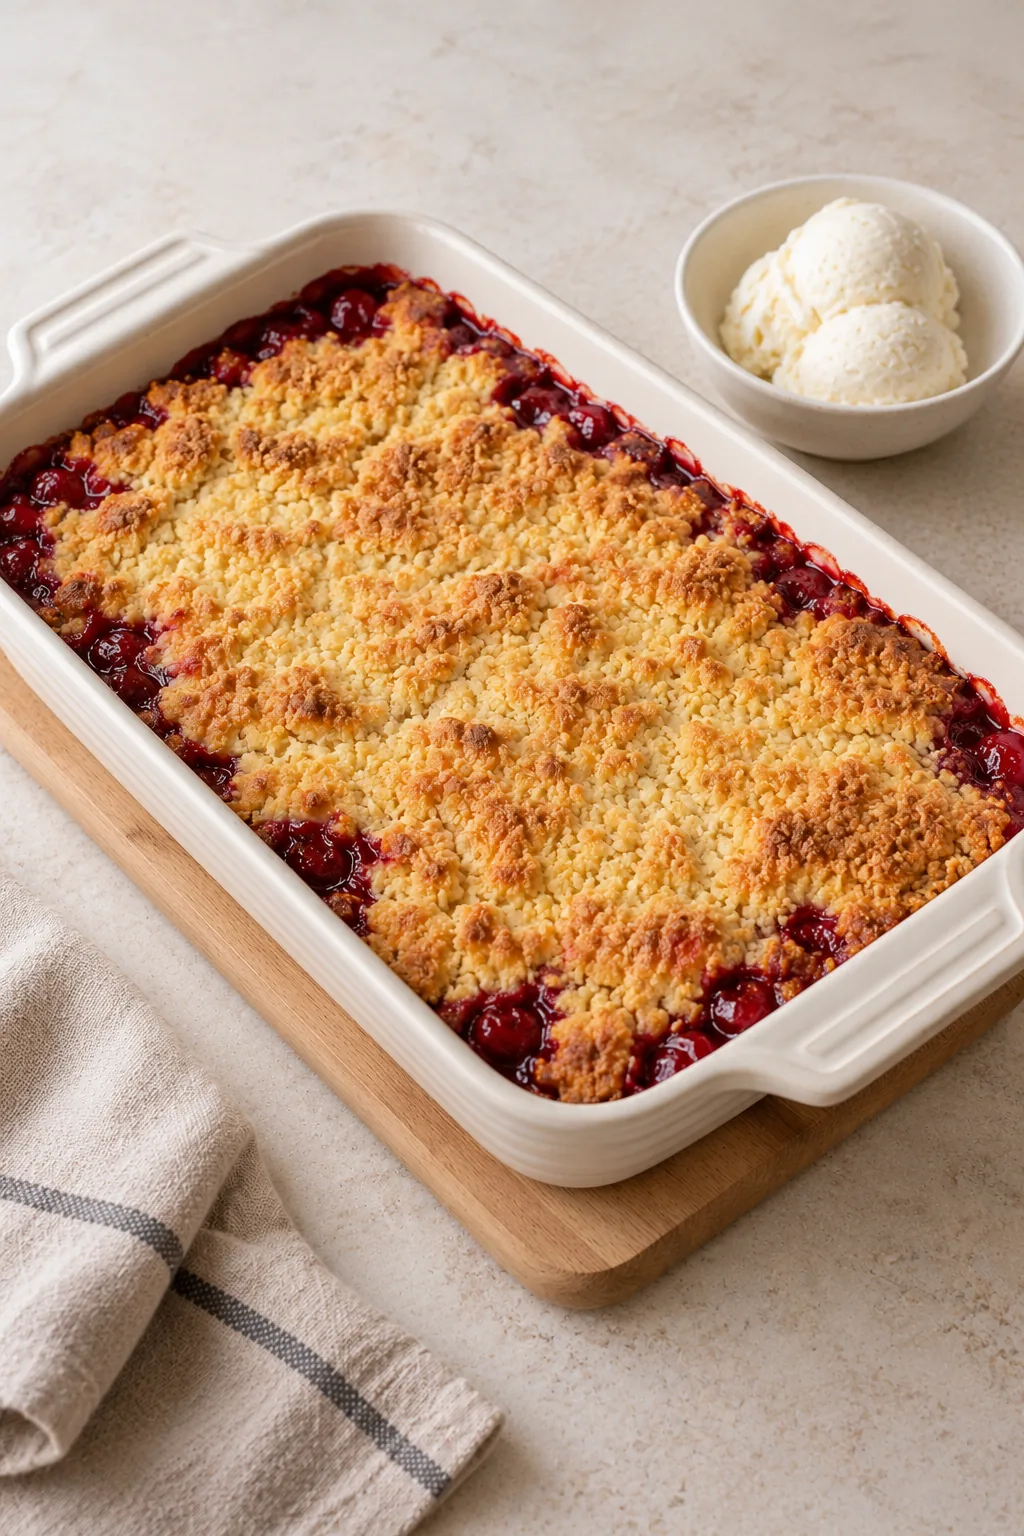
After the 10-minute rest, spoon the dessert into bowls. It’s good on its own; vanilla ice cream or a little whipped cream are optional extras. Add them to individual servings so the warm topping keeps its texture until you scoop it.
For another cake-mix dessert, try lemon cream cheese dump cake. If you want something with a cinnamon swirl and glaze, see Cinna-bun cake.
Printable recipe
3-Ingredient Cherry Dessert
Ingredients
- 1 21-ounce can cherry pie filling do not drain
- 1 15.25-ounce box yellow cake mix dry mix only
- 3/4 cup unsalted butter melted; 1½ U.S. sticks; use up to 1 cup total only if needed for dry spots
Instructions
- Preheat the oven to 350°F (175°C). Melt ¾ cup unsalted butter gently, without browning it.

- Use about 1 teaspoon of the melted butter to lightly grease the inside of a 9-by-13-inch baking dish.
- Spoon the entire 21-ounce can of cherry pie filling into the dish. Spread it in a thin, even layer, moving cherries into the corners. Do not drain the sauce.
- Sprinkle the dry 15.25-ounce box of yellow cake mix evenly over the filling. Break apart large clumps. Do not prepare the box batter or stir the cake mix into the cherries.
- Drizzle the remaining melted butter slowly across the cake mix, reaching the edges and corners. Brush or spread it over dry patches without mixing it into the fruit. If needed, add a little more melted butter directly to dry areas, using no more than 1 cup butter in total.
- Bake on the center rack for about 40–45 minutes, until the topping is golden, the edges are lightly browned and the filling bubbles around the sides. If dry patches remain, moisten them with a little melted butter within the 1-cup limit and continue baking until baked through. Cover loosely with foil if the edges brown too quickly.
- Let the dessert stand for 10 minutes. Scoop into bowls and serve warm. Vanilla ice cream or whipped cream are optional and are separate from the three ingredients in the dessert.