
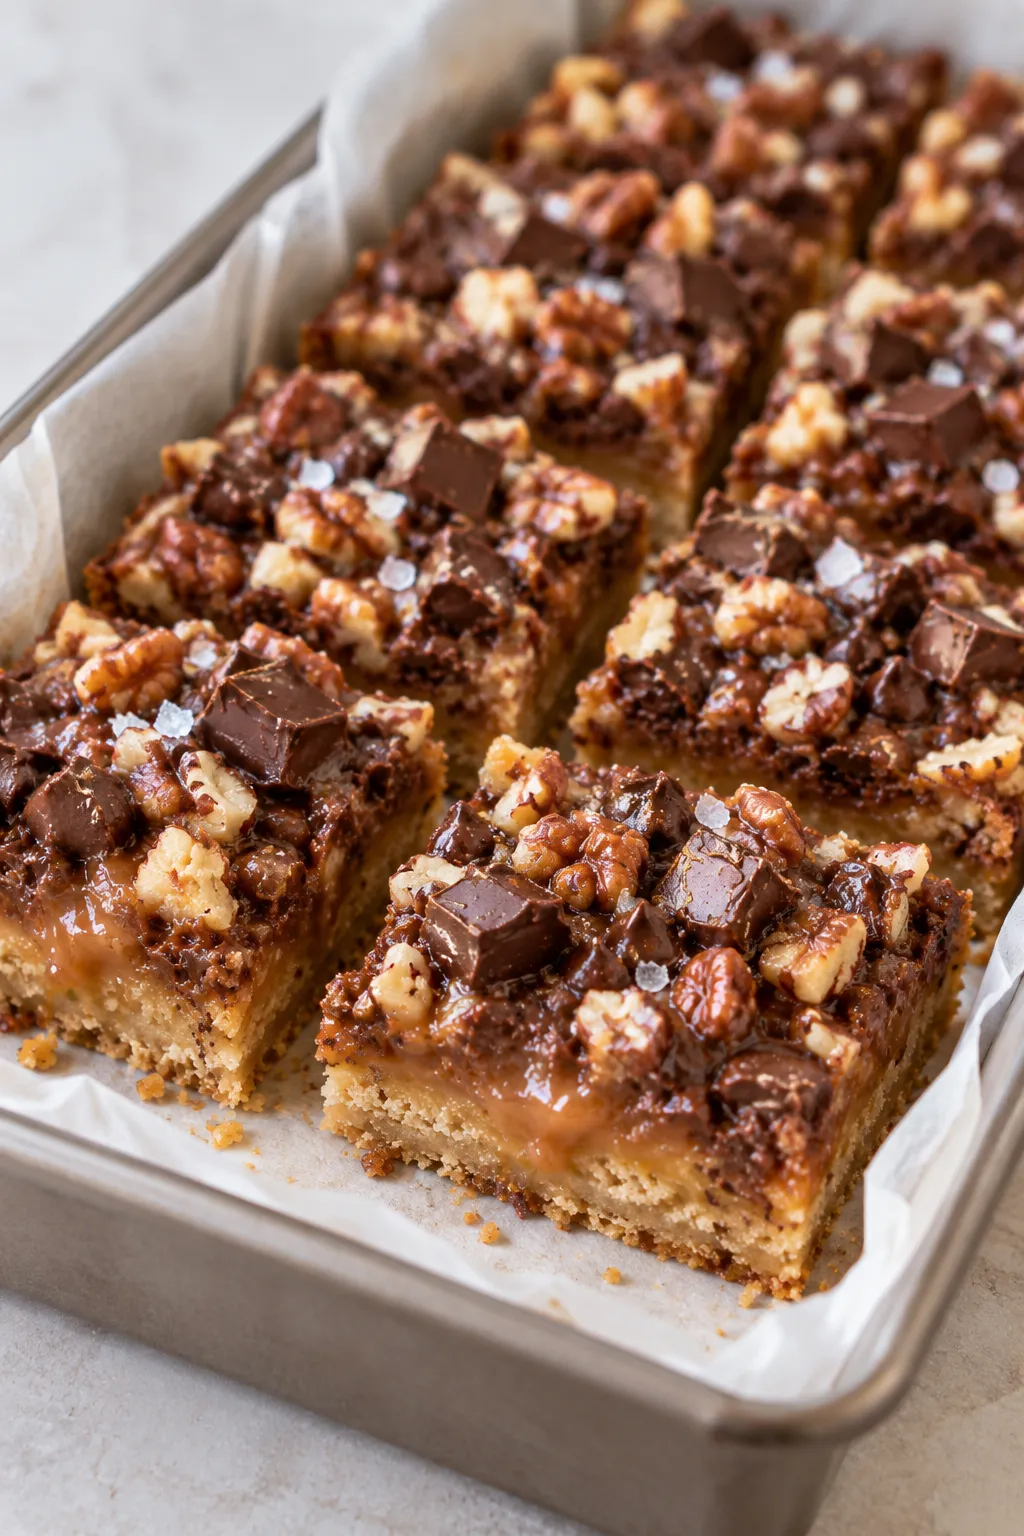
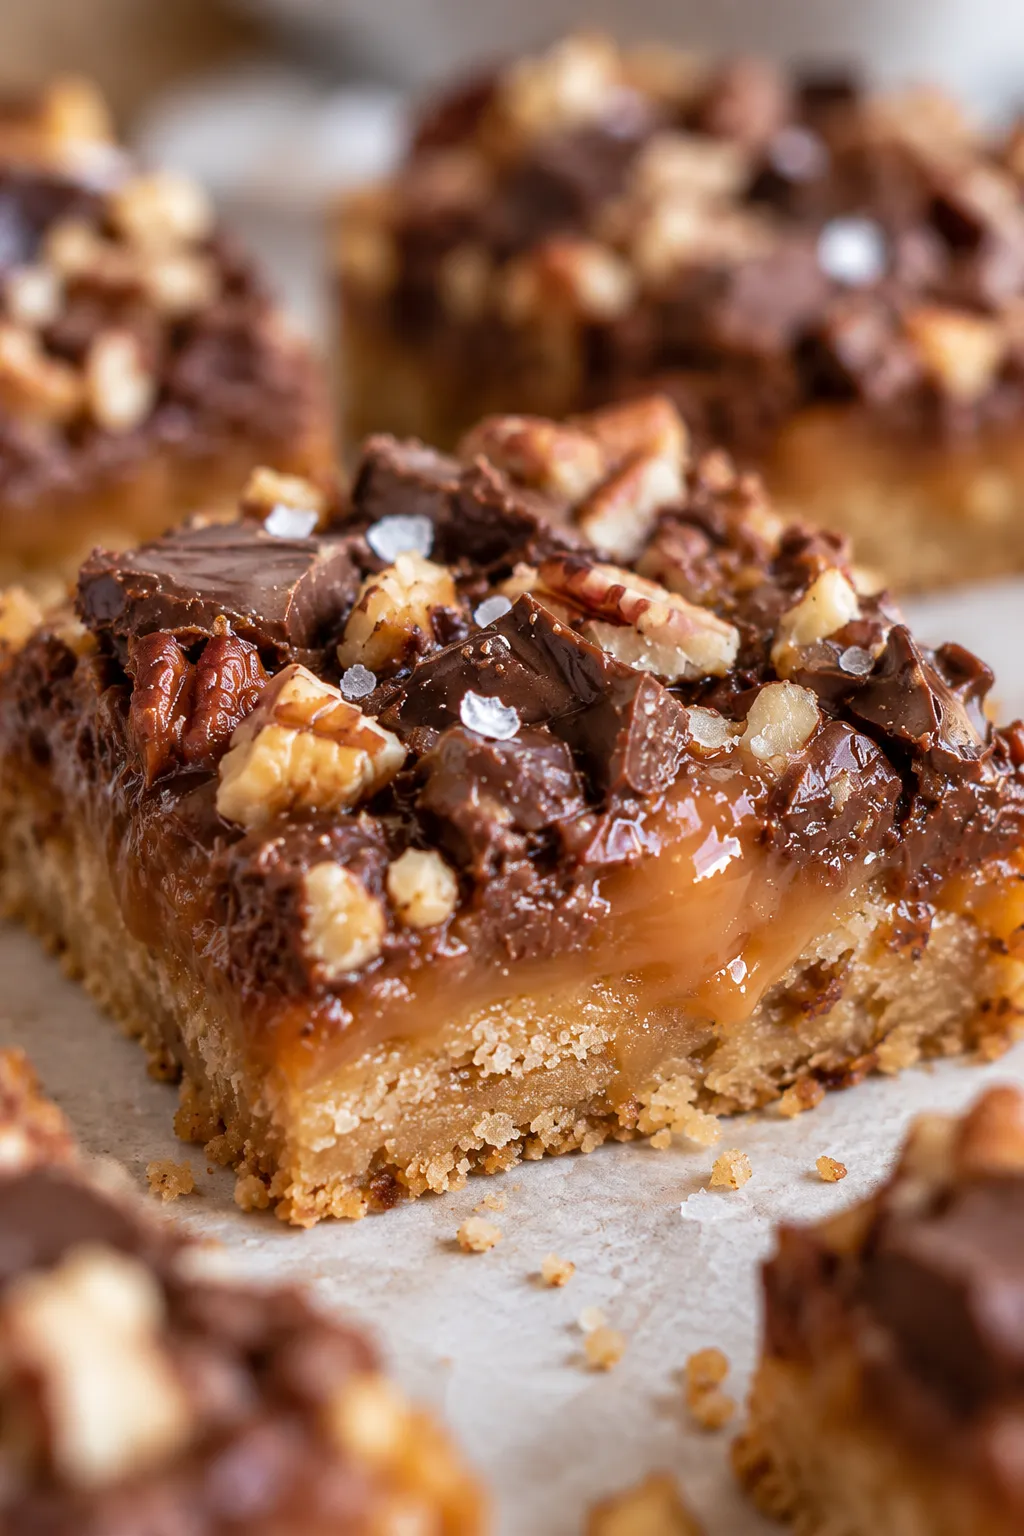
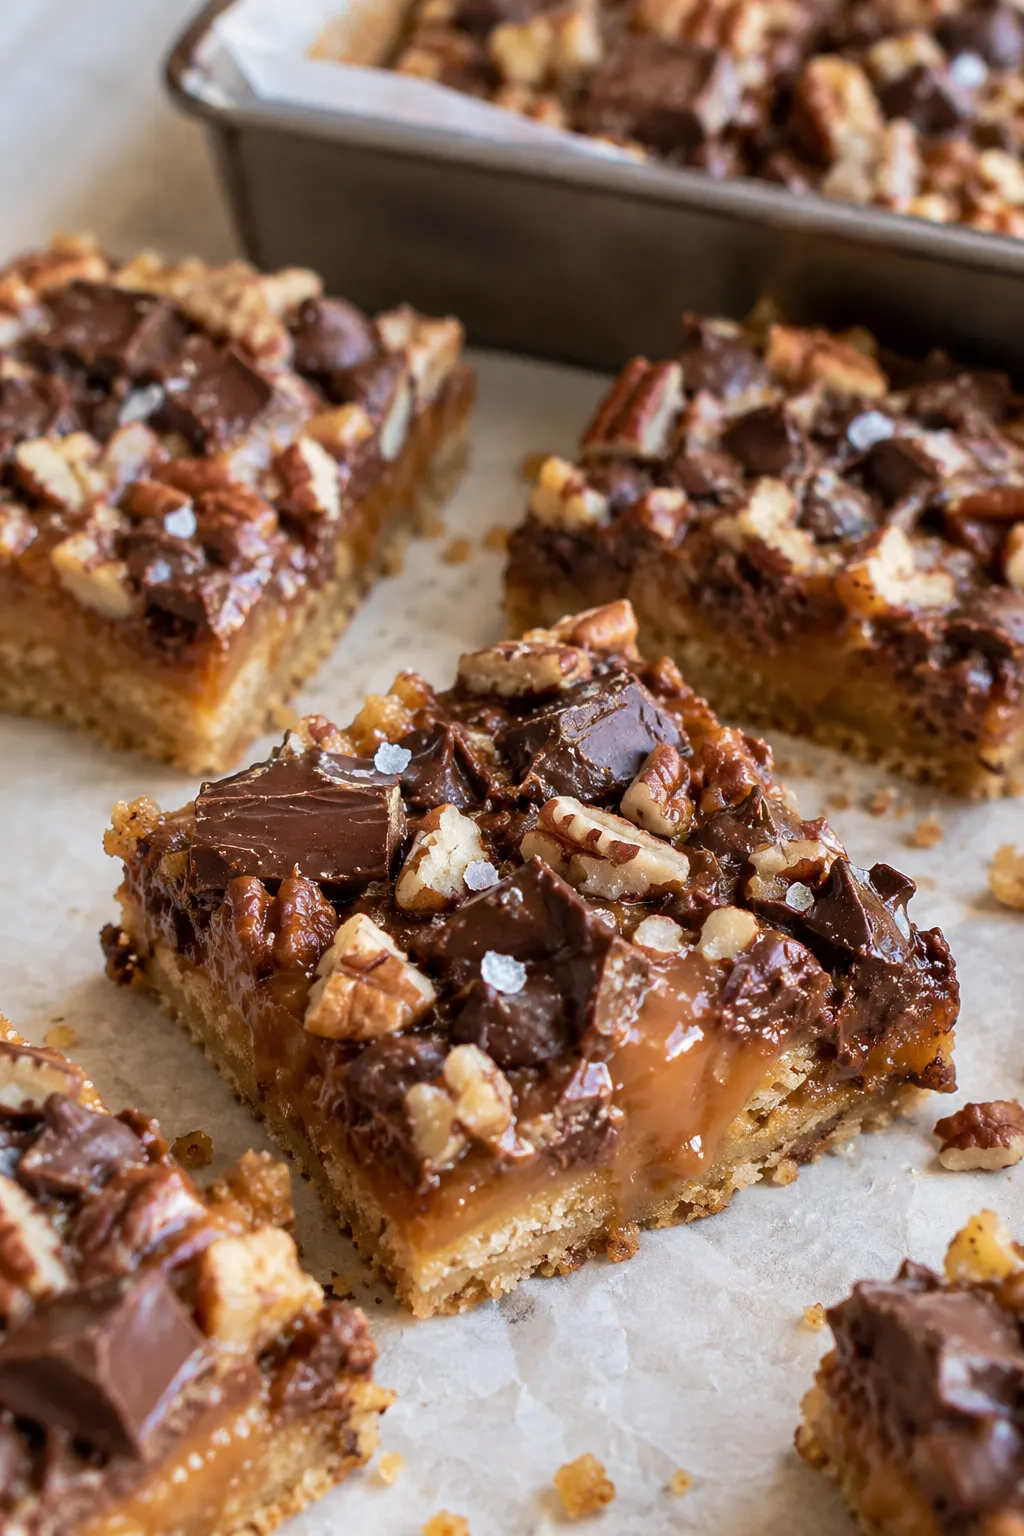
Caramel Chocolate Crunch Bars are rich, buttery dessert bars with a brown sugar crust, a thick caramel layer, melted chocolate, and optional crunchy nuts. They are easy to make, easy to slice after chilling, and work well for parties, holidays, or make-ahead desserts.
The base is simple: flour, brown sugar, and melted butter. It bakes just long enough to set before the caramel and chocolate go on top. Once everything cools and firms up, you get a chewy center, crisp edges, and plenty of chocolate in every bite. If you love layered chocolate-and-caramel treats, try these Crunchy Chocolate Pecan Billionaires next.
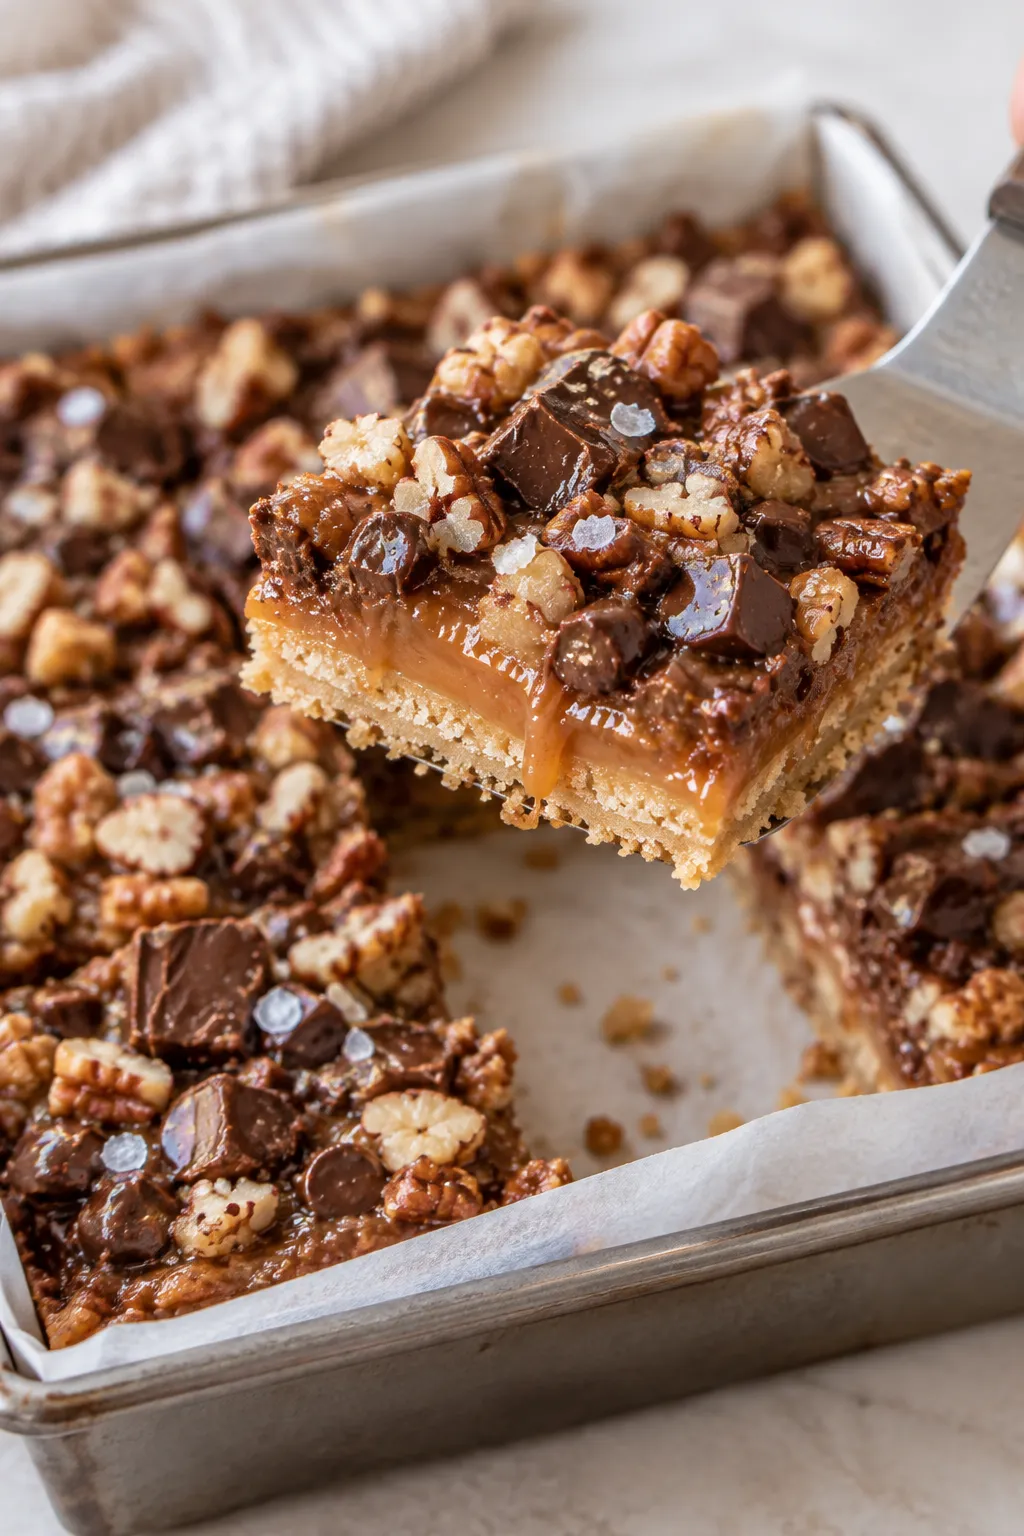
Why You’ll Love These Caramel Chocolate Bars
- The crust uses just flour, brown sugar, and melted butter.
- Thick caramel creates a gooey center without making the bars soggy.
- Chocolate chunks and chocolate chips give you two different chocolate textures.
- Nuts are optional, so you can make them with pecans, walnuts, almonds, or leave them out.
- The bars can be made ahead and chilled before slicing.
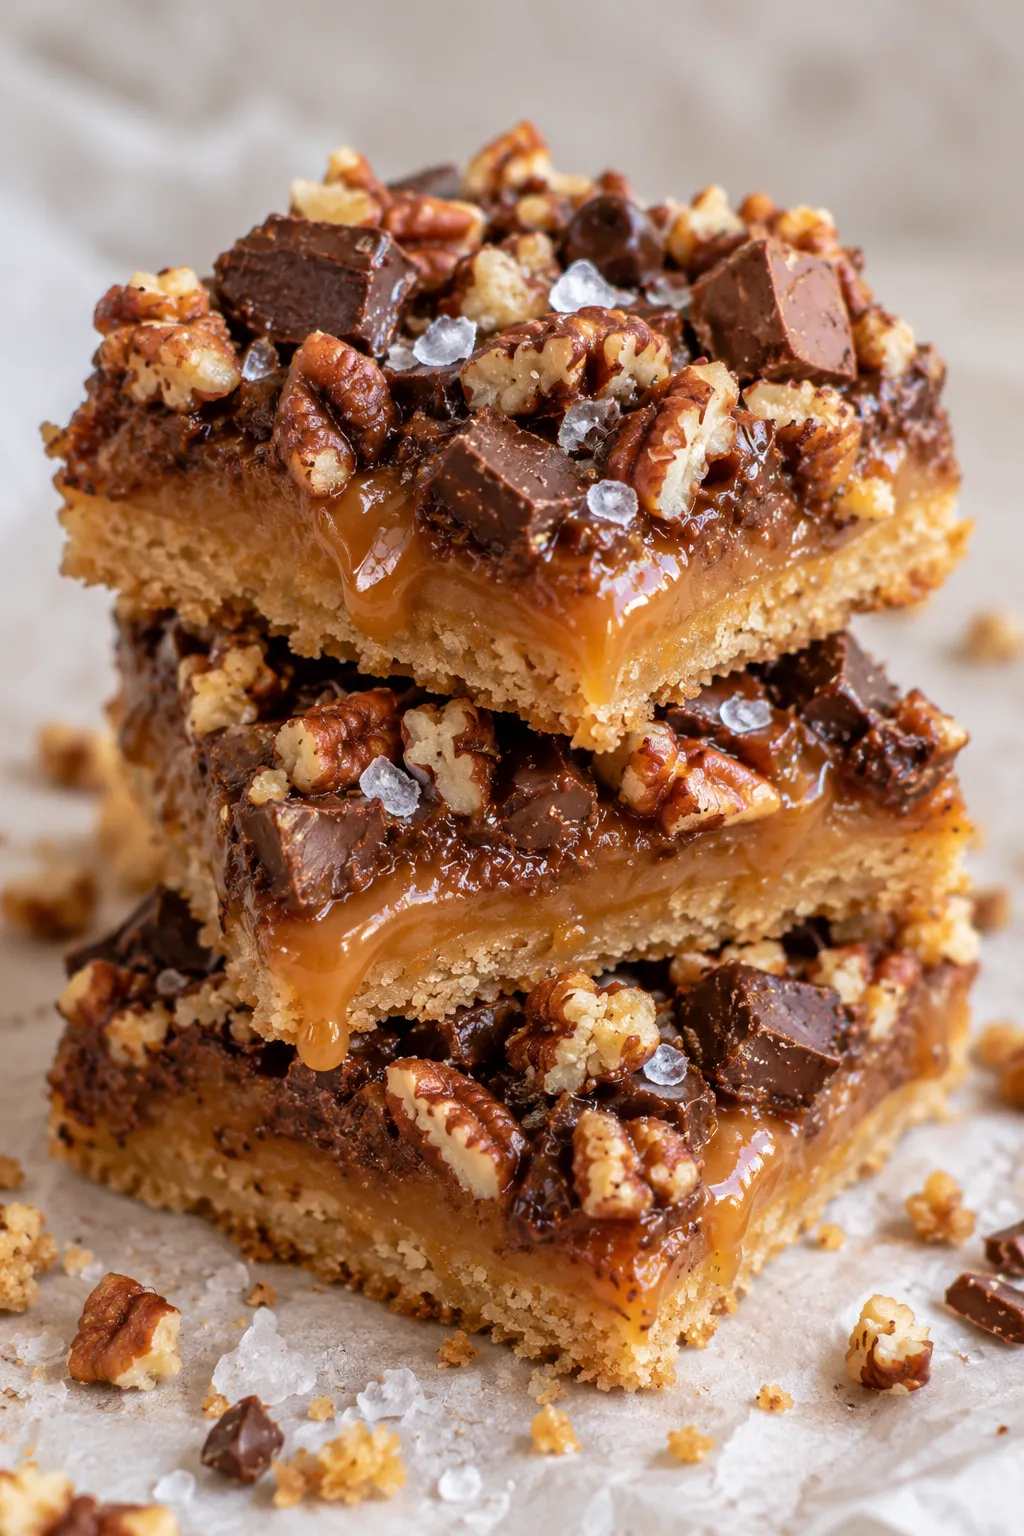
Ingredient Notes
All-purpose flour: This forms the structure of the buttery crust.
Brown sugar: Packed brown sugar gives the crust a slightly chewy texture and caramel-like flavor.
Unsalted butter: Melted butter makes the crust easy to mix and press into the pan.
Caramel sauce: Use a thick caramel rather than a thin dessert syrup. A thicker caramel sets better after chilling.
Chocolate chunks and chips: Semi-sweet chocolate works especially well because the caramel is already sweet.
Chopped nuts: Pecans, walnuts, or almonds are all good options. Toasting them first gives the bars even more flavor. For another pecan dessert with a chewy bar texture, see these Lazy Girl Pecan Pie Bars.
Make the Brown Sugar Crust
Preheat the oven to 350°F. Line an 8×8-inch or 9×9-inch baking pan with parchment paper, leaving enough overhang to lift the bars out later.
Stir the flour and packed brown sugar together, then pour in the melted butter. Mix until there are no dry patches and the mixture looks like damp crumbs.
Press the mixture firmly and evenly into the prepared pan. Bake for 10 to 12 minutes, just until the edges begin to turn lightly golden.
Add the Caramel and Chocolate
Remove the crust from the oven and spread the thick caramel evenly over the warm base.
Scatter the chocolate chunks over the caramel. If you’re using chopped nuts, sprinkle them over the top as well.
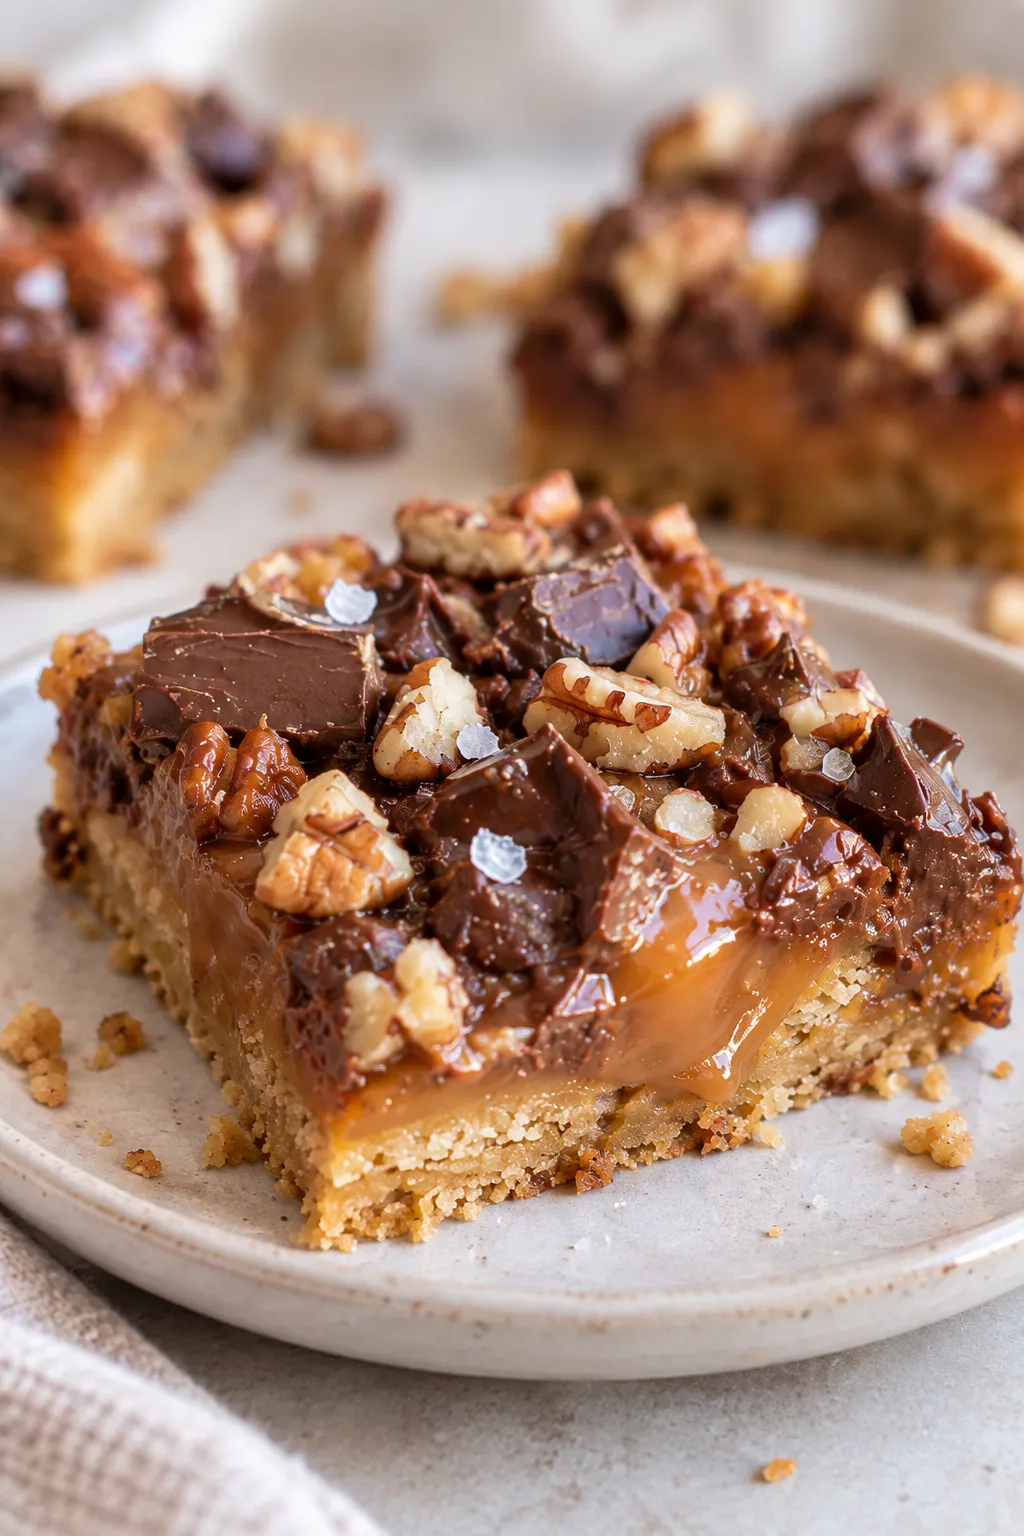
Return the pan to the oven for about 10 minutes, until the caramel is gently bubbling and the chocolate begins to soften.
As soon as the bars come out, scatter the chocolate chips over the top. Let the heat soften them, then leave them slightly chunky or gently smooth them with a spatula.
Cool Before Cutting
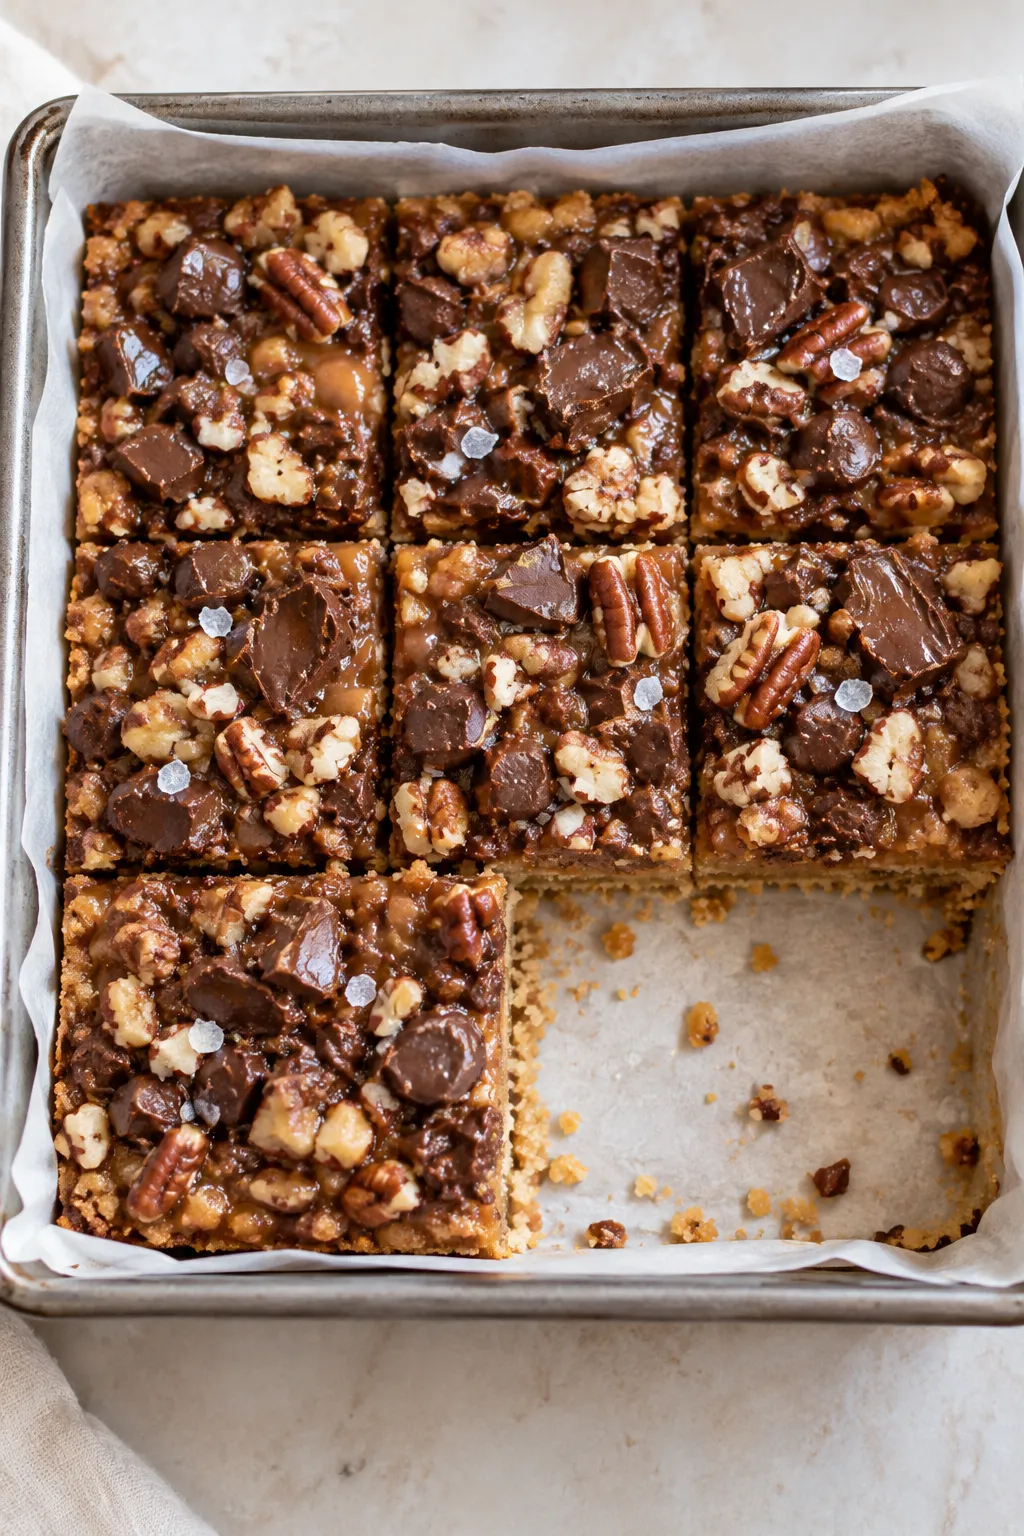
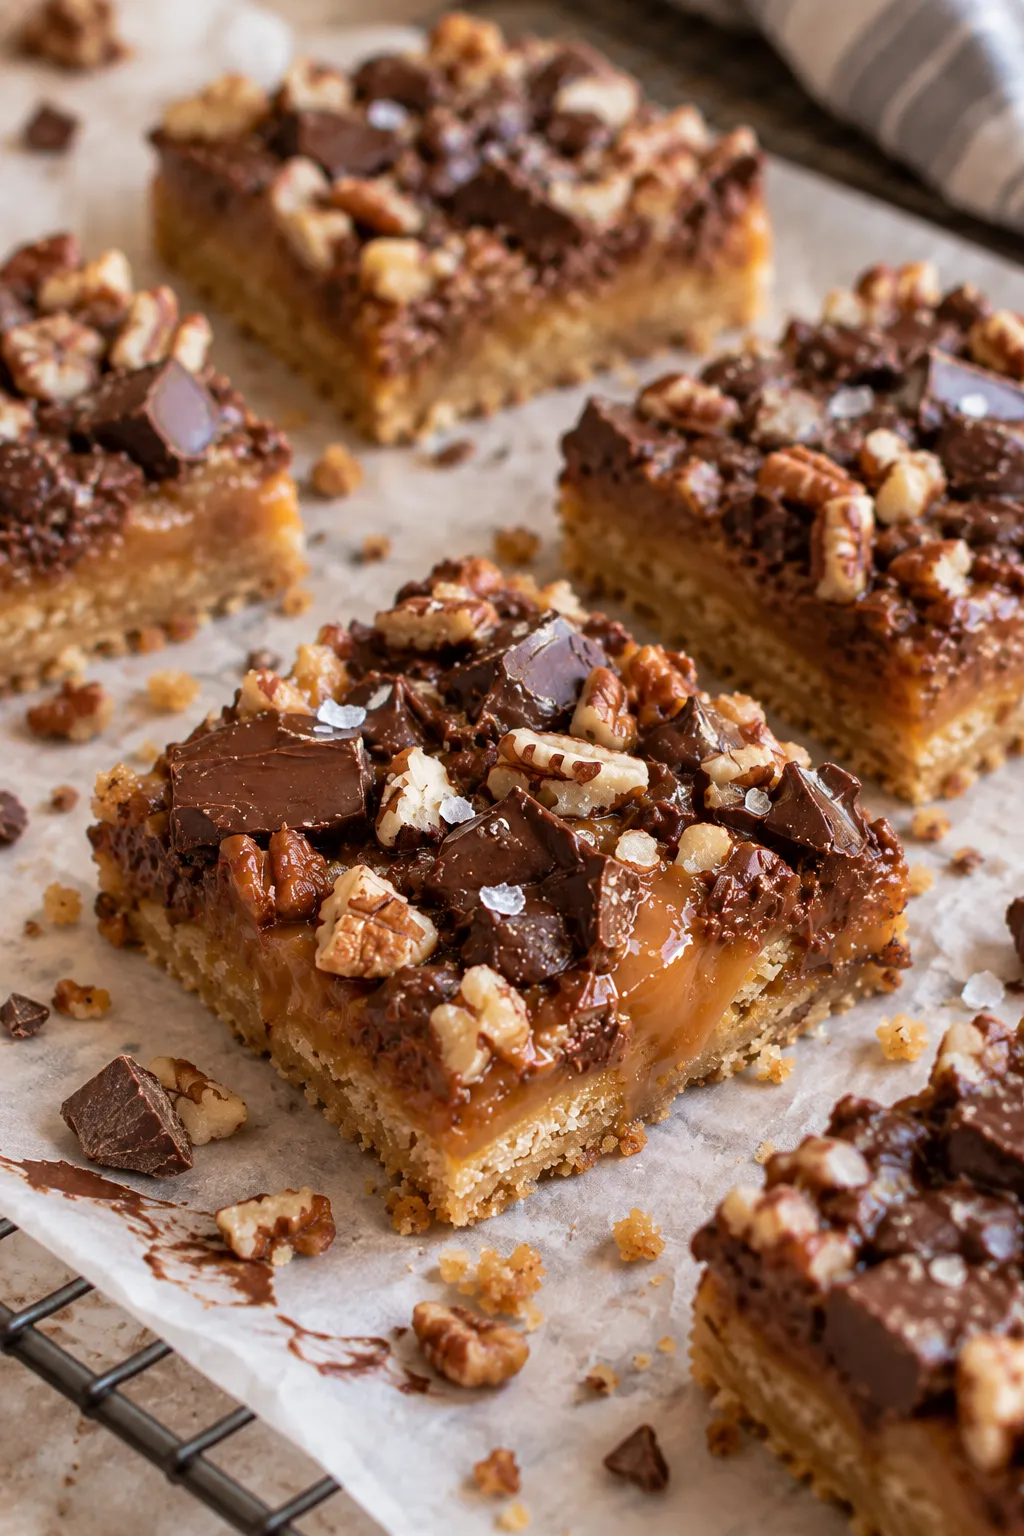
Let the bars cool completely in the pan. For the cleanest layers, refrigerate them for at least 1 hour before cutting.
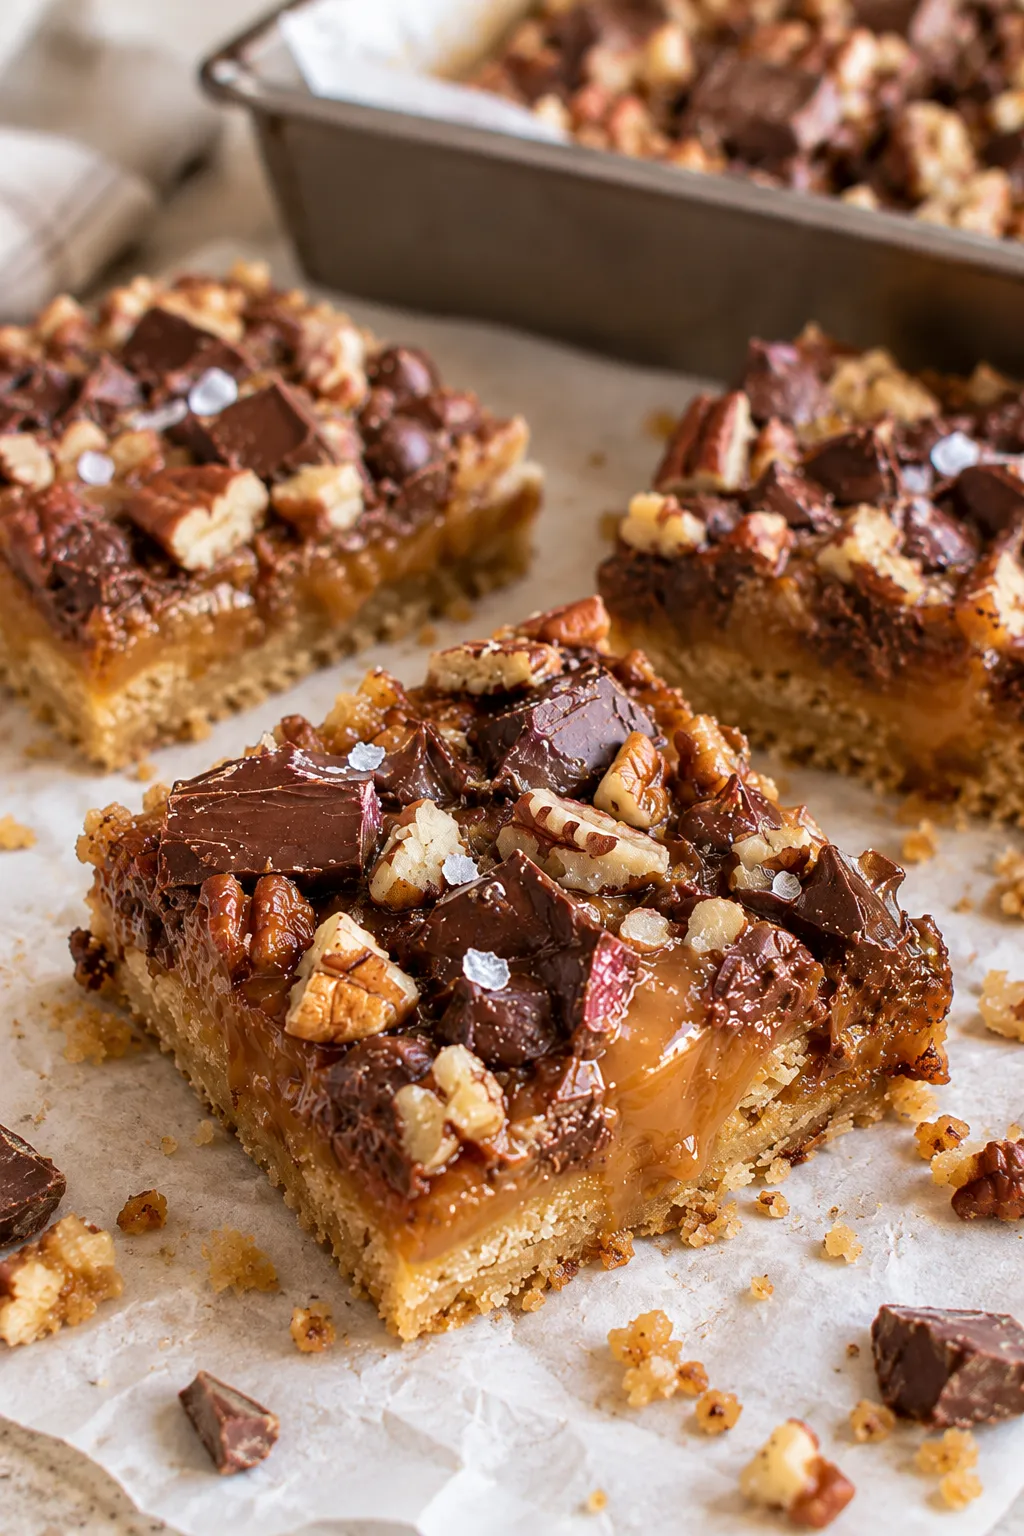
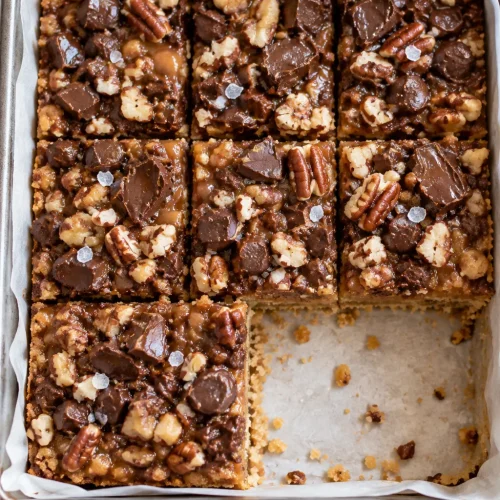
Use the parchment handles to lift the slab from the pan, then cut into 12 bars. A sharp knife wiped clean between cuts makes the neatest squares.
Easy Variations
You can leave out the nuts for a smooth caramel-and-chocolate version, or use toasted pecans, walnuts, or almonds for extra crunch. A small pinch of flaky sea salt on top also works well if you like a sweet-salty finish. If caramel is your favorite part, you may also like this Salted Caramel Kentucky Butter Cake.
More Easy Chocolate Desserts to Try
If you are planning a dessert tray or want another easy recipe for later, try these 4-Ingredient Lazy Chocolate Chip Cookie Bars or this Old-Fashioned Chocolate Fudge. Both are simple make-ahead chocolate desserts that pair well with these caramel bars.
Frequently Asked Questions
What kind of caramel should I use?
Use a thick caramel sauce that will hold its shape after chilling. Very thin ice cream syrup can make the middle too soft.
Do I have to add nuts?
No. The nuts are completely optional. The bars still work well with just caramel and chocolate.
Why should I chill the bars?
Chilling helps the caramel and chocolate firm up so the layers stay together when you slice them.
Caramel Chocolate Crunch Bars
Ingredients
- 2 cups All-purpose flour
- 1/2 cup Brown sugar packed
- 1 cup Unsalted butter melted
- 1 cup Caramel sauce thick, high-quality
- 1 cup Chocolate chunks semi-sweet or dark
- 1/2 cup Chopped nuts pecans, walnuts, or almonds – optional
- 1/2 cup Chocolate chips semi-sweet
- Optional: Flaky sea salt for garnishing
Instructions
- Heat the oven to 350°F (175°C). Line an 8×8-inch or 9×9-inch baking pan with parchment paper, leaving enough parchment above two sides to use as handles later.
- Add the flour and brown sugar to a mixing bowl. Pour in the melted butter and stir until there are no dry patches and the mixture looks like damp crumbs.
- Transfer the mixture to the prepared pan. Press it into a compact, even layer across the bottom.
- Bake the crust for 10–12 minutes, just until the edges begin to turn pale golden.
- Take the pan from the oven and carefully spoon or pour the caramel over the warm crust. Spread it evenly from edge to edge.
- Scatter the chocolate chunks over the caramel. Add the chopped nuts as well if you’re including them.
- Place the pan back in the oven and continue baking for about 10 minutes, or until the caramel is bubbling gently and the chocolate has started to soften.
- Remove the pan from the oven. Immediately sprinkle the chocolate chips across the top so the warmth of the bars begins melting them. Leave the chips slightly chunky or gently smooth them over the surface with a spatula.
- Finish with a small pinch of flaky sea salt if desired.
- Leave the bars in the pan until completely cool. For firmer layers and cleaner cuts, refrigerate them for at least 1 hour.
- Lift the slab from the pan using the parchment handles, place it on a cutting board, and slice into 12 bars.