Homemade Payday Candy Bars are all about the contrast: salty roasted peanuts on the outside and a soft, sweet peanut-butter center in the middle. This version turns those flavors into a pan of bars you can cut at home. The filling is made with peanut butter chips, marshmallows, and sweetened condensed milk, so there is no sugar syrup to boil or caramel temperature to watch.
The hands-on work is short, but the setting time matters. Plan on about twenty minutes to prepare the pan and melt the filling, followed by roughly two hours in the refrigerator. The recipe makes sixteen bars in a rectangular baking dish, with peanuts on both the bottom and the top.
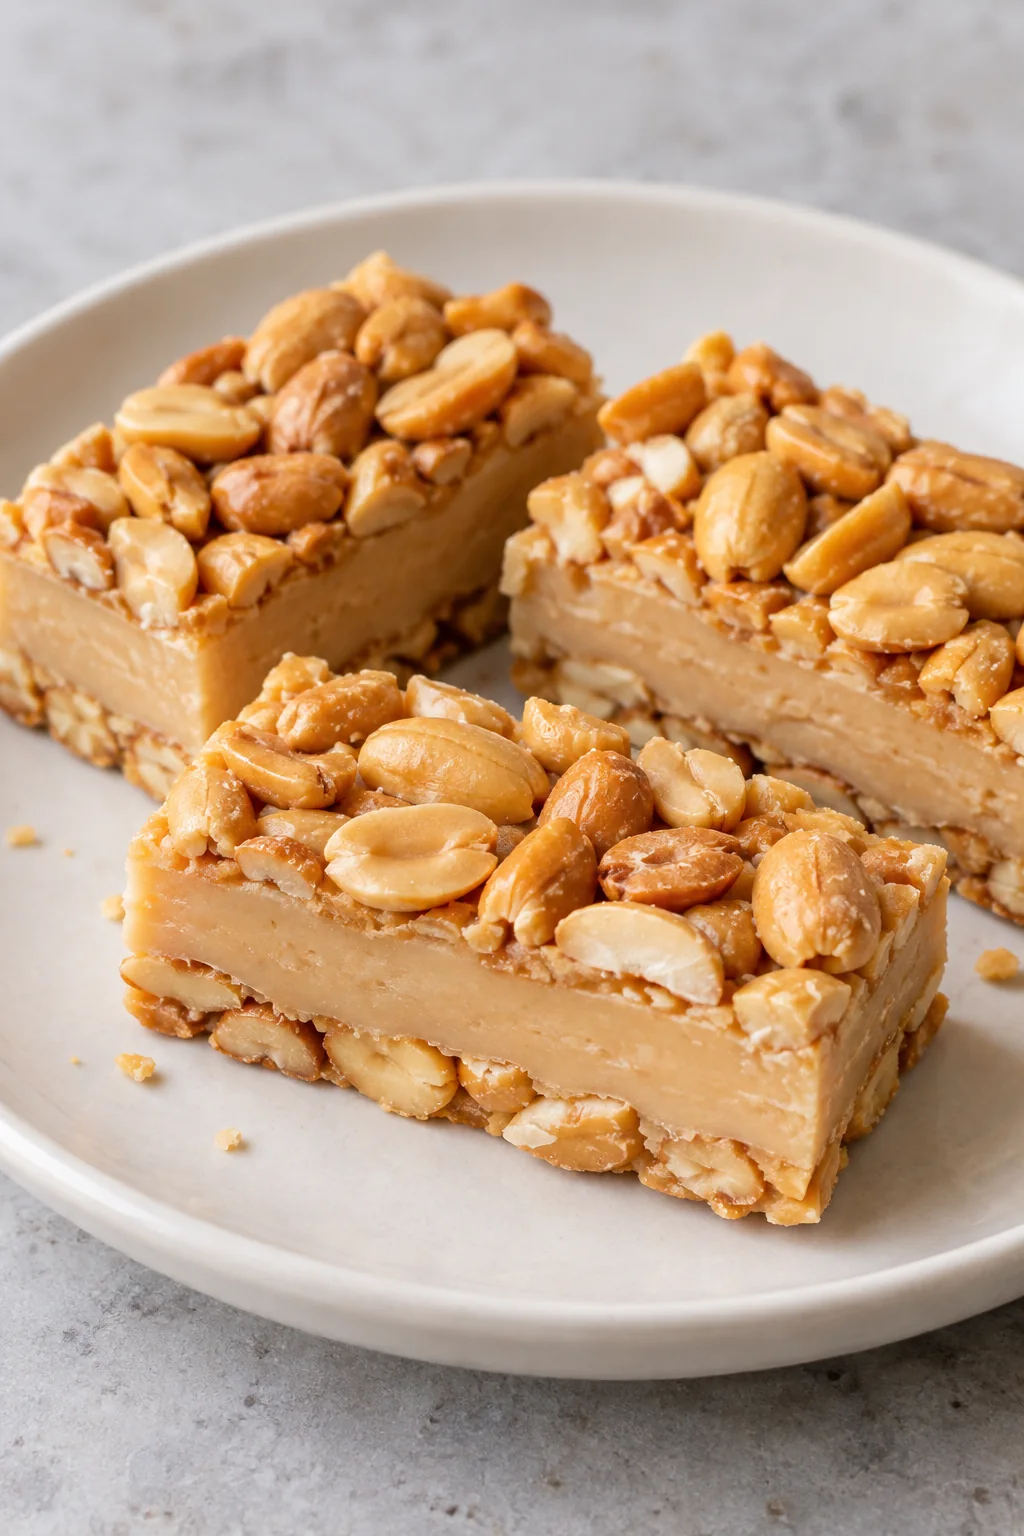
The recipe card below has the measured ingredients and photos for each step.
The candy center is the part to watch
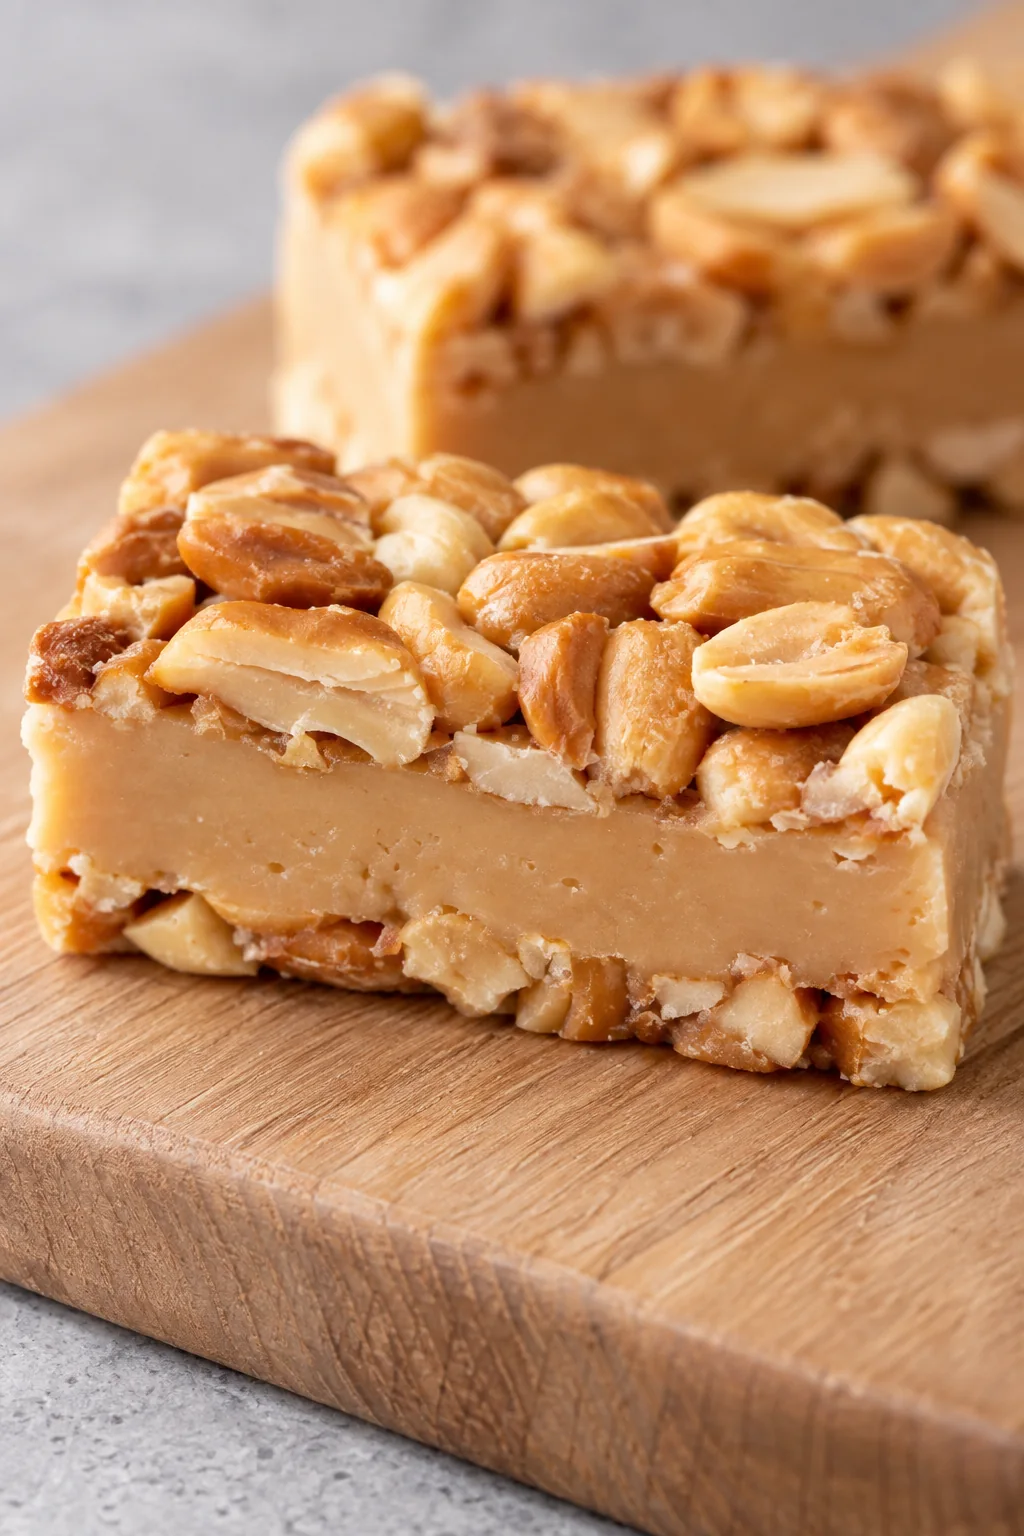
These are inspired by the familiar peanut candy bar, with a softer, creamier homemade filling. The outside should have plenty of peanut crunch, while the middle should hold together when sliced. You are looking for a smooth peanut-butter layer, not a hard brittle or a loose sauce.
Two things help that happen: melt the marshmallows completely over gentle heat, then give the assembled pan enough time to firm up. Turning up the burner does not speed the recipe along in a useful way; it makes the bottom of the filling more likely to scorch.
Check the labels before you start
Salted roasted peanuts. These supply the crunch and the salty side of the recipe. Whole kernels and halves both work. Divide them before starting so you have one portion for the base and another ready for the top. Small broken pieces can go in with the rest.
Peanut butter chips. Use the baking chips sold in the baking aisle. Spoonable peanut butter has a different consistency and should not replace the chips in this recipe. The chips give the center its peanut flavor and help it firm up as it cools.
Sweetened condensed milk. This is the thick, sweet canned milk. Evaporated milk is a different product and will not give this filling the same result. Check the front of the can rather than relying on its size or where it sits on the shelf.
Mini marshmallows, butter, and vanilla. Mini marshmallows melt into the center more easily than large ones. Unsalted butter leaves the salty flavor to the peanuts, and a little vanilla rounds out the sweetness. Measure everything before heating the saucepan; the warm filling needs to go into the dish promptly.
Build the layers in this order
Start with the peanut base
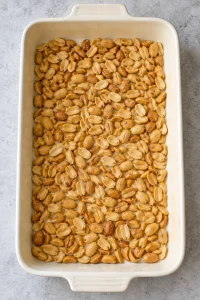
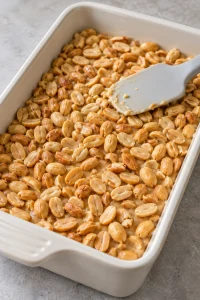
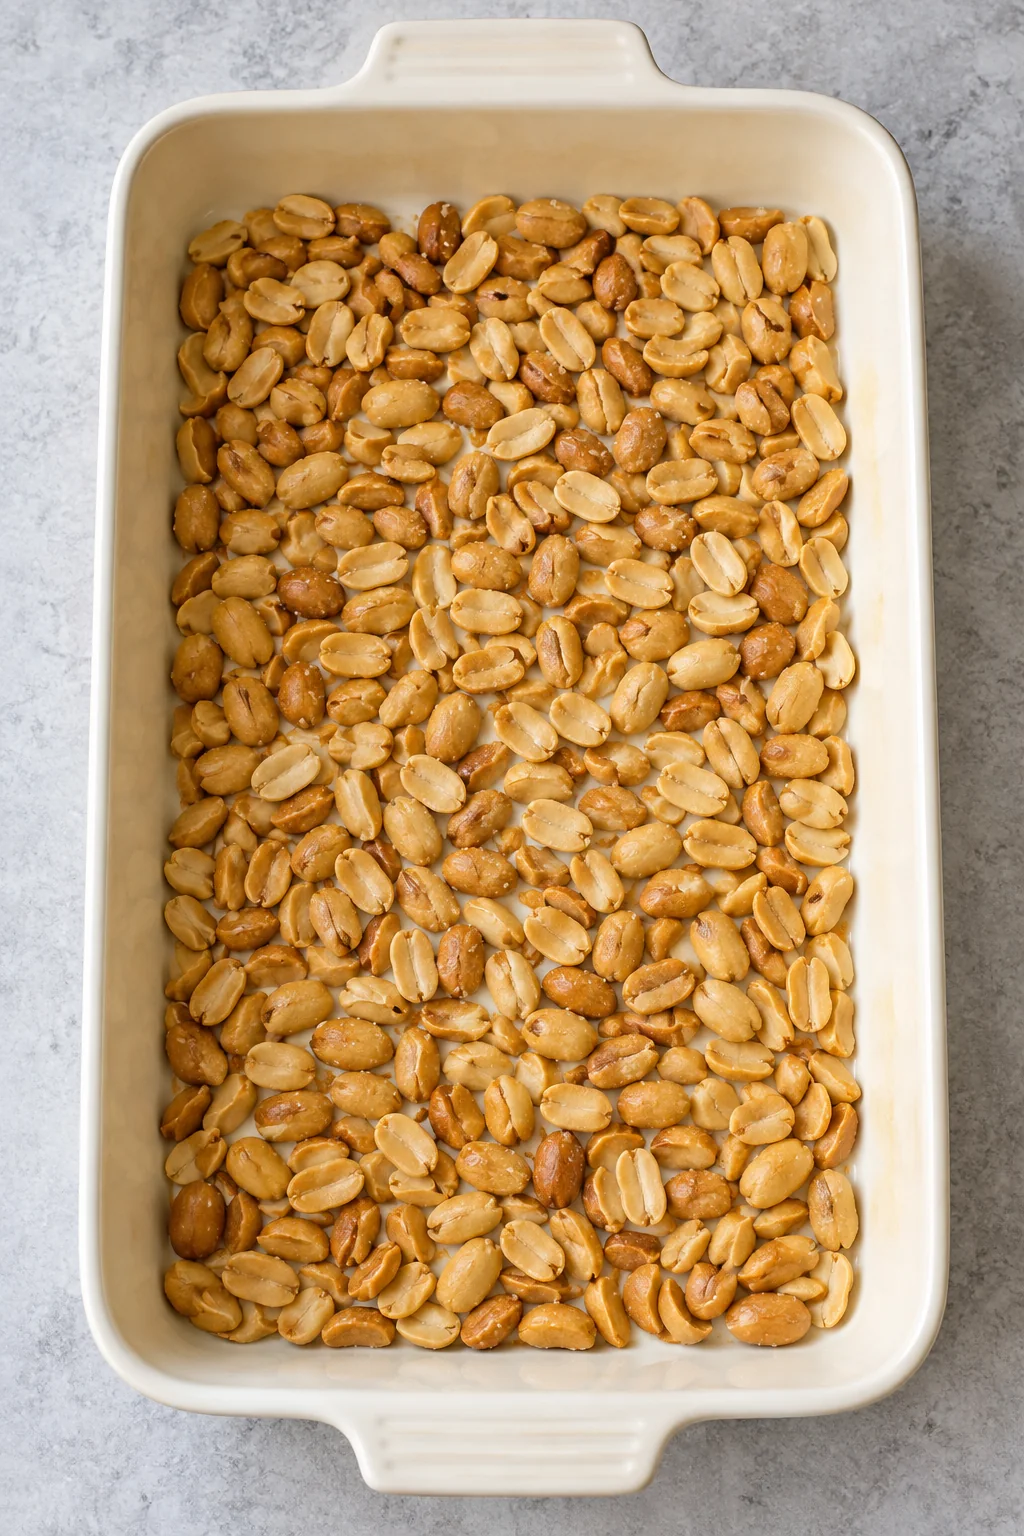
Lightly grease a nine-by-thirteen-inch baking dish, including the corners. Spread half the peanuts across the bottom in an even layer. Avoid a big mound in the middle, which makes it harder to spread the filling and leaves some pieces with much more crunch than others.
Melt the filling without rushing it
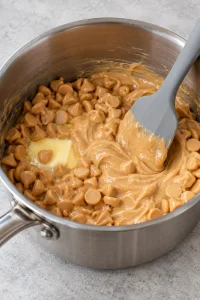
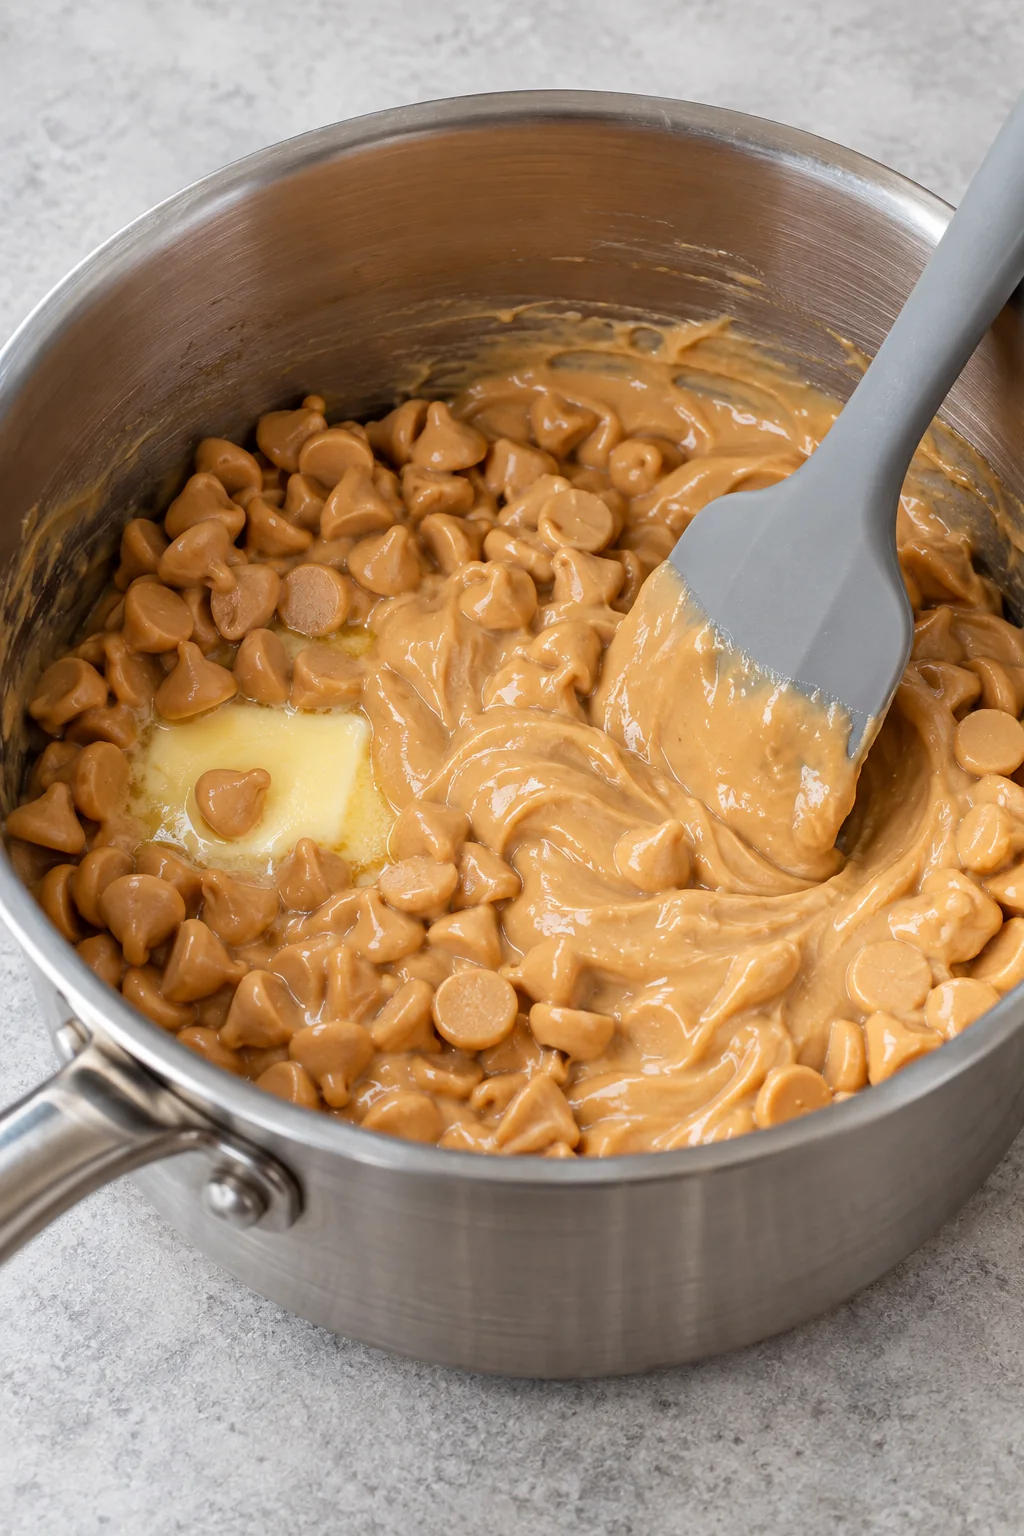
Put the butter and peanut butter chips in a large, heavy-bottomed saucepan over low heat. Stir frequently, moving the spatula across the bottom rather than only around the edges. As the chips soften, the mixture comes together into a thick peanut-butter base.
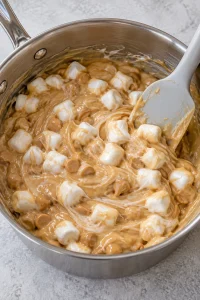
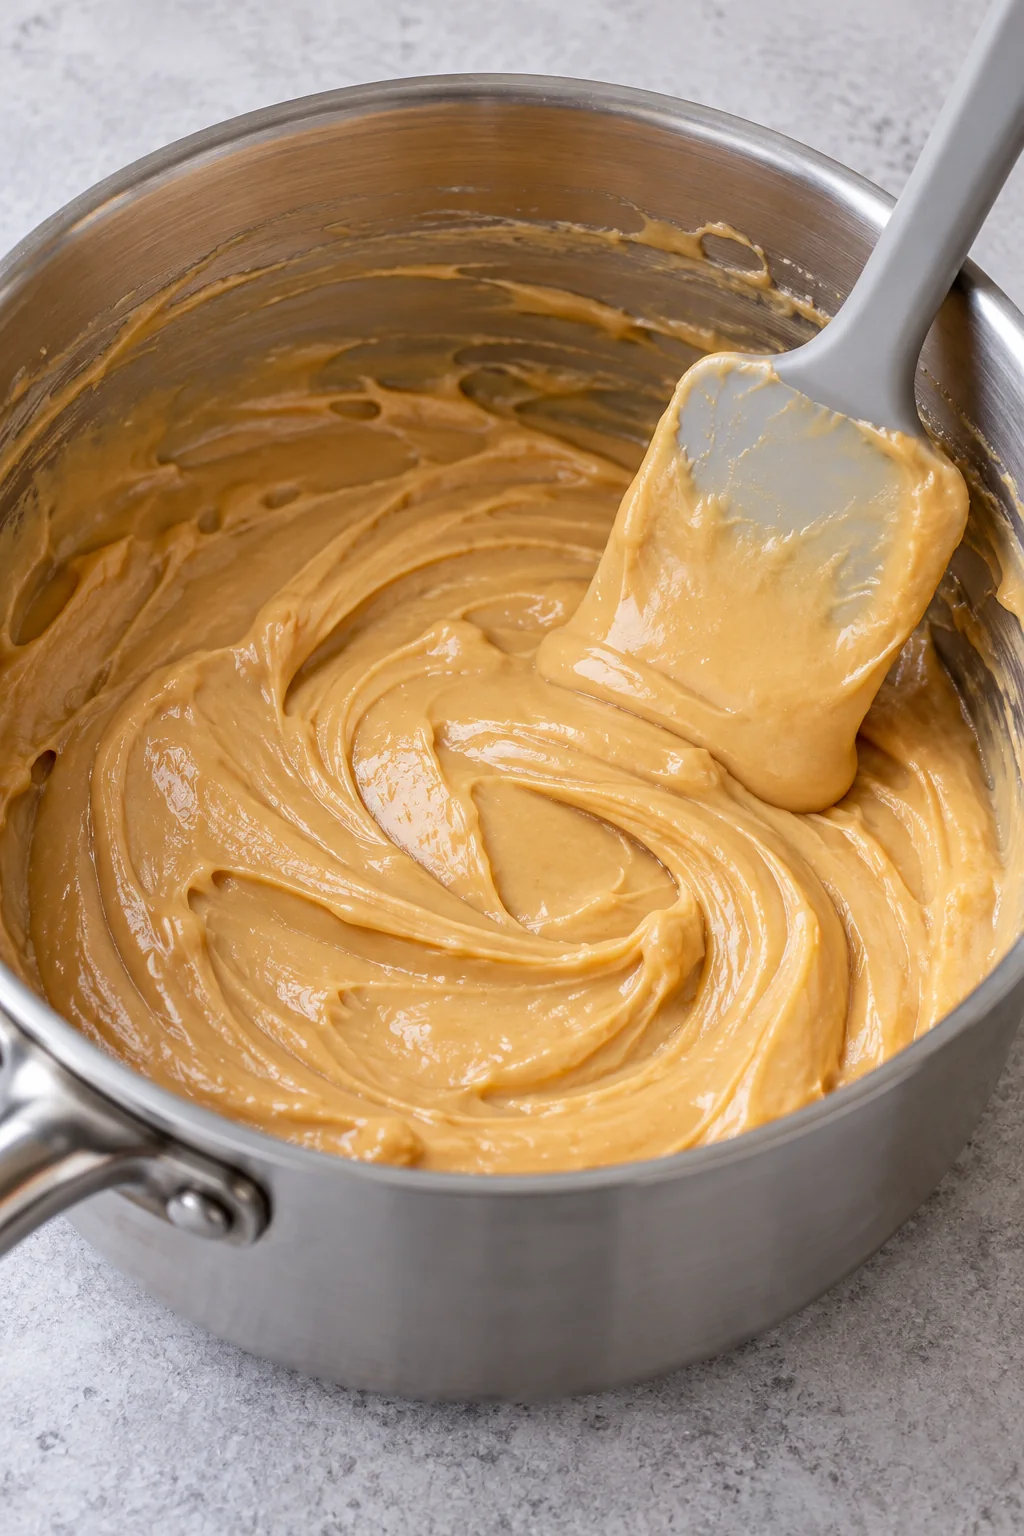
Stir in the sweetened condensed milk, mini marshmallows, and vanilla. Keep the heat low. The marshmallows will soften and lose their shape as you stir; a few visible white pieces mean the filling still needs a little more time.
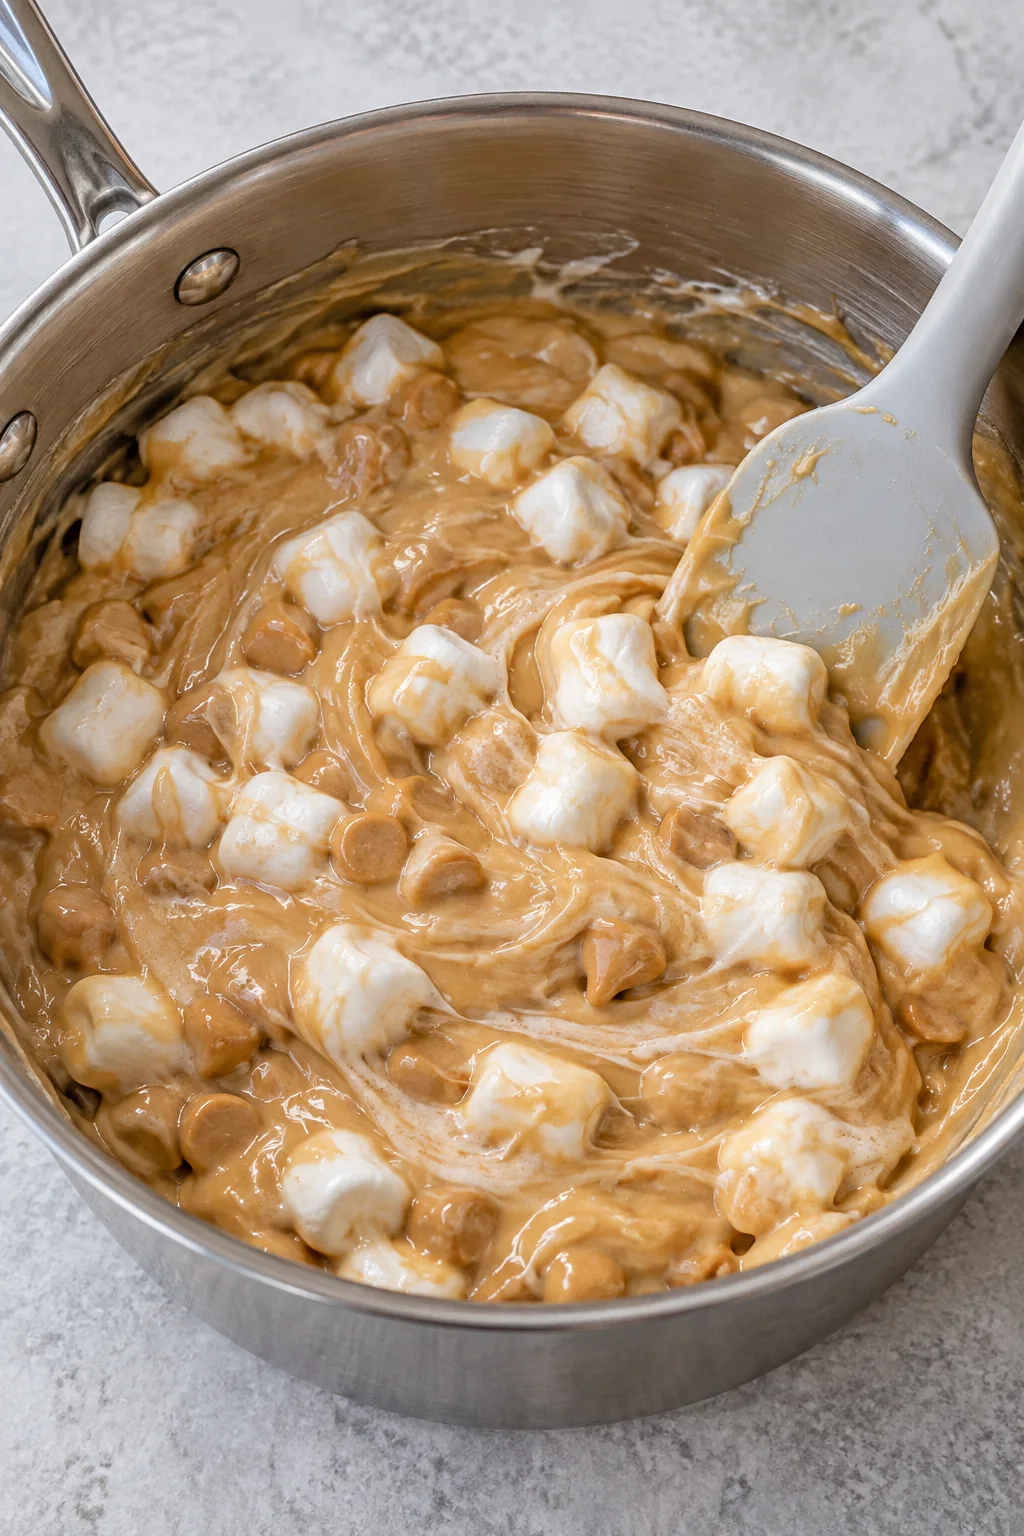
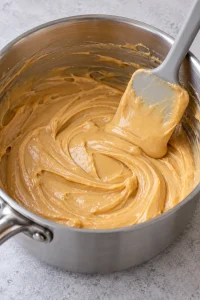
Continue until the filling is smooth throughout, then take the pan off the heat. Scrape the sides as well as the bottom so partly melted pieces do not remain around the rim. There is no need to bring this mixture to a hard boil.
Spread first, then add the top layer
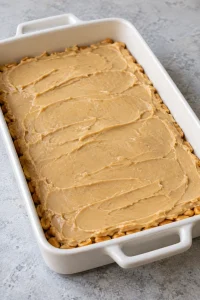
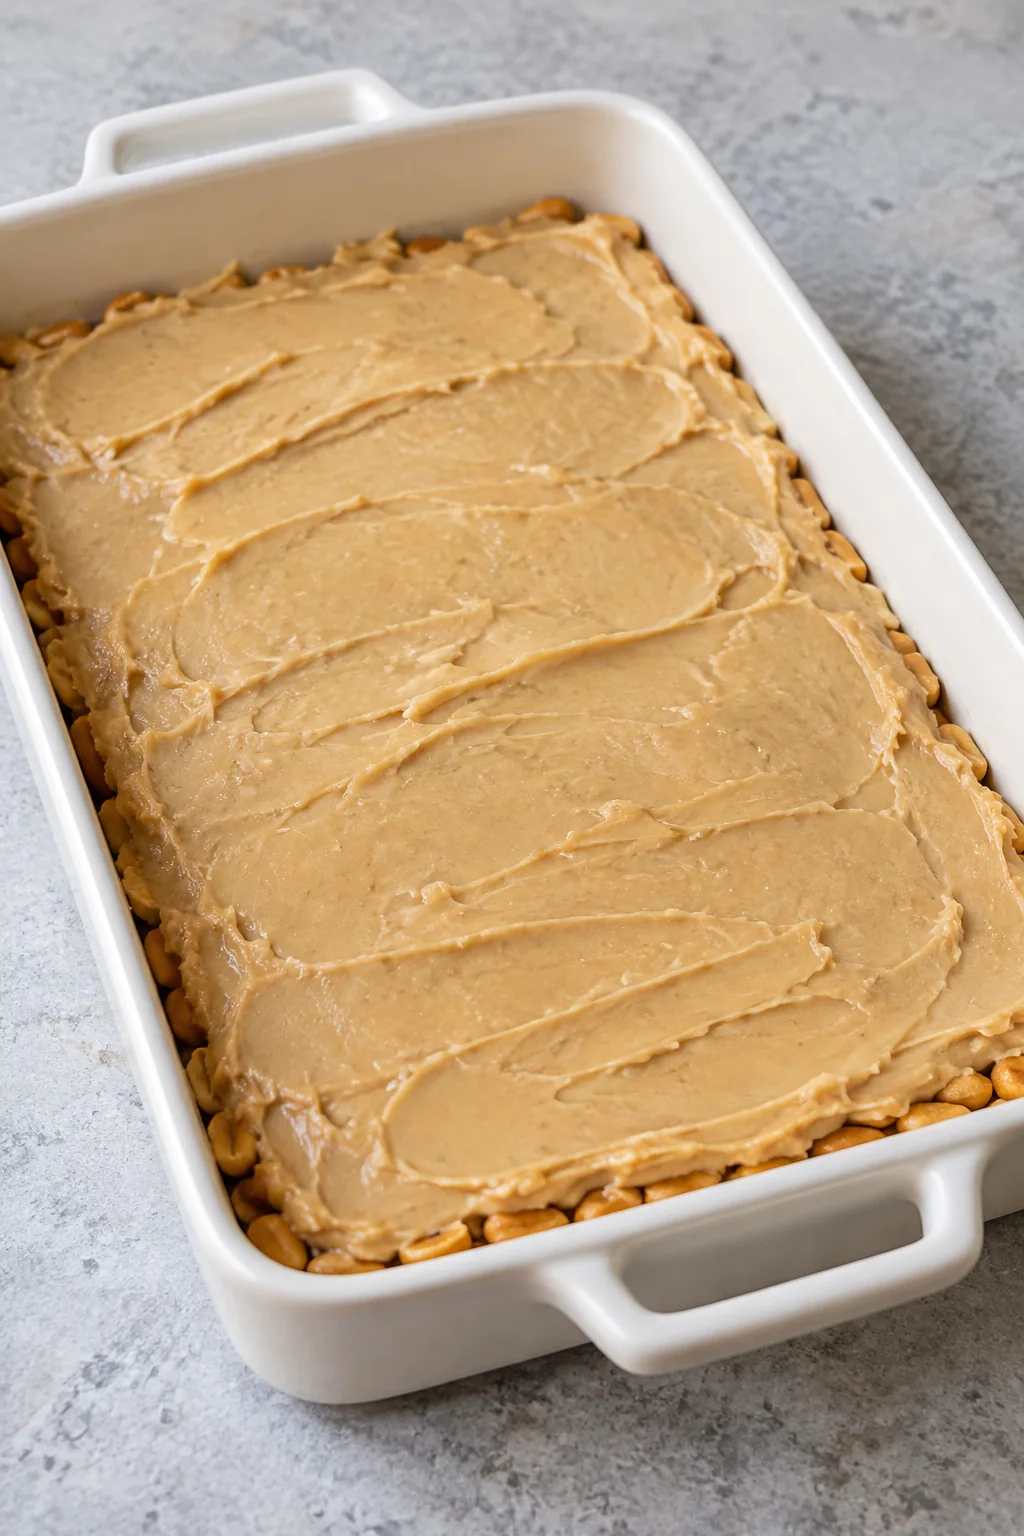
Pour the warm filling over the peanut base and ease it into the corners with a silicone spatula. Use light strokes. Dragging hard across the bottom can pull the peanuts into piles instead of leaving them under an even layer of candy.
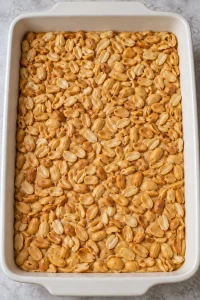
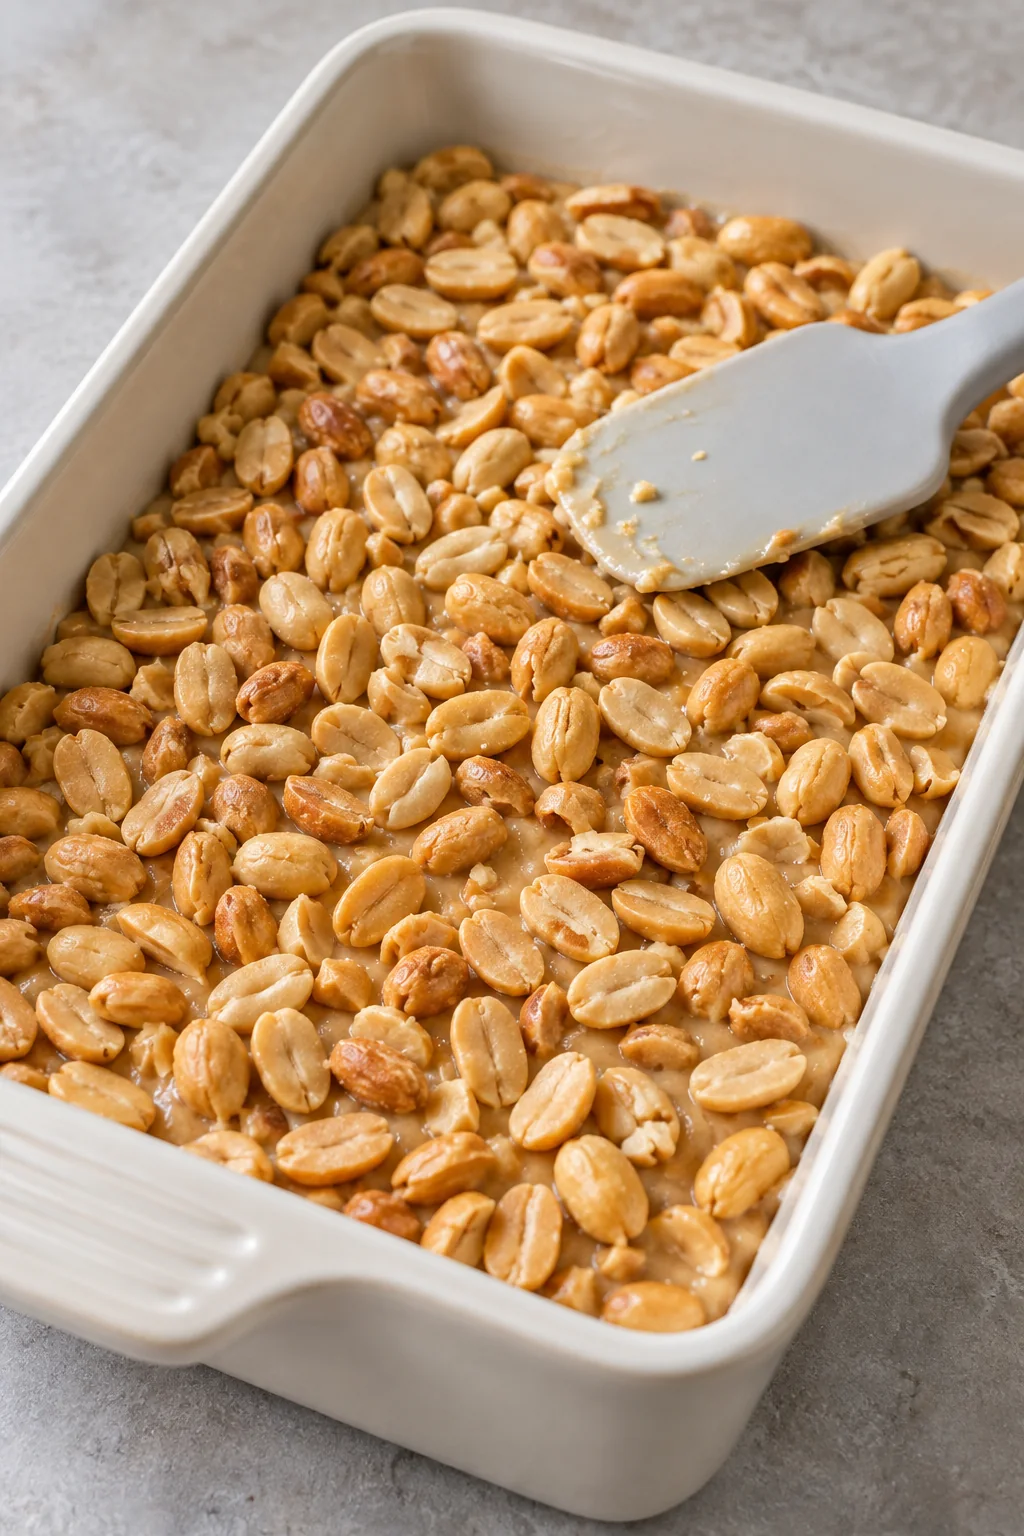
Scatter the reserved peanuts over the surface while the filling is still warm. Press them in lightly with the back of the spatula. They should settle into the top enough to stick, while the filling stays level underneath.
Let the middle set before making the first cut
Refrigerate the pan for about two hours, or until the center is firm enough to hold its shape. The peanut surface can look ready before the filling underneath has set, so judge the middle as well as the top. If it still feels very soft, give it more time.
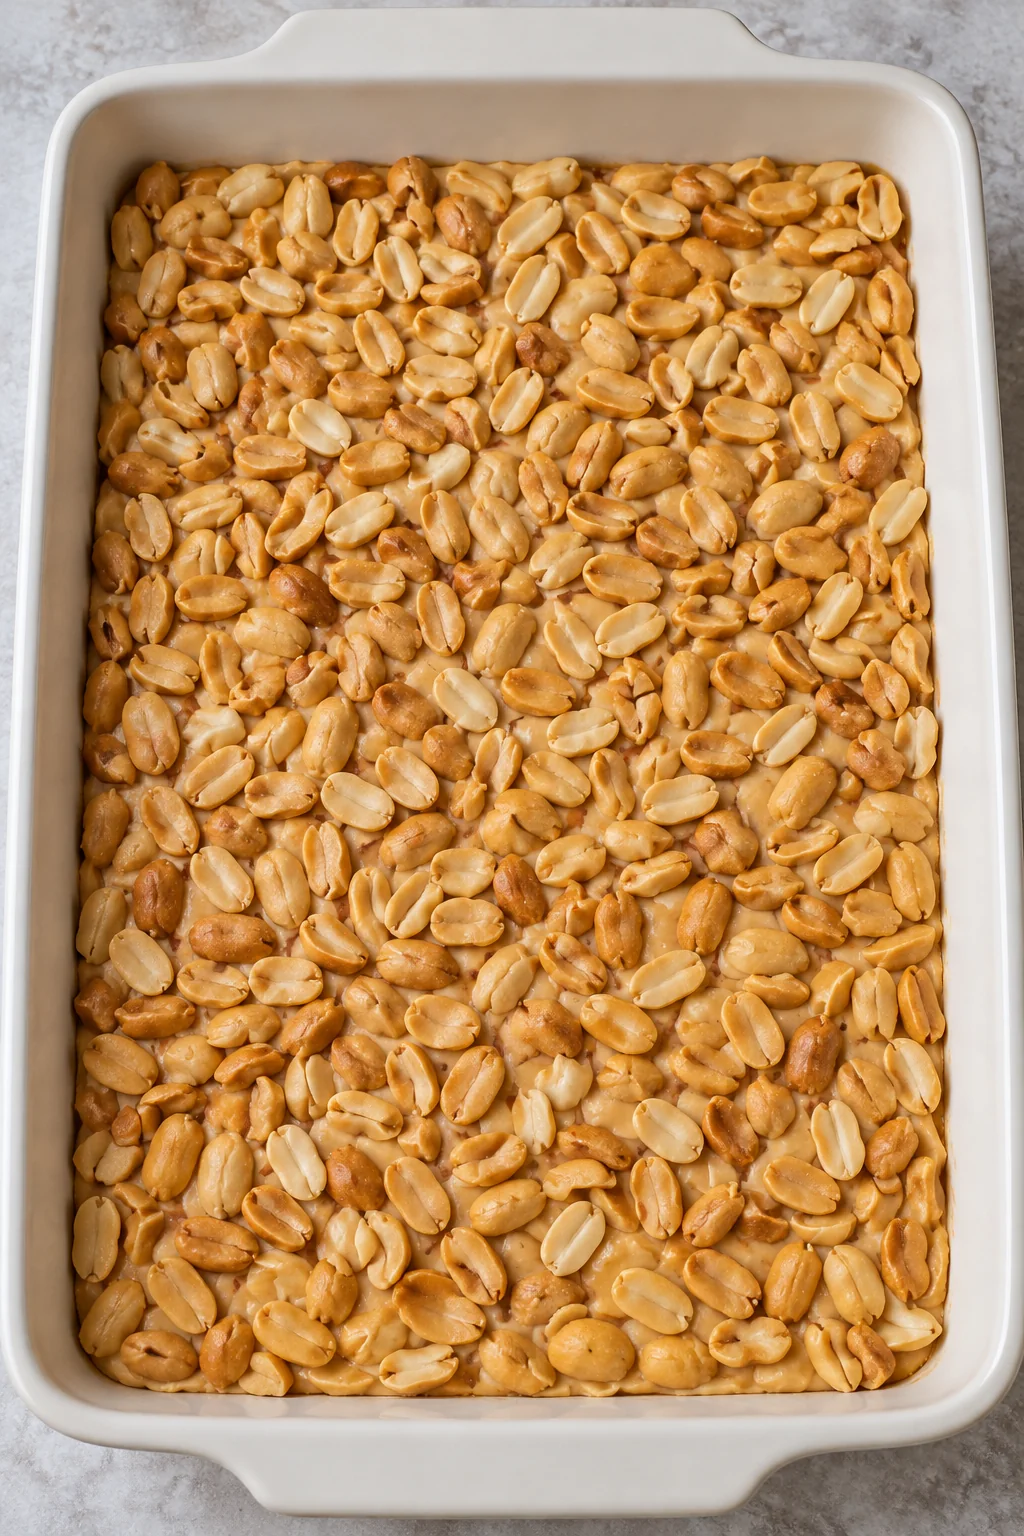
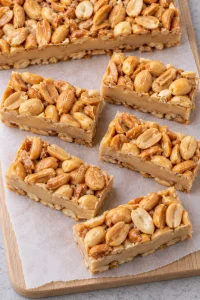
For sixteen bars, cut four rows and four columns. Wipe the knife between cuts when filling builds up on the blade. A straight cut works better than sawing through the peanut layer, and a few loose peanuts are normal. For smaller candy-tray pieces, cut each bar again after the main portions are separated.
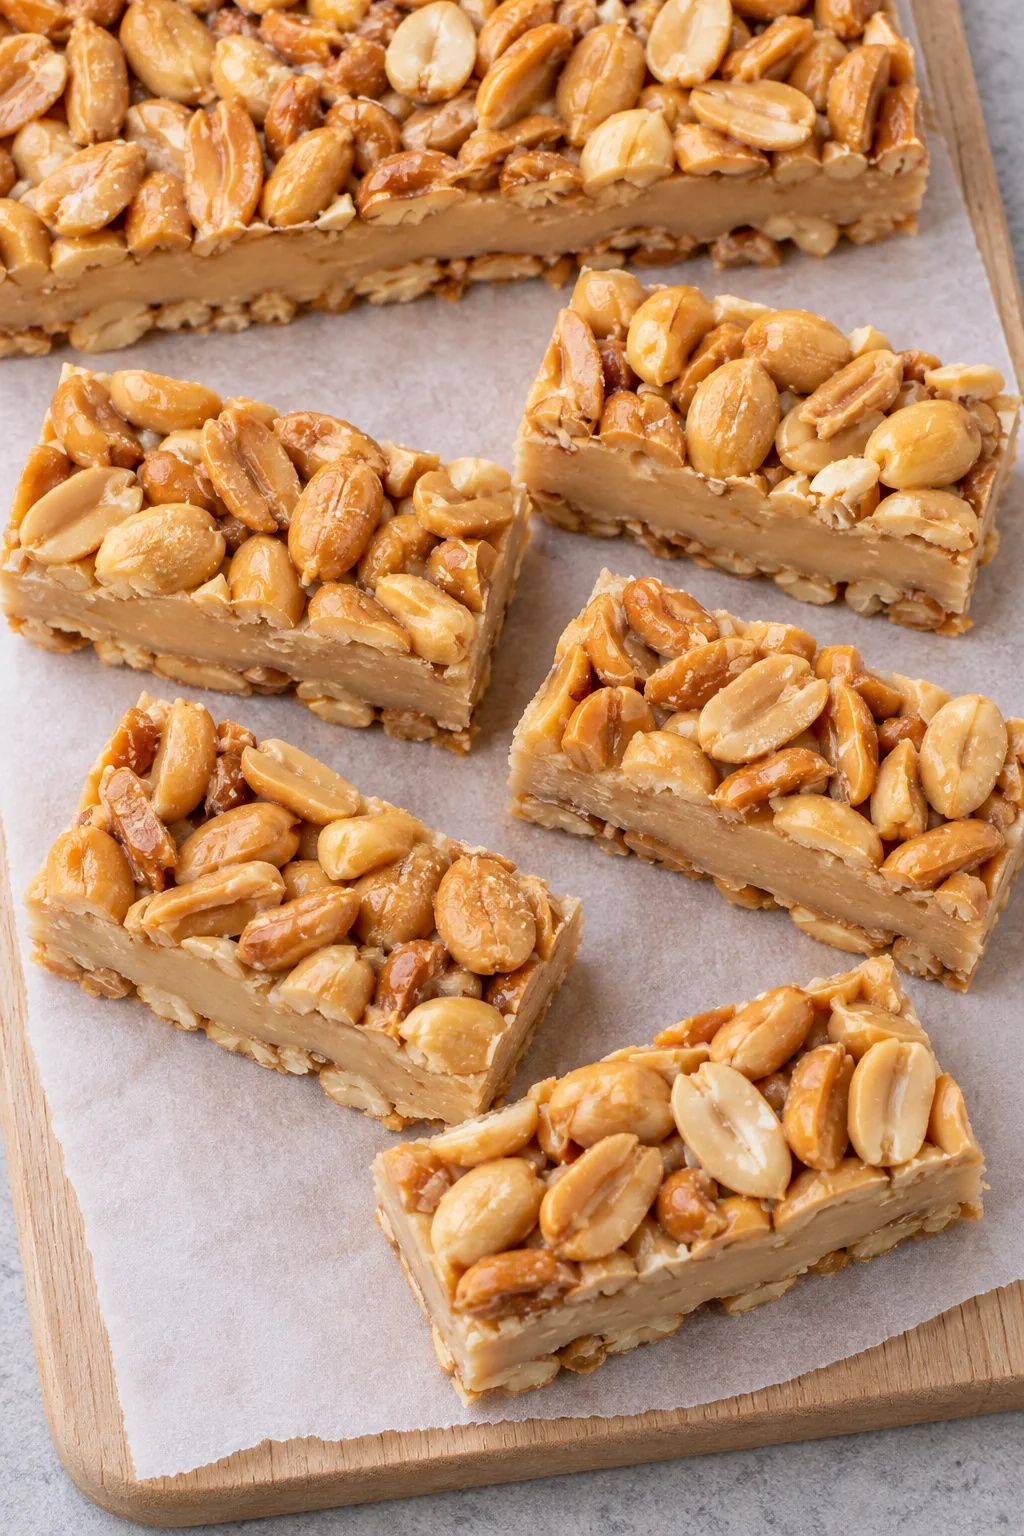
Serve the pieces cool for a firmer bite, or let them sit briefly at room temperature if you prefer a softer center. The peanuts should remain crunchy either way. A plain plate is all they need; the peanut layers give them plenty of texture.
A few questions worth answering
Can I use unsalted peanuts? Yes, though the finished bars will have less of that salty contrast. Keep the same peanut amount and use roasted nuts for the texture shown here.
Do I need a candy thermometer? No. This recipe melts prepared ingredients together instead of cooking sugar to a specific candy stage. Watch for a smooth filling with no unmelted marshmallows, then let the refrigerator do the setting.
Why are the bars too soft to cut? First give the pan more chilling time. If you changed the chips to peanut butter or used a different canned milk, the filling may not set the same way. The measured recipe below uses peanut butter chips and sweetened condensed milk.
For more homemade candy, try My Mom’s Fudge or Crunchy Chocolate Pecan Billionaires. The fudge is a good choice for a smoother candy, while the billionaires add another kind of nutty crunch to a dessert plate.
Homemade Payday Candy Bars recipe
Homemade Payday Candy Bars
Ingredients
- 3 cups salted roasted peanuts divided
- 2 cups peanut butter chips
- 2 cups mini marshmallows
- 1 14-ounce can sweetened condensed milk
- 3 tablespoons unsalted butter
- 1/2 teaspoon vanilla extract
Instructions
- Lightly grease a 9×13-inch baking dish. Spread half of the salted roasted peanuts evenly over the bottom, reserving the other half for the top.

- Place the butter and peanut butter chips in a large, heavy-bottomed saucepan over low heat. Stir frequently until the chips have melted into the butter. Keep the heat low to avoid scorching.
- Stir in the sweetened condensed milk, mini marshmallows, and vanilla extract. Keep the saucepan over low heat and stir as the marshmallows begin to soften.
- Continue stirring gently until the marshmallows are fully melted and the filling is smooth, with no white pieces remaining. Scrape along the bottom and sides of the pan as you stir. Remove from the heat; do not bring the mixture to a hard boil.
- Pour the warm filling over the peanut base. Use a silicone spatula to spread it evenly to the corners, working gently so the bottom layer of peanuts stays in place.
- Scatter the reserved peanuts evenly over the warm filling. Press them in lightly with the back of a spatula so they adhere without pushing the filling out of the pan.
- Refrigerate for about 2 hours, or until the filling is firm enough to hold its shape when cut. Give the bars more time if the center still feels soft.
- Cut into 16 bars, making four rows and four columns. Wipe the knife between cuts as needed. Serve chilled, or let the pieces sit briefly at room temperature for a softer bite.