
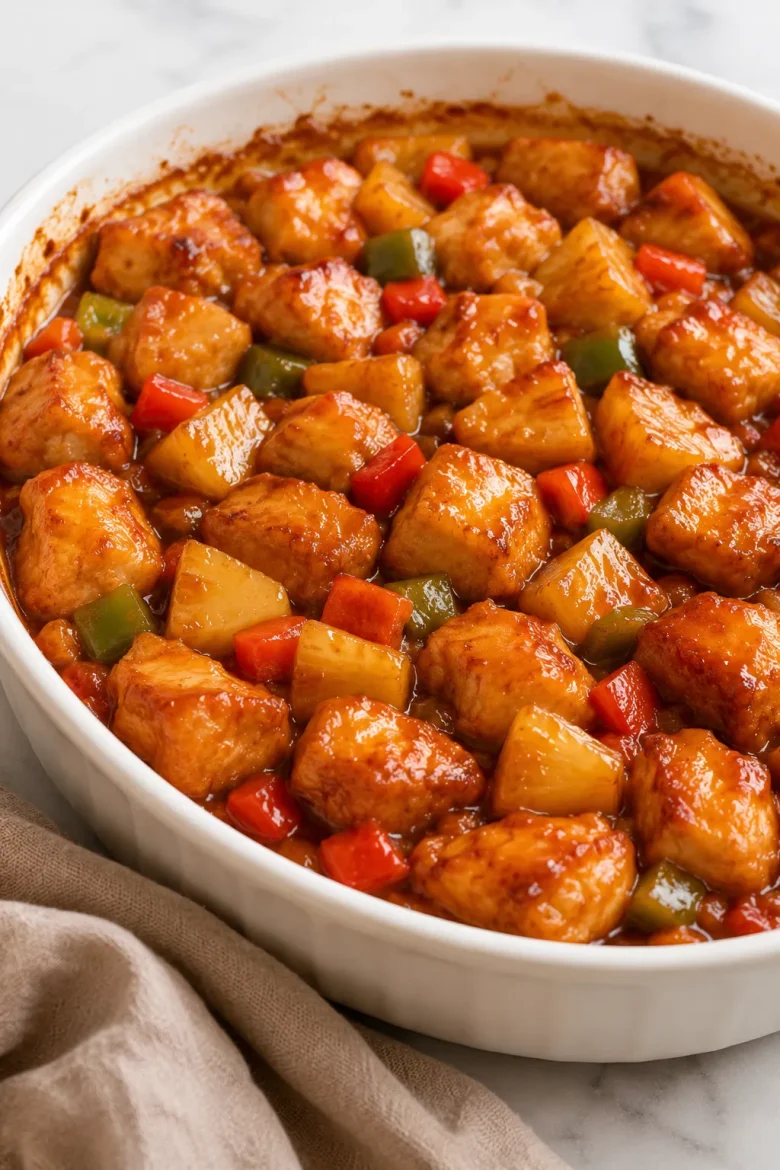
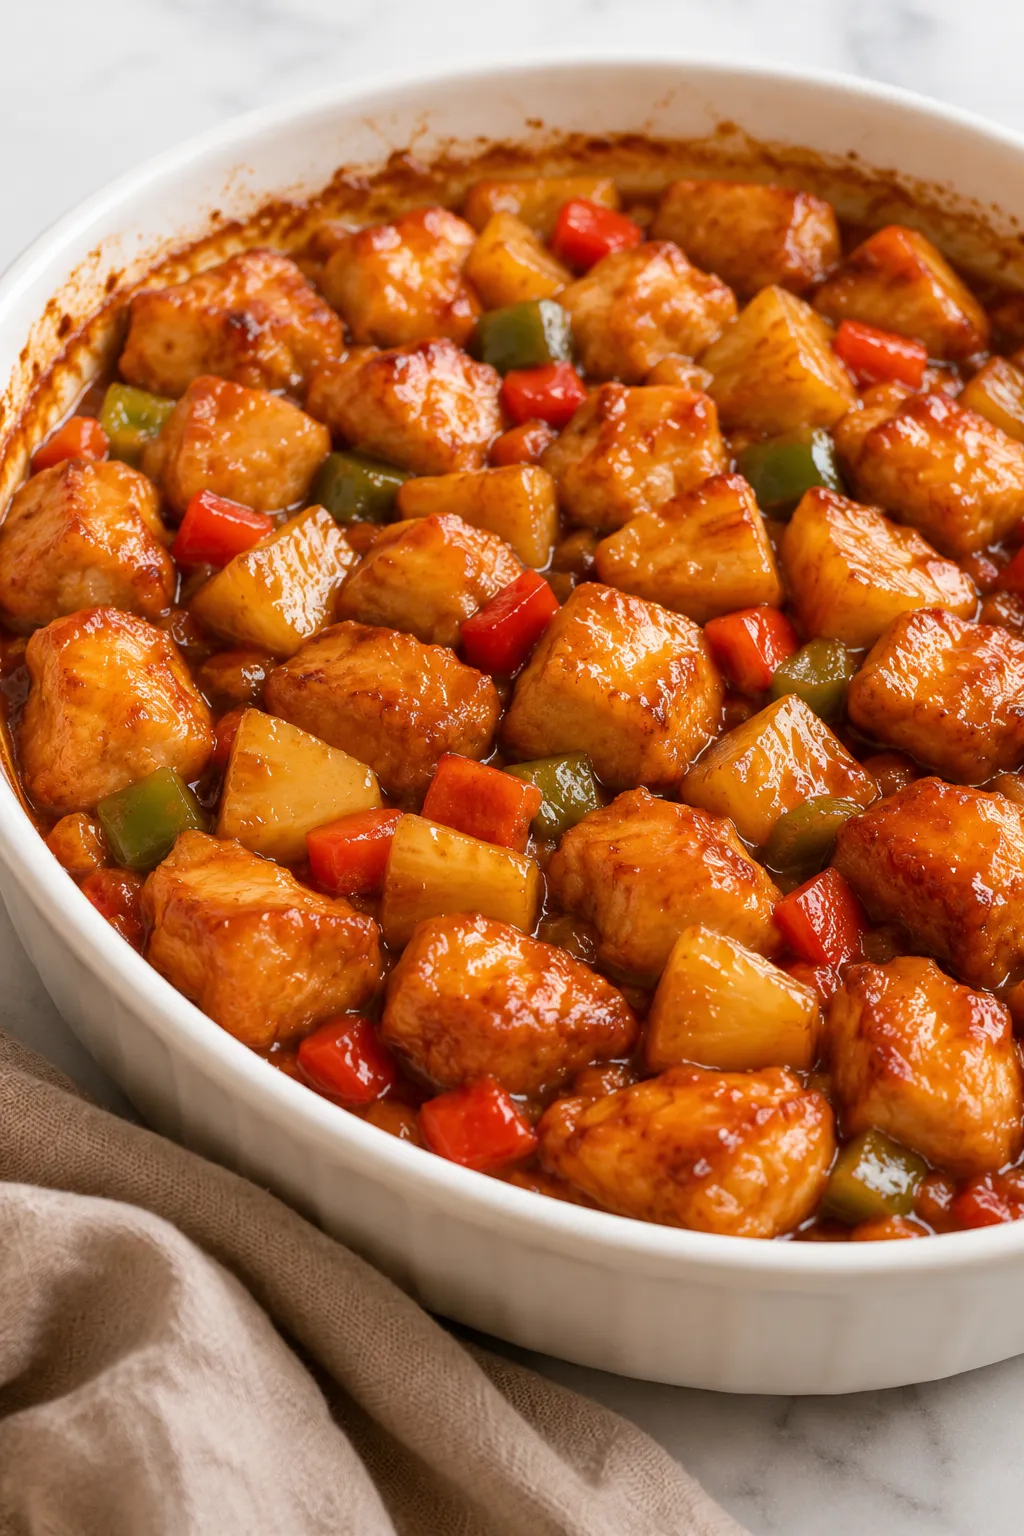
This Baked Sweet and Sour Chicken gives you tender, juicy chicken coated in a glossy homemade sweet and tangy sauce, with golden edges that make every bite incredibly satisfying.
I love this recipe for family dinners because it delivers that familiar takeout-style sweet and sour flavor without deep frying. We briefly brown the chicken first, then let the oven finish the work while the sauce thickens around every piece.
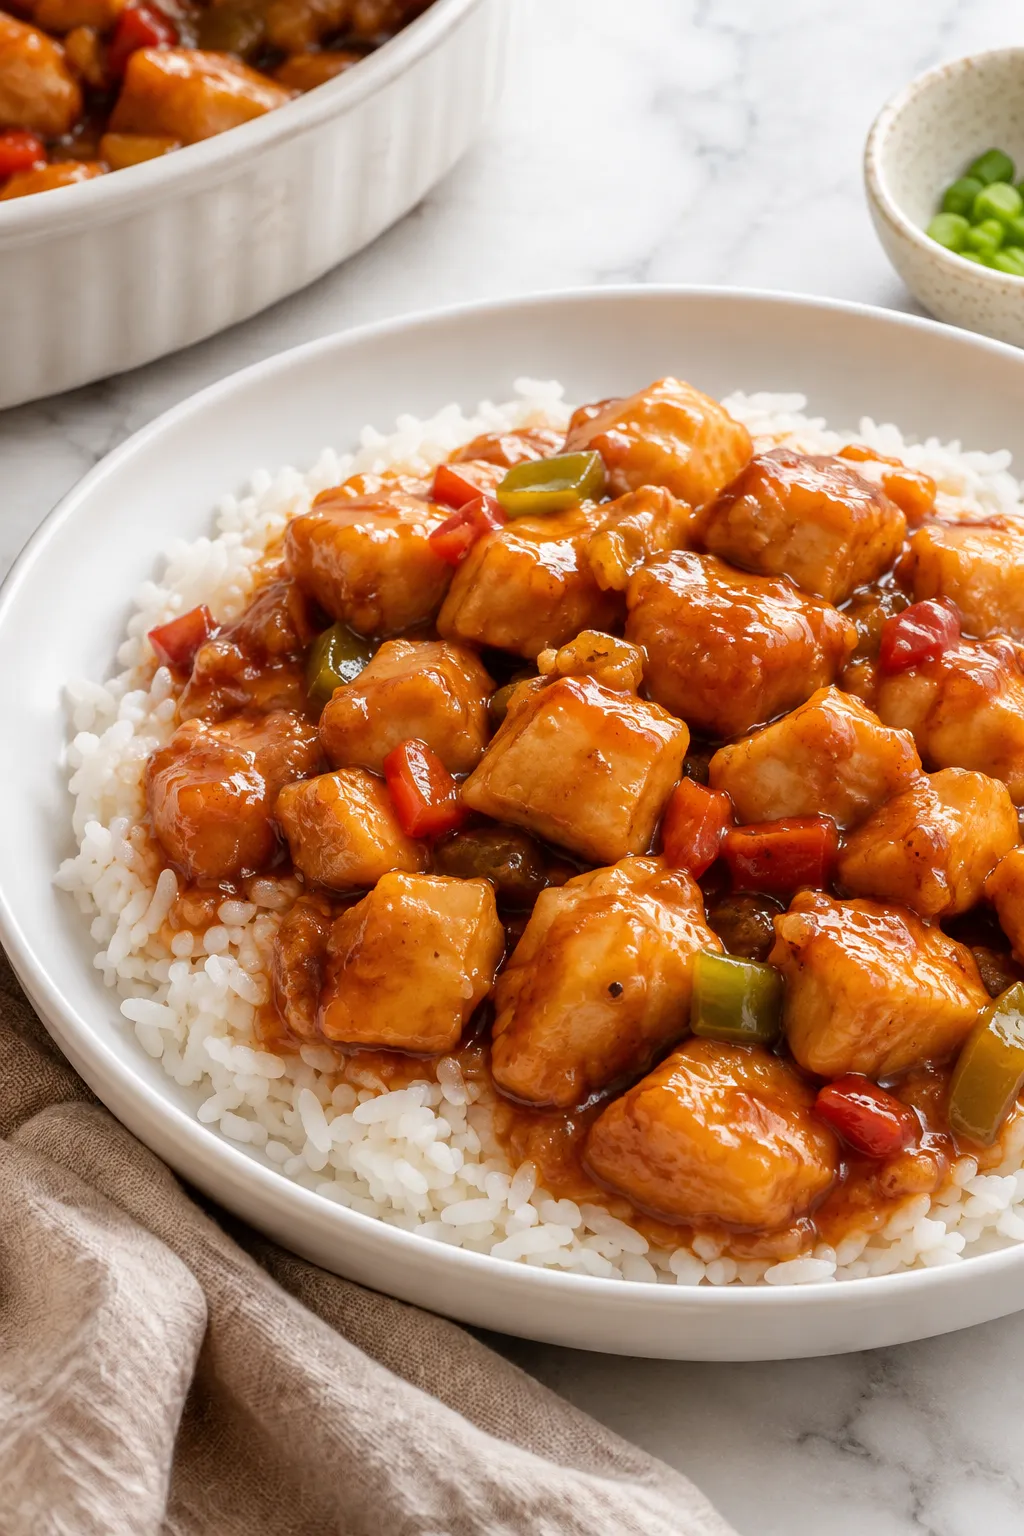
It is especially good when you want a comforting chicken dinner that feels a little more special than an everyday baked chicken recipe. Serve it over fluffy white rice, jasmine rice, or fried rice to soak up that extra sauce.
Why You’ll Love This Recipe
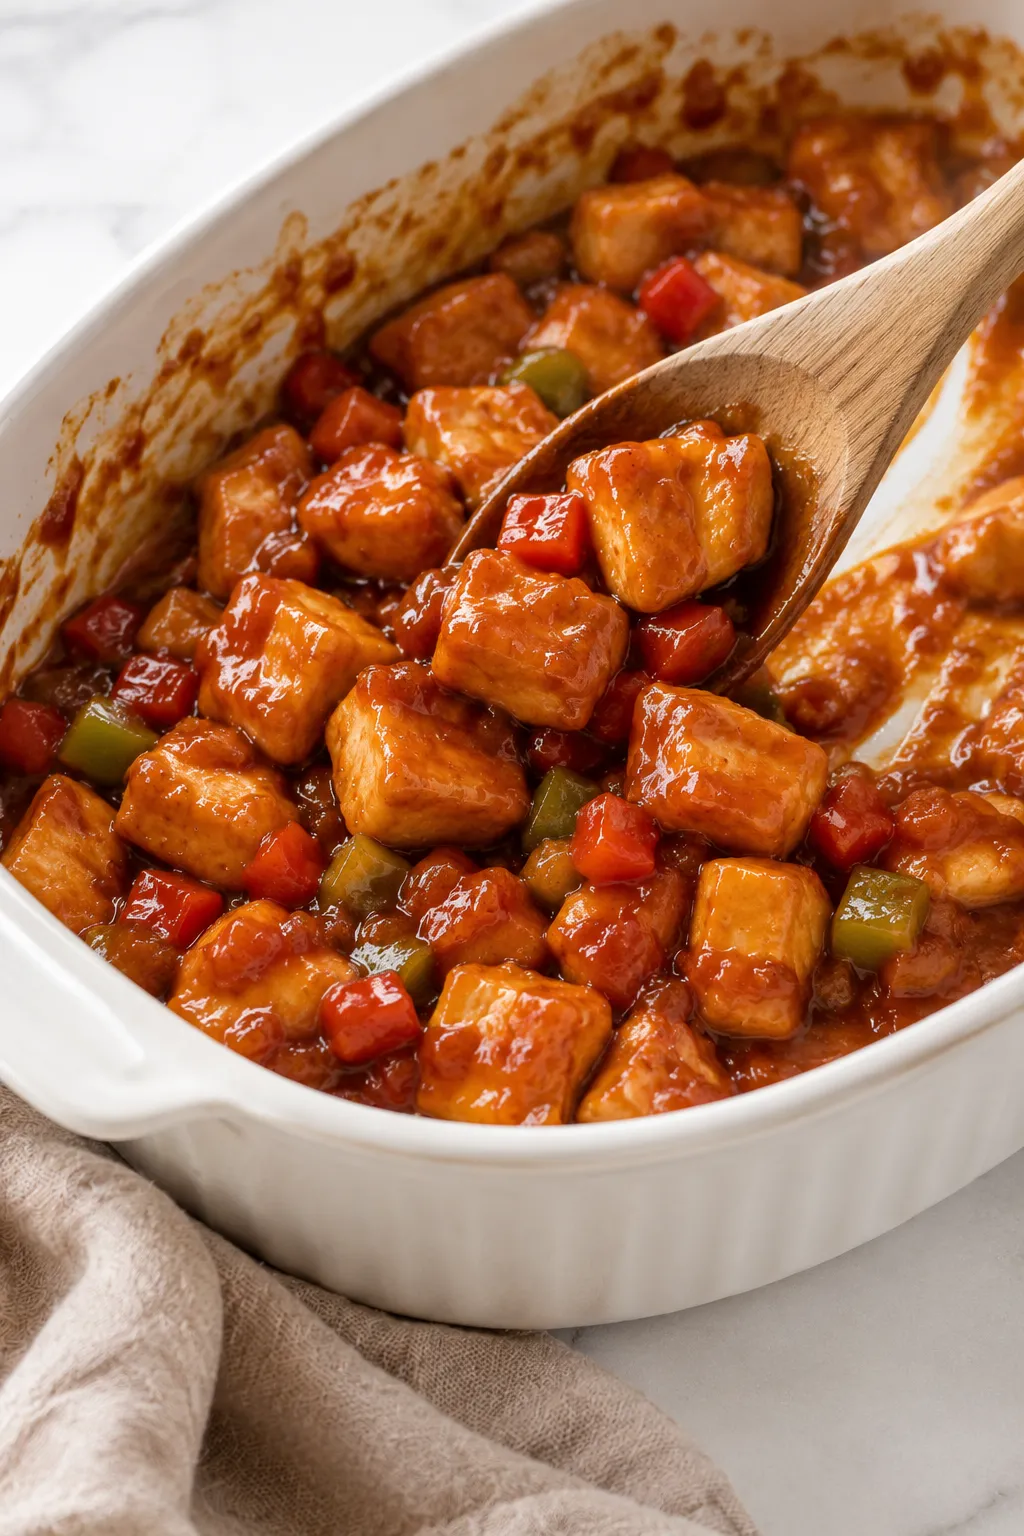
The biggest reason I keep coming back to this baked sweet and sour chicken is the contrast between the lightly crisp chicken coating and the sticky sauce.
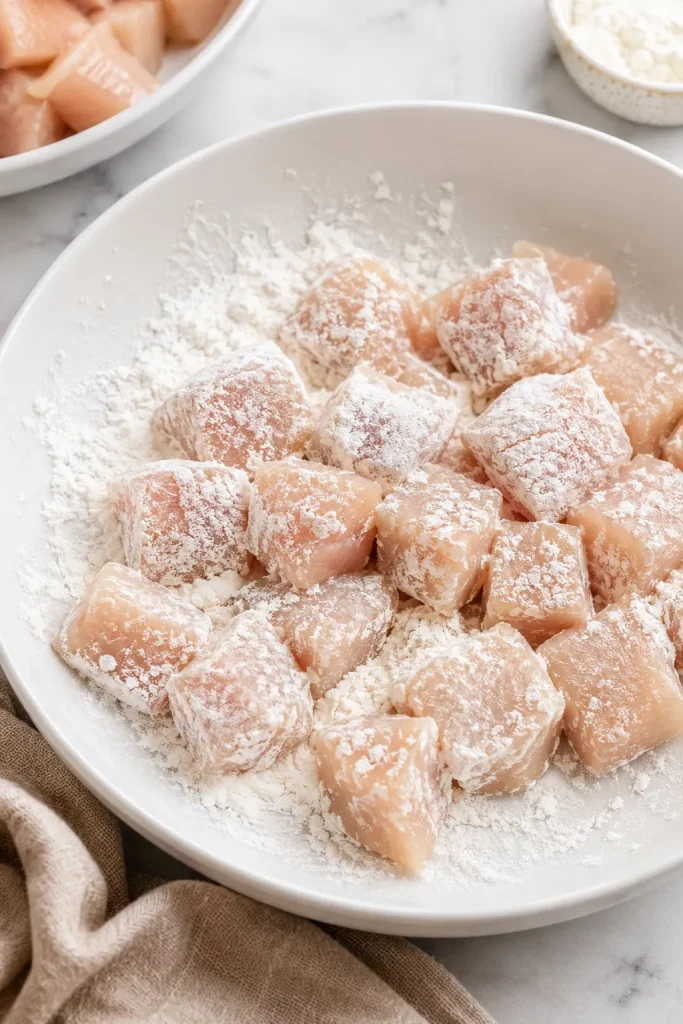
Cornstarch creates a thin coating around the chicken that browns quickly in the skillet. It also helps the sauce cling to the chicken instead of simply collecting in the bottom of the baking dish.
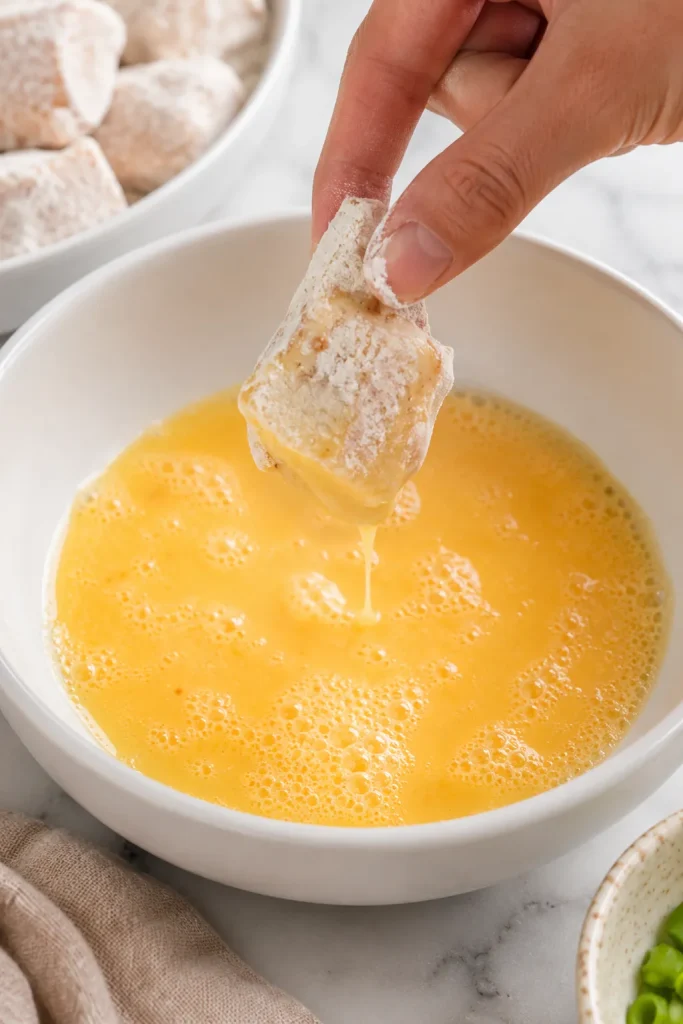
The chicken is dipped in egg after being coated with cornstarch. This creates that signature soft-crisp coating commonly associated with restaurant-style sweet and sour chicken.
Instead of fully frying the chicken, we only sear it until the outside develops some color. The chicken then finishes cooking slowly in the oven, which keeps the inside tender while allowing the sauce to reduce.
The homemade sweet and sour sauce has a simple balance of sugar, ketchup, apple cider vinegar, soy sauce, and seasonings. Sugar provides sweetness, while vinegar contributes the sharp acidity that prevents the dish from becoming overly sugary.
Ketchup adds body, color, and a mild tomato sweetness. Soy sauce brings savory depth that balances both the vinegar and sugar.
I also like that there is no bottled sweet and sour sauce required. We can control the flavor ourselves using basic pantry ingredients.
The long baking time may seem unusual for bite-sized chicken, but the moderate oven temperature gives the sauce time to turn glossy and concentrated. Tossing the chicken during baking helps coat all sides evenly.
Ingredients You’ll Need
Boneless Skinless Chicken Breasts
Chicken breast works especially well because it is mild enough to absorb the sweet and sour flavors.
I recommend cutting the chicken into pieces that are as uniform as possible. Similar-sized pieces cook more evenly and give the finished dish a better texture.
Cornstarch and Eggs
Cornstarch is one of the most important ingredients in this recipe. It forms the base of the coating and helps create a light exterior instead of a heavy breading.
The beaten eggs help that coating develop during searing. Together, the egg and cornstarch create a texture that holds onto the sauce beautifully.
Apple Cider Vinegar
Apple cider vinegar gives homemade sweet and sour sauce its tangy character.
Its fruity acidity is strong enough to balance the sugar but not so harsh that it overwhelms the chicken. As the sauce bakes, that sharp vinegar flavor mellows considerably.
Ketchup and Soy Sauce
Ketchup provides sweetness, tomato flavor, color, and thickness.
Soy sauce adds saltiness and umami. I find that this savory element is essential because it keeps the sauce balanced rather than tasting like a simple sugary glaze.
Variations And Substitutions
You can prepare this recipe with boneless skinless chicken thighs instead of chicken breasts. Thigh meat has slightly more fat, so it tends to remain especially juicy after baking.
If you do not have apple cider vinegar, rice vinegar can work well. I would choose an unseasoned variety so you have better control over the sweetness.
Regular soy sauce provides plenty of savory flavor, but low-sodium soy sauce is an easy substitute if you prefer to reduce the sodium.
You can also add vegetables to turn this into a more complete sweet and sour chicken dinner. Bell peppers and chunks of pineapple are particularly good choices because they complement the sauce naturally.
For more texture, chopped green onions or sesame seeds can be sprinkled over the chicken just before serving.
If you enjoy a little heat, add a small amount of crushed red pepper flakes or your favorite chili sauce to the sweet and sour mixture.
Chicken should still be cooked to a safe internal temperature of 165°F (74°C) regardless of which variation you choose.
Storage and Reheating
Allow leftover sweet and sour chicken to cool before transferring it to an airtight container.
Store it in the refrigerator for up to 3 to 4 days. I prefer keeping leftover rice in a separate container so it does not absorb all the sauce.
For reheating, the oven provides the best overall texture. Place the chicken in an oven-safe dish, cover it loosely, and warm it until heated through.
An air fryer can also work for smaller portions, although the sauce may become stickier as it heats.
The microwave is the quickest option. Reheat individual portions in short intervals and stir between intervals so the chicken heats evenly.
The coating naturally becomes softer after refrigeration because it sits in the sauce. That is normal for this style of baked sweet and sour chicken.
You can freeze leftovers as well. Transfer cooled chicken and sauce into a freezer-safe container and freeze for up to about 2 months for the best quality.
Thaw it overnight in the refrigerator before reheating. The coating may be softer after freezing, but the flavor will still be delicious.
Frequently Asked Questions
Do I need to cook the chicken completely in the skillet?
No. The skillet step is mainly used to create a golden exterior on the coated chicken.
The chicken continues cooking in the oven with the sweet and sour sauce. Avoid overcooking it during the initial sear or the finished chicken can become dry.
Why is my sweet and sour sauce thin at first?
The sauce is supposed to be fairly fluid when it goes into the baking dish.
As it bakes, moisture evaporates and the sugar, ketchup, and other ingredients concentrate into a thicker glaze. Turning the chicken halfway through also helps distribute that developing sauce.
What should I serve with baked sweet and sour chicken?
My first choice is steamed white or jasmine rice because it absorbs the extra sauce beautifully.
You can also serve it with brown rice, fried rice, steamed broccoli, green beans, snap peas, or a simple vegetable stir-fry.
Baked Sweet and Sour Chicken
Ingredients
- 4 boneless skinless chicken breasts cut into 1-inch pieces
- 1 cup cornstarch
- 2 large eggs
- 1/4 cup vegetable oil
- 1/2 cup granulated sugar
- 1/4 cup ketchup
- 1/2 cup apple cider vinegar
- 2 tablespoons soy sauce
- 1 teaspoon garlic powder
- 1/2 teaspoon sea salt
- Salt and black pepper to season the chicken
Instructions
- Preheat the oven to 325°F (165°C). Line a 9×13-inch baking dish with parchment paper and set it aside.
- Pat the chicken pieces dry, then season them lightly with salt and black pepper.
- Place the cornstarch in a large zip-top bag. Add the chicken pieces, seal the bag, and shake well until every piece is evenly coated.
- Crack the eggs into a shallow bowl and whisk until smooth.
- Heat the vegetable oil in a large skillet over medium-high heat.
- Working in batches if necessary, dip the cornstarch-coated chicken pieces into the beaten eggs. Transfer them directly to the hot skillet.
- Sear the chicken briefly, turning as needed, until the exterior is lightly golden. The chicken does not need to be fully cooked at this stage.
- Arrange the browned chicken in the prepared baking dish.
- In a medium bowl, whisk together the granulated sugar, ketchup, apple cider vinegar, soy sauce, garlic powder, and sea salt until well combined.
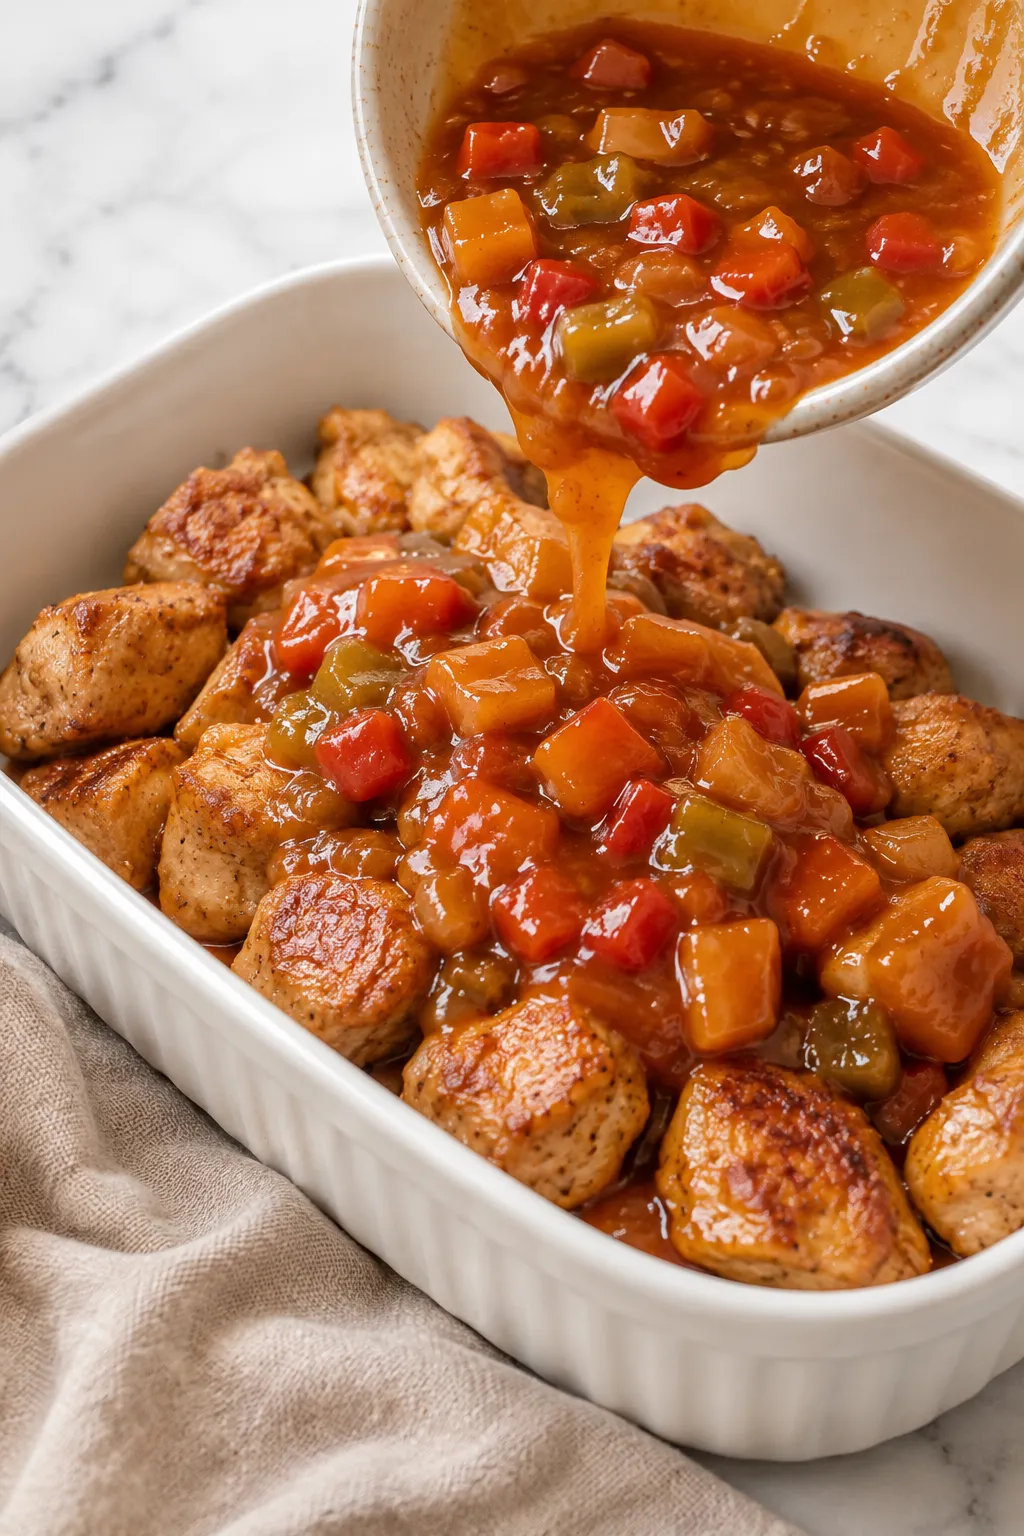
- Pour the sweet and sour sauce evenly over the chicken, tossing gently so the pieces are well coated.
- Bake uncovered for 1 hour, carefully tossing the chicken halfway through the baking time so it becomes evenly coated in the thickening sauce.
- Check that the chicken has reached an internal temperature of 165°F (74°C), then remove it from the oven.
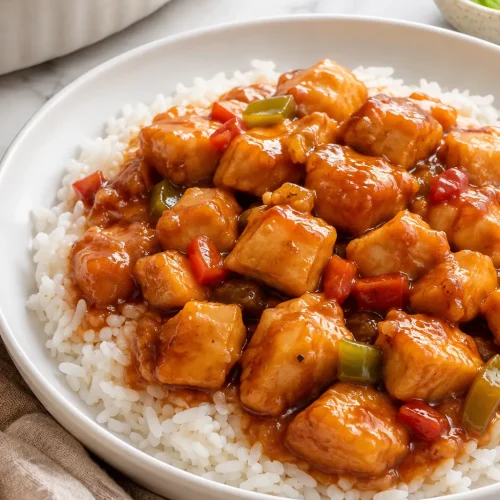
- Let the chicken rest for a few minutes before serving. Spoon the extra sweet and sour sauce over the top and serve with warm rice.
