
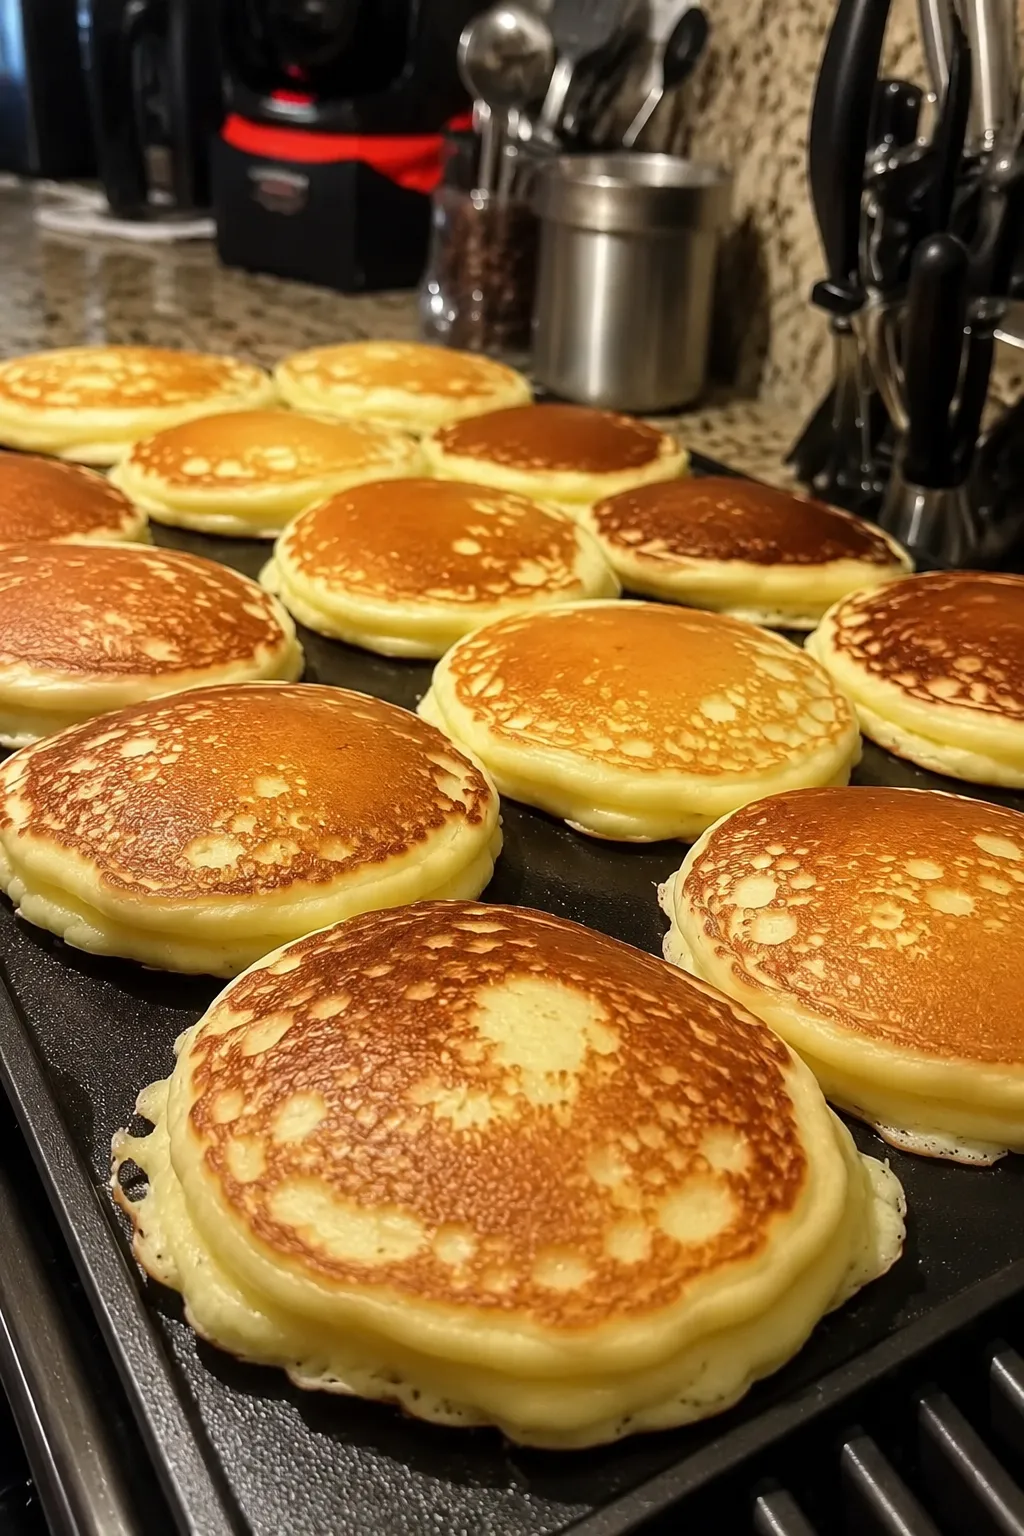
These sourdough pancakes use active, bubbly starter as the base of the batter, without adding a separate measure of flour or milk. The starter gives them their tang, while eggs help the pancakes set.
Honey adds a little sweetness, and coconut oil helps the pancakes brown. Because starter thickness can vary, look at how the batter spreads in the skillet rather than judging it by the clock alone.
Heat the skillet before pouring the batter. If the pan is too cool, the pancakes can spread and pale before their centers set.
Why You’ll Love These Sourdough Pancakes
- Short ingredient list: You only need active sourdough starter, eggs, coconut oil, honey, salt, and baking soda.
- No extra flour: The flour already in the starter forms the base of the batter.
- Good texture: A hot skillet gives the pancakes browned edges while the inside stays tender.
- Easy to customize: Add blueberries, chocolate chips, cinnamon, or keep them plain and serve with butter and maple syrup.
What You’ll Need
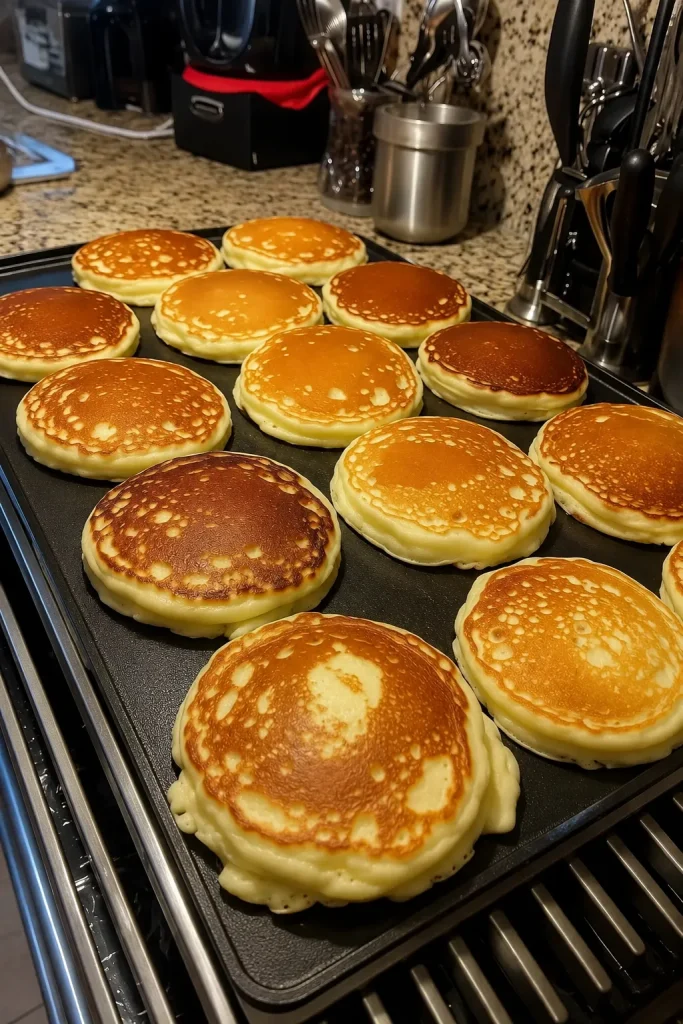
Use starter that has been fed and is visibly active. A weak, thin starter can change both how the batter handles and how the pancakes cook.
- Active sourdough starter: Use 2 cups. A recently fed starter gives the batter the best texture and rise.
- Eggs: Two large eggs help bind the batter and keep the pancakes tender.
- Coconut oil: Melt it before mixing it into the batter, then use a little more for the skillet.
- Honey: Two tablespoons add mild sweetness without making the pancakes dessert-like.
- Salt: A small amount balances the sourdough flavor.
- Baking soda: Add it last. It reacts with the acidity in the starter and helps the batter puff as soon as it is mixed.
How to Make Sourdough Pancakes
1. Mix the base
Add the active starter, eggs, melted coconut oil, honey, and salt to a large bowl. Stir until the mixture looks smooth and evenly combined.
2. Heat the skillet
Heat a cast-iron skillet or heavy frying pan over medium heat with a little coconut oil. Get the skillet ready before adding baking soda to the batter so cooking can begin promptly.
3. Add the baking soda last
Sprinkle in the baking soda and stir just until combined. The batter may become noticeably bubbly or foamy; that is expected.
4. Cook until the top is bubbly
Pour the batter into the hot skillet. For large pancakes, use about 1/2 cup per pancake. For smaller pancakes, use less. Lower the heat slightly if the bottoms are browning too fast.
Cook until bubbles rise through the surface and the edges begin to look set, usually about 2 to 3 minutes.
5. Flip once
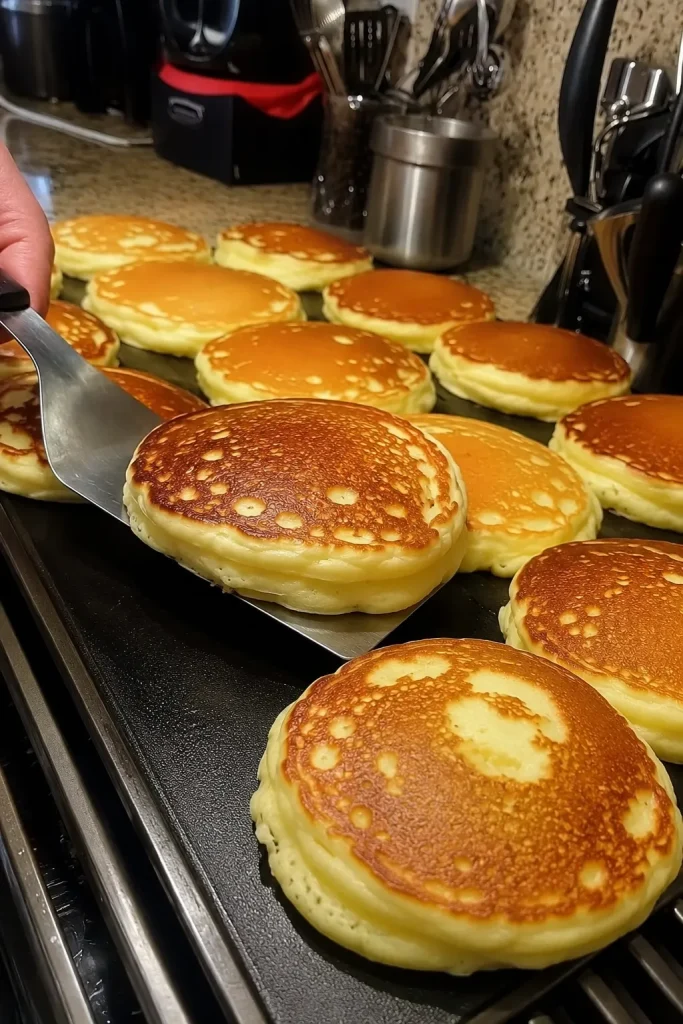
Slide a thin spatula underneath and flip the pancake. Cook the second side for about 30 seconds to 1 minute, or until golden and cooked through. Repeat with the remaining batter, adding more coconut oil to the pan as needed.
My Best Tips for Fluffy, Golden Pancakes
- Use starter that is actually active. If it has been sitting unfed in the refrigerator, I feed it first and wait until it is bubbly before making this recipe.
- Get the pan hot before adding baking soda. Once the baking soda goes in, the batter starts reacting immediately, so it is best to cook without a long wait.
- Adjust the heat after the first pancake. Cast iron holds heat very well. If the outside is getting dark before the center cooks, turn the burner down to medium-low.
- Do not press the pancakes with the spatula. Pressing them flat pushes out the air that helps keep the centers tender.
- Add mix-ins on the uncooked side. I prefer sprinkling blueberries or chocolate chips over each pancake after it goes into the pan instead of stirring them through the whole bowl.
Easy Topping Ideas
Butter and maple syrup are the easiest choice, but these pancakes also work well with fresh berries, sliced bananas, warm apples, whipped cream, nut butter, or a spoonful of fruit preserves.
For a larger brunch, add a savory side alongside the pancakes. Fried Potatoes and Onions make a simple skillet side, while this Sausage Apple Cheddar Hash Brown Breakfast Bake is useful when I need to feed more people.
Sourdough Pancake Variations
- Blueberry: Scatter a few blueberries onto the wet side of each pancake before flipping.
- Chocolate chip: Add a small handful of chocolate chips to each pancake while the first side cooks.
- Cinnamon: Stir 1/2 teaspoon ground cinnamon into the batter before the baking soda goes in.
- Smaller pancakes: Use about 1/4 cup batter per pancake for a more traditional stack and slightly easier flipping.
Storage and Reheating
Let leftover pancakes cool completely before storing them. Keep them in a covered container in the refrigerator for up to 3 days.
To freeze, separate the cooled pancakes with parchment and seal them in a freezer bag. Warm them again in a toaster, toaster oven, or skillet to help the edges stay crisp.
Frequently Asked Questions
Can I make these with sourdough discard?
This recipe works best with an active, fed starter, rather than cold, unfed discard. If the starter is dormant, feed it and wait for it to become bubbly before making the batter.
Why do I add baking soda at the end?
Baking soda begins reacting with the acidic starter as soon as the two meet. Adding it last means more of that reaction happens while the pancakes are cooking instead of while the bowl is sitting on the counter.
How do I know when to flip a sourdough pancake?
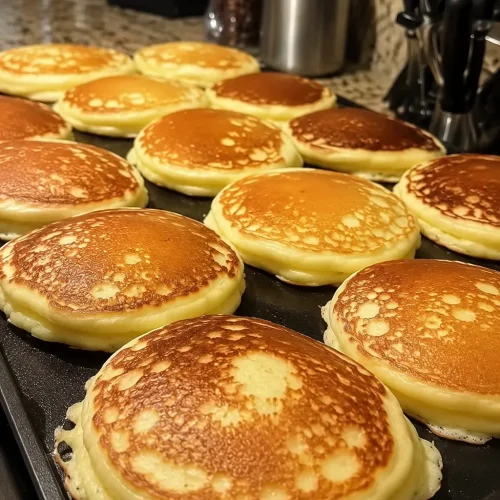
Watch the surface rather than the clock alone. Flip when bubbles have formed across the top, several have popped, and the outer edge no longer looks wet.
More Breakfast Recipes to Try
If you like skillet breakfasts, try my Buttermilk Honey Cornmeal Griddle Cakes next. They have crisp cornmeal edges and work with either sweet or savory toppings. You can also browse the Breakfast recipes category for more easy morning ideas.
Sourdough Pancakes
Ingredients
- 2 cups active sourdough starter
- 2 eggs
- 1/4 cup coconut oil melted
- 2 tablespoons honey
- 1/2 teaspoon salt
- 1 teaspoon baking soda
- coconut oil for frying
Instructions
- In a large mixing bowl, stir together the active sourdough starter, eggs, melted coconut oil, honey, and salt until evenly combined.
- Heat a cast-iron skillet or heavy frying pan over medium heat with a little coconut oil. Let the pan get hot before adding the baking soda to the batter.
- Sprinkle the baking soda over the batter and stir just until combined. The batter should become bubbly or foamy. Cook the pancakes soon after mixing in the baking soda.
- Pour about 1/2 cup batter into the hot skillet for a large pancake, or use about 1/4 cup for smaller pancakes. Cook until bubbles form and pop across the surface and the edges begin to look set, about 2 to 3 minutes.
- Slide a thin spatula under the pancake and flip. Cook the second side for 30 seconds to 1 minute, or until golden and cooked through. Lower the heat if the outside is browning too quickly.
- Transfer to a plate and repeat with the remaining batter, adding more coconut oil to the skillet as needed. Serve warm with butter, maple syrup, fruit, whipped cream, or your favorite toppings.