
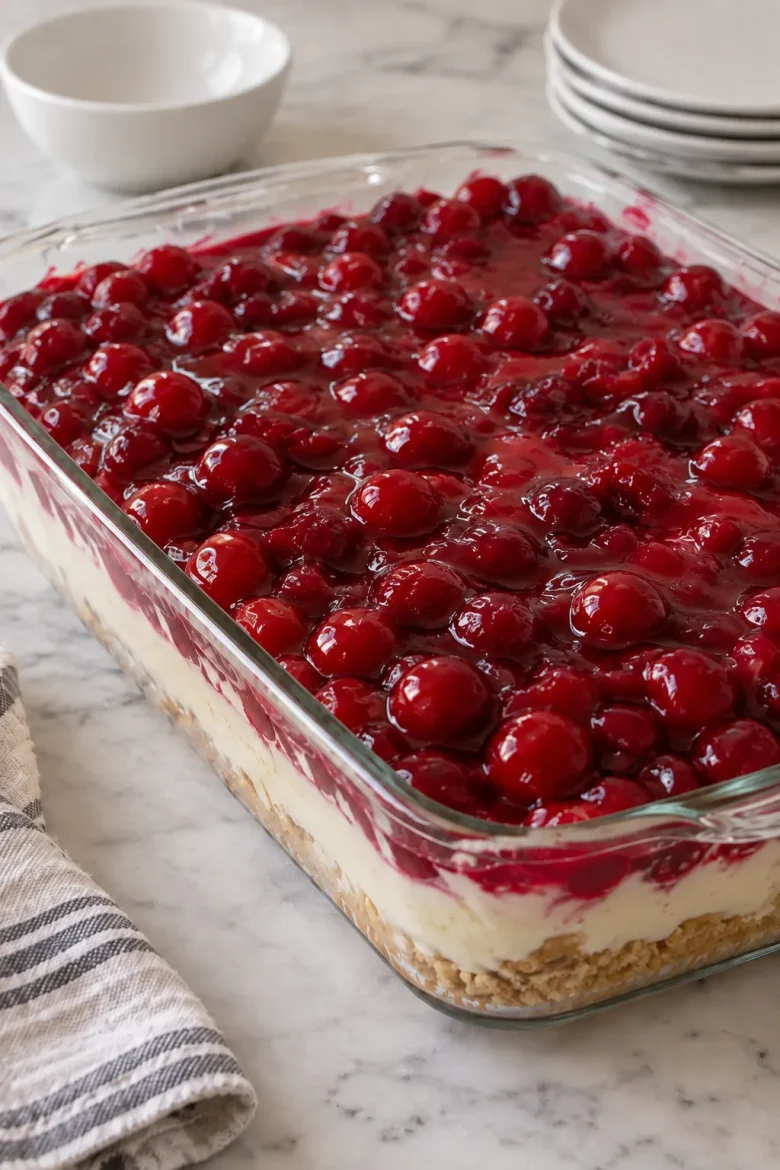
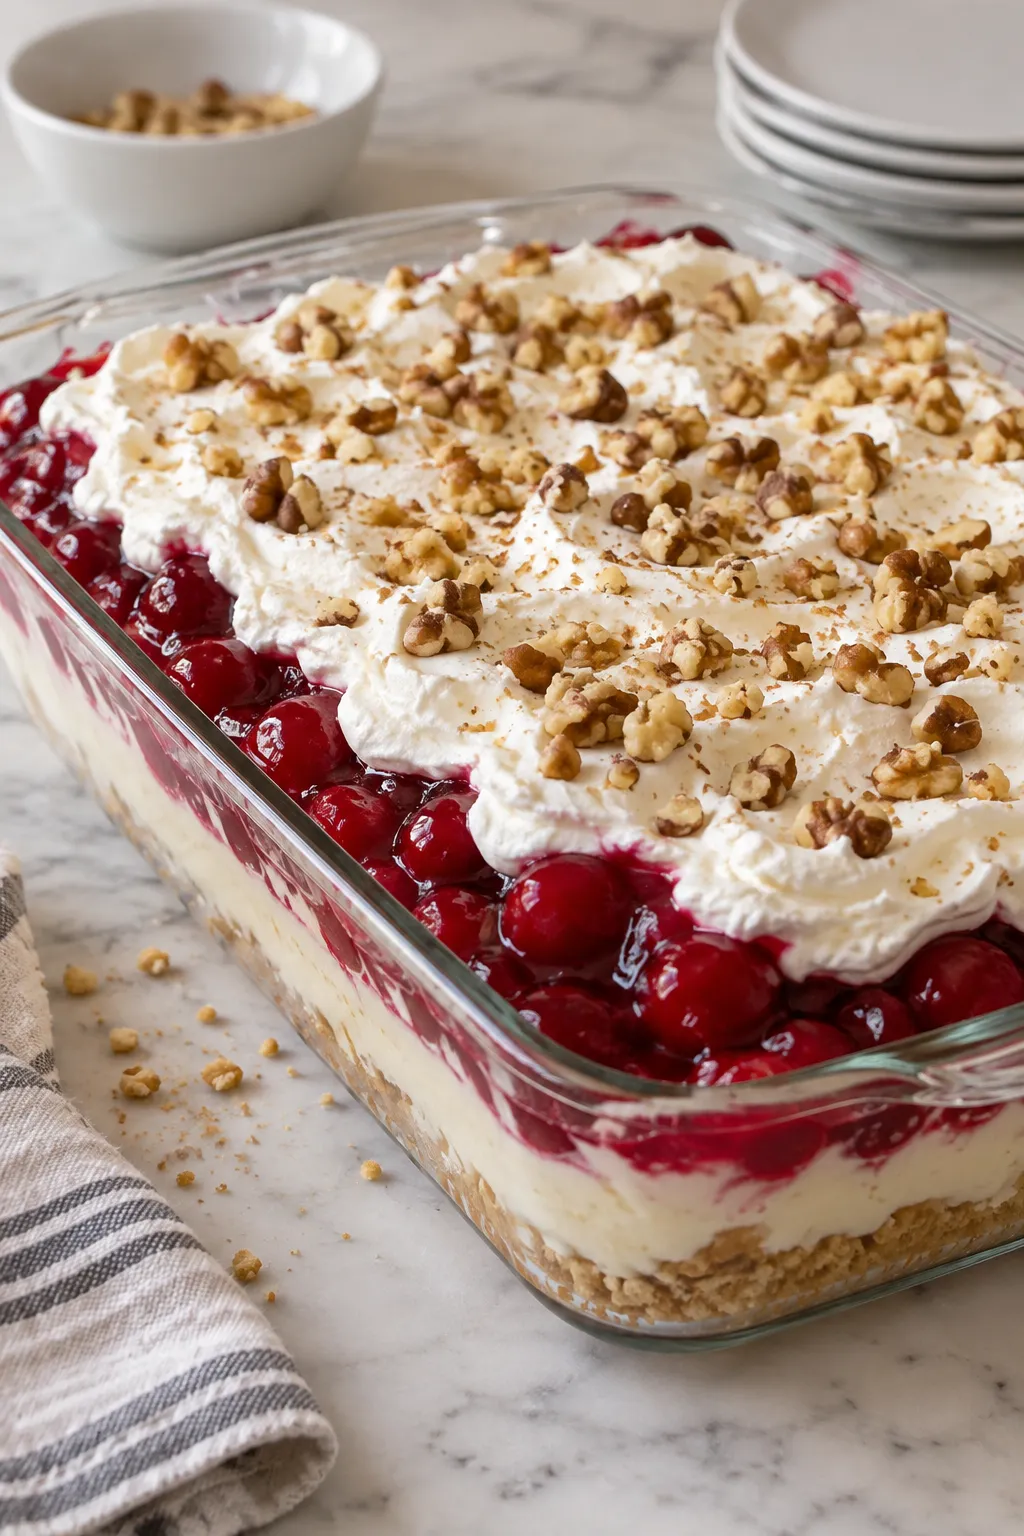
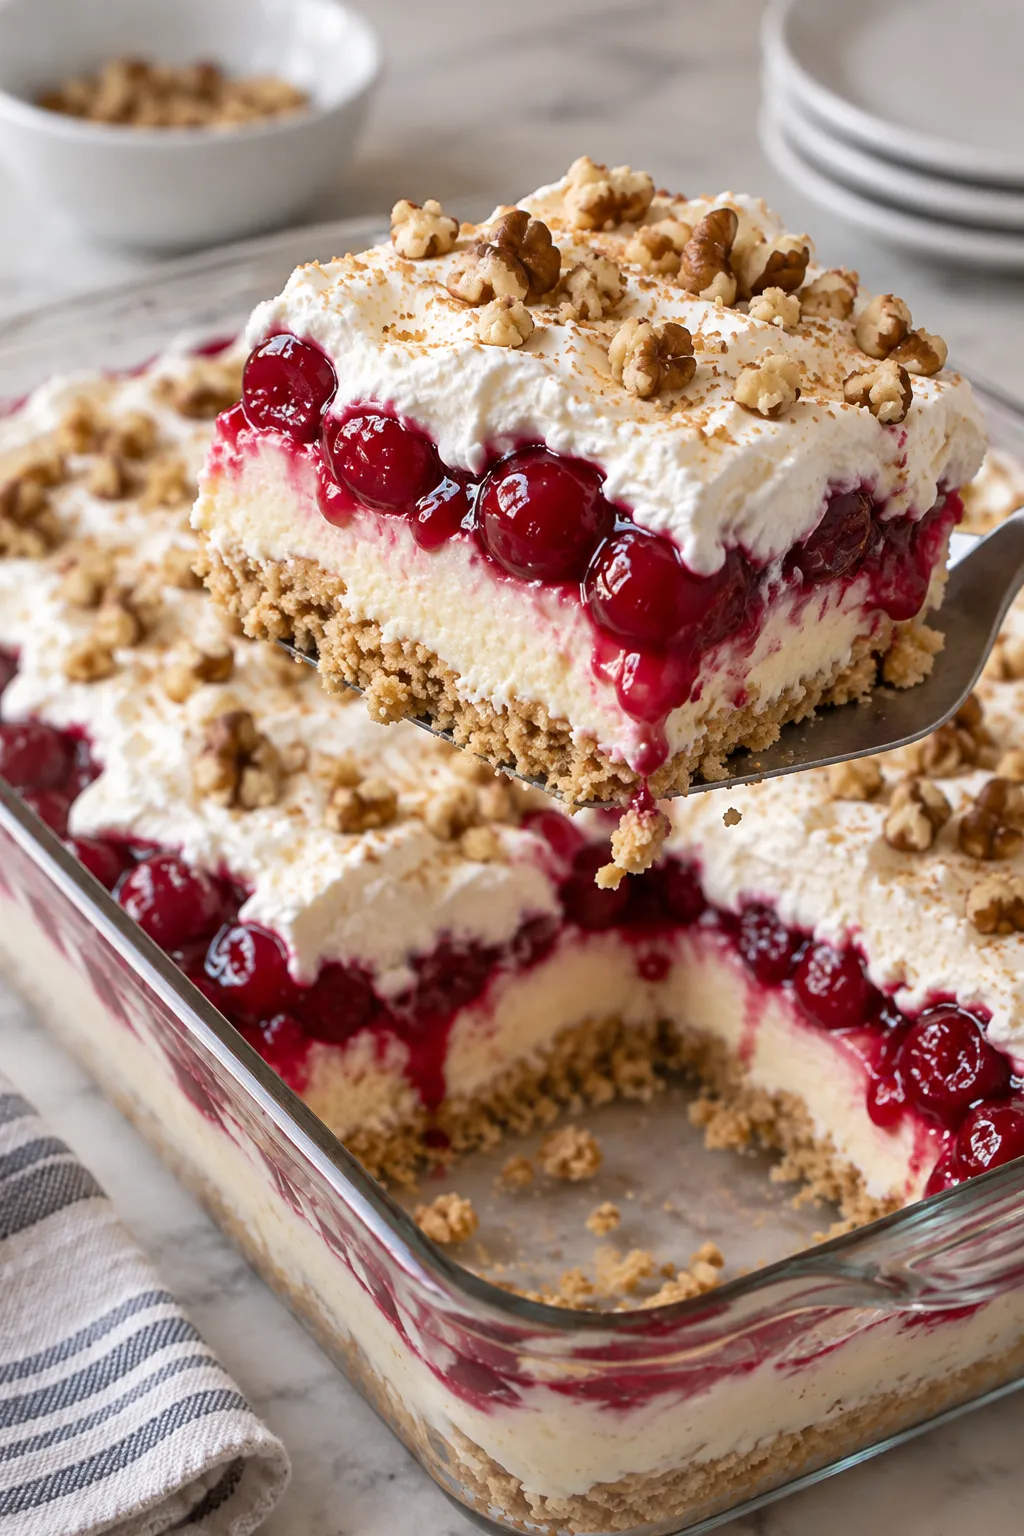
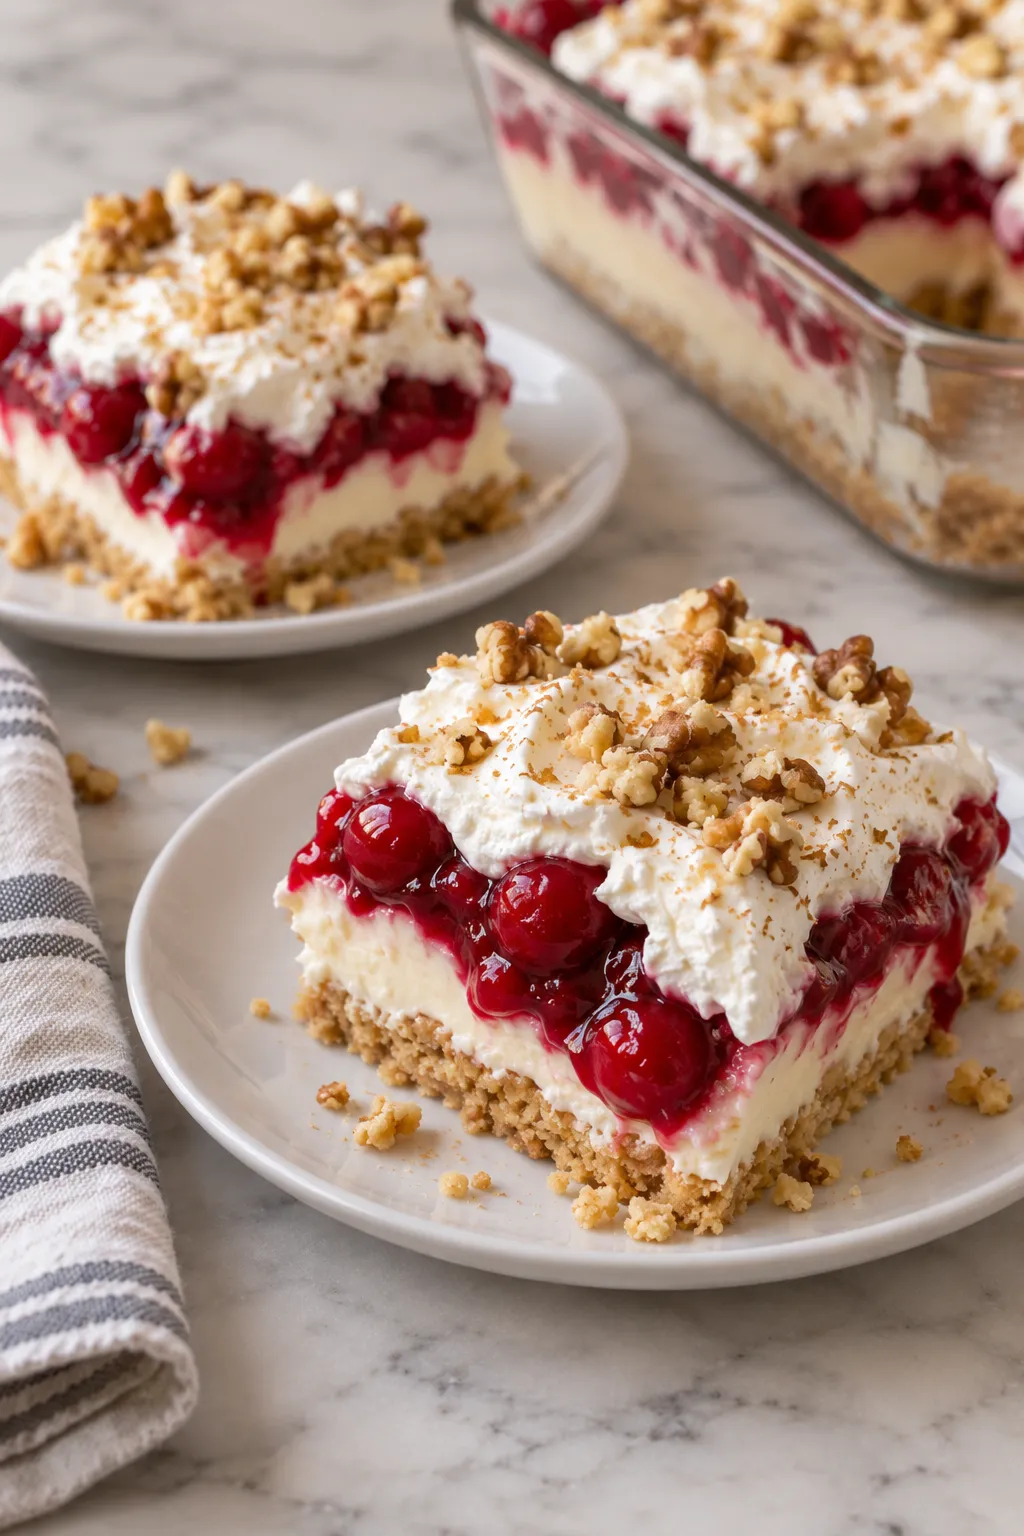
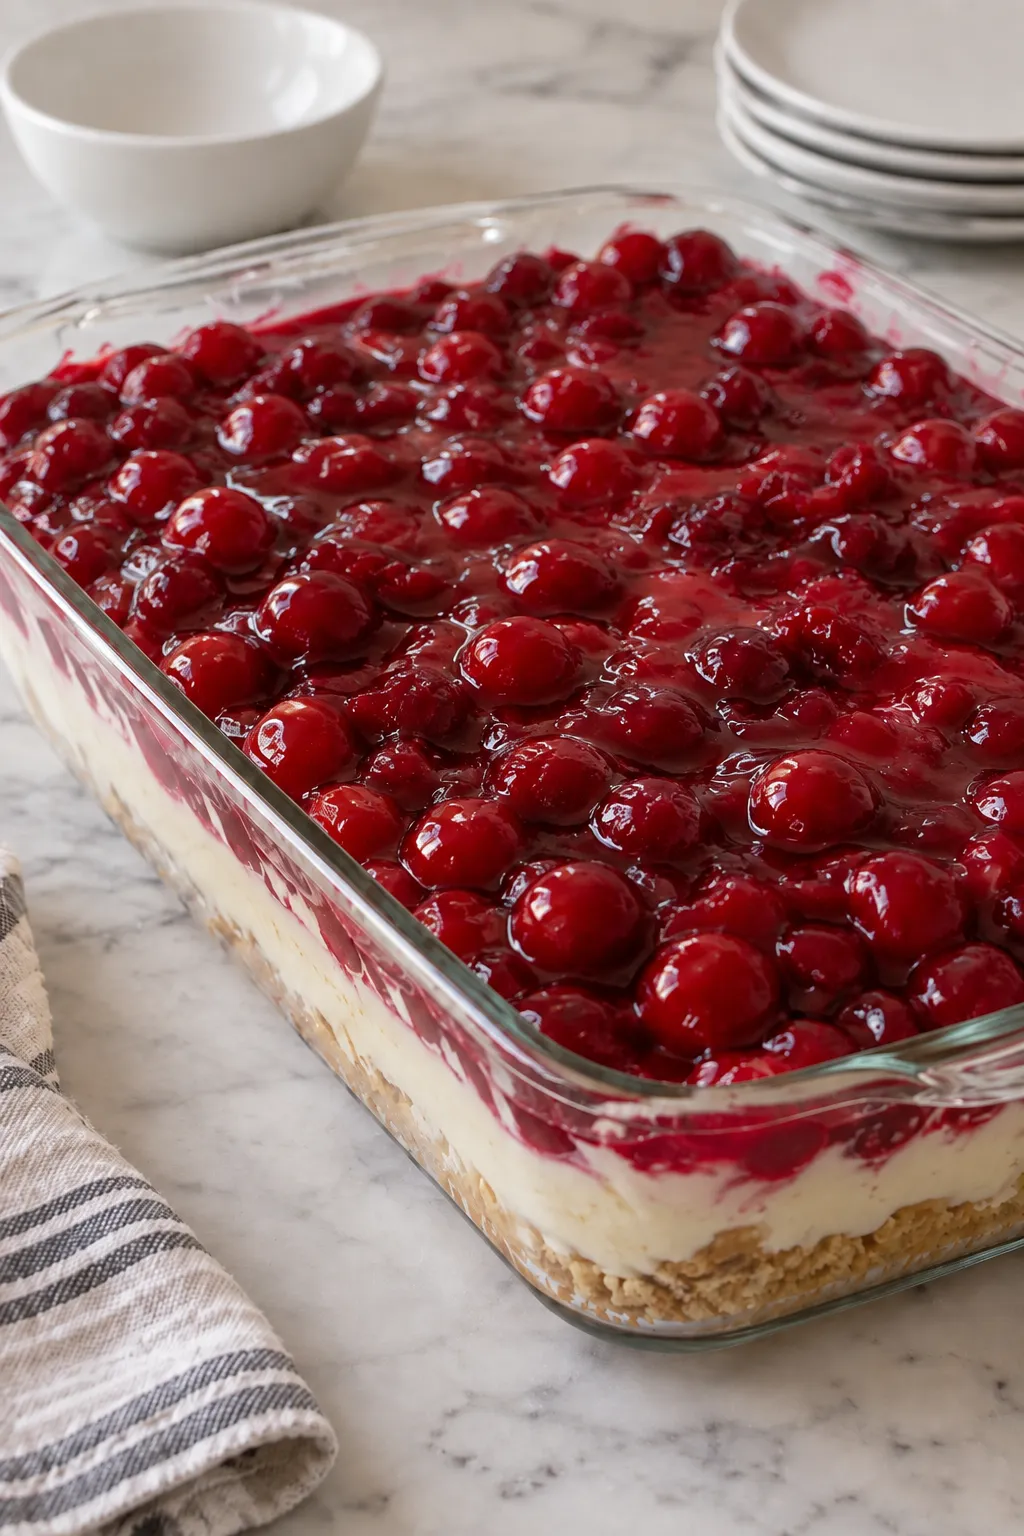
This No-Bake Cherry Cheesecake Lush is the kind of dessert I reach for when I want something that looks special without turning on the oven. It has a buttery vanilla cookie crust, a fluffy cream cheese layer, creamy cheesecake pudding, glossy cherry pie filling, and a soft whipped topping finished with chopped walnuts.
The best part is that most of the work is simply mixing and layering. Once everything is in the pan, the refrigerator does the rest. It is a great make-ahead dessert for potlucks, family dinners, holidays, or warm days when baking sounds like too much work.
Why You’ll Love This No-Bake Cherry Cheesecake Lush
- No oven needed. The crust sets in the refrigerator, so the whole dessert stays truly no-bake.
- Easy to make ahead. A long chill actually improves the texture and makes the layers easier to slice.
- Great for sharing. A 9×13-inch pan gives you plenty of generous dessert squares.
- Lots of texture. You get crunchy cookie crumbs, creamy cheesecake, silky pudding, juicy cherries, and walnuts in every bite.
What You’ll Need
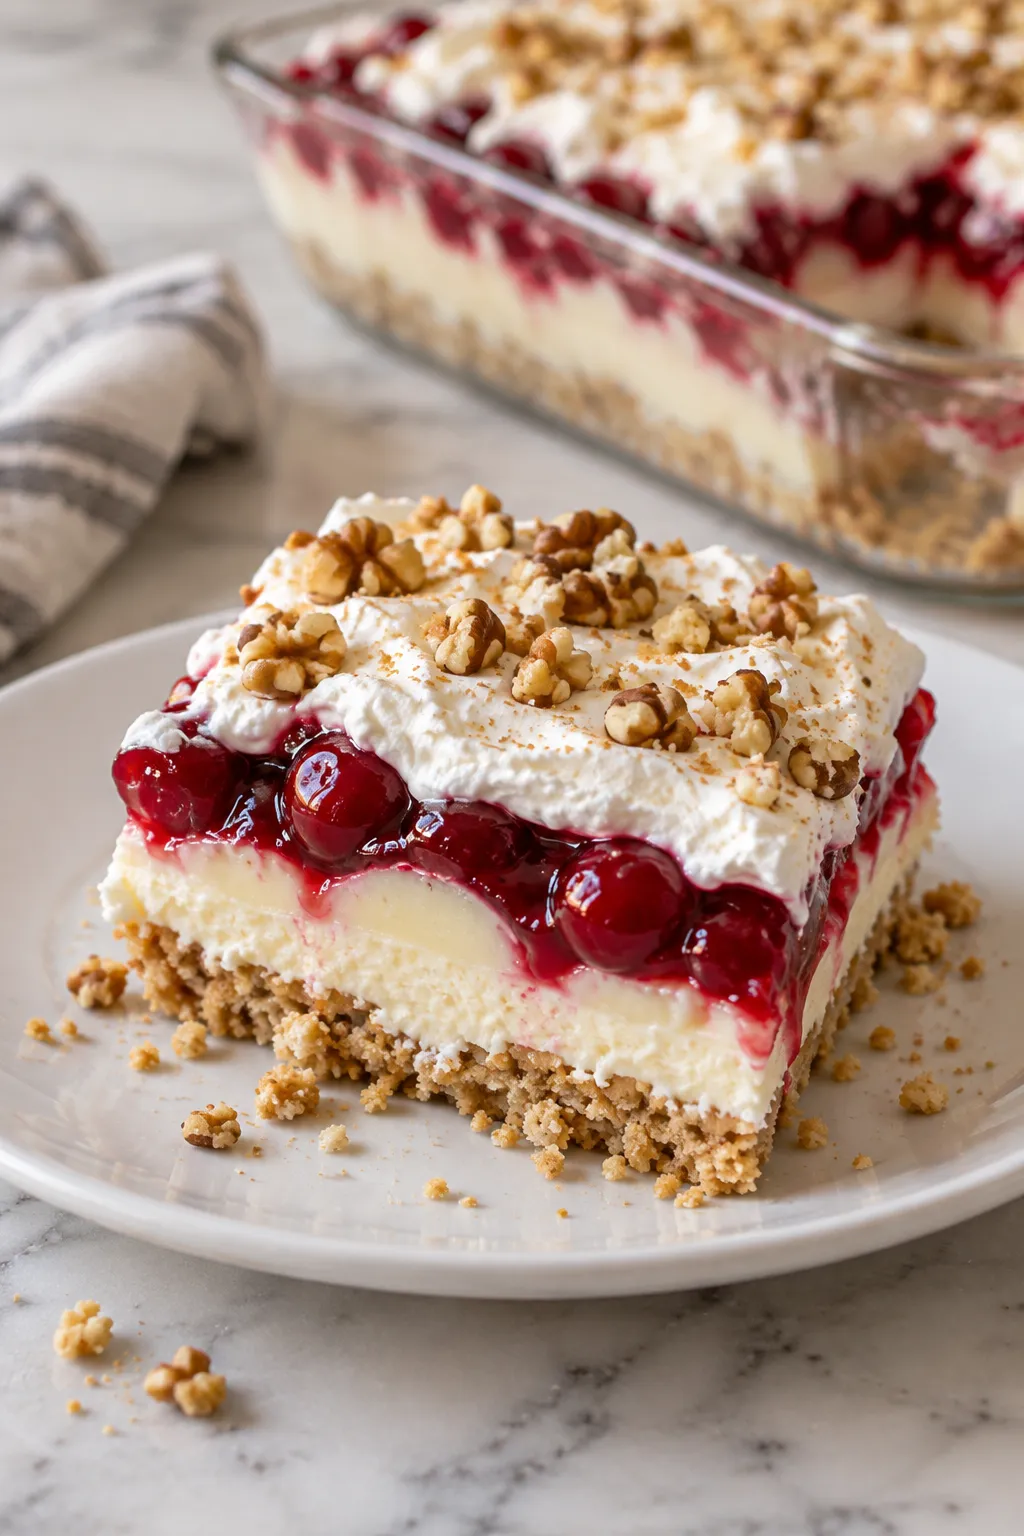
The ingredient list is simple, but a few details make a noticeable difference. Let the cream cheese soften before mixing so the filling stays smooth. Use instant cheesecake pudding mix, not cook-and-serve pudding, and start with cold whole milk so the pudding thickens properly.
For the crust, finely crushed vanilla sandwich cookies give you a sweet base that firms up well once chilled. The cherry pie filling brings the bright fruit flavor, while chopped walnuts add a little crunch at the end. If you prefer a nut-free dessert, you can leave the walnuts off without changing anything else.
No-Bake Cherry Cheesecake Lush Recipe
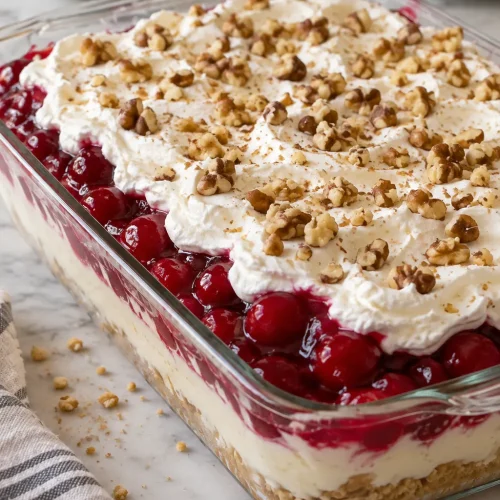
No-Bake Cherry Cheesecake Lush
Ingredients
- * Vanilla sandwich cookies I used a large Pkg.Of approx. 36 cookies, I crushed them well.
- * Melted butter I used a stick.
- * 1/4 small spoons.Of salt.
- * Softened cream cheese I used a medium Pkg.Of 8 ounces.
- * 130 grams.Of powdered sugar.
- * Frozen whipped topping I used 2 containers divided, the largest size of 16-oz.
- * 2 small boxes.Of cheesecake instant pudding mix.
- * 3 Cups.Of whole milk.
- * One large can.Of cherry pie filling.
- * 1/2 Cup.Of roughly chopped walnuts.
Instructions
- Make the cookie crust
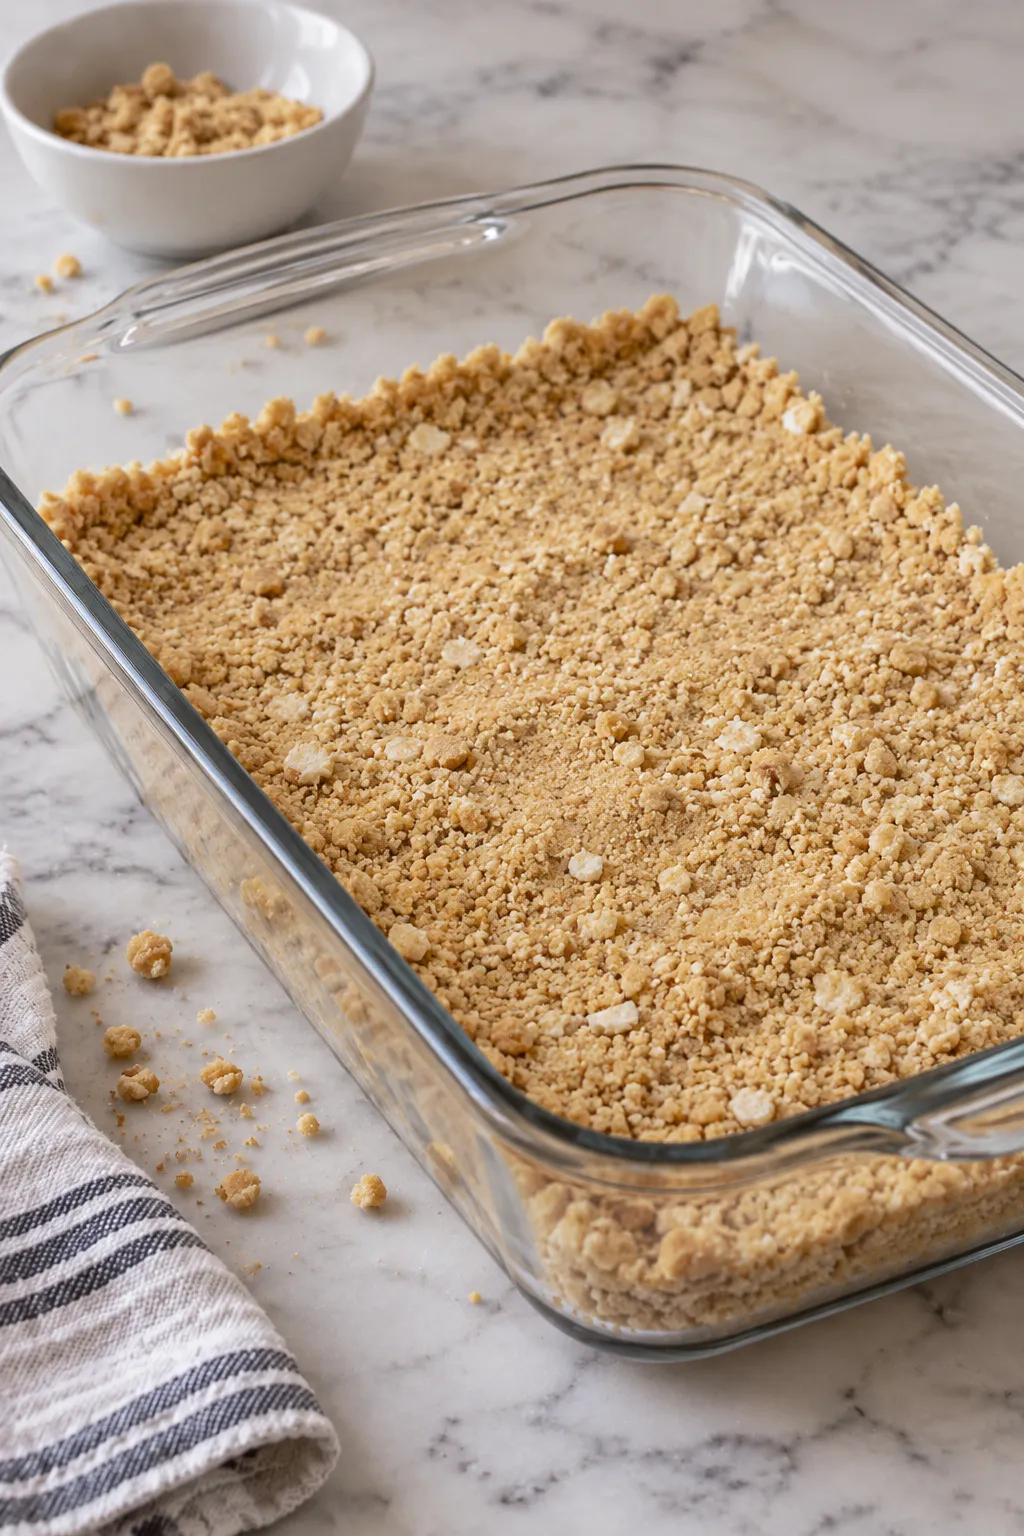
- Place the finely crushed vanilla sandwich cookies in a large bowl. Pour in the melted butter and add the salt.
- Stir until all of the crumbs are evenly moistened and resemble wet sand.
- Transfer the mixture to a 9×13-inch baking dish and press it firmly into an even layer. The bottom of a measuring cup works well for packing the crumbs down.
- Place the crust in the refrigerator while you prepare the next layer.
- Prepare the cheesecake layer
- Add the softened cream cheese to a large mixing bowl.
- Beat for about 2 minutes, or until smooth and fluffy. Add the powdered sugar and continue mixing until well combined.
- Fold in about 1½ cups of thawed whipped topping. Mix gently until the filling is light, creamy, and evenly combined.
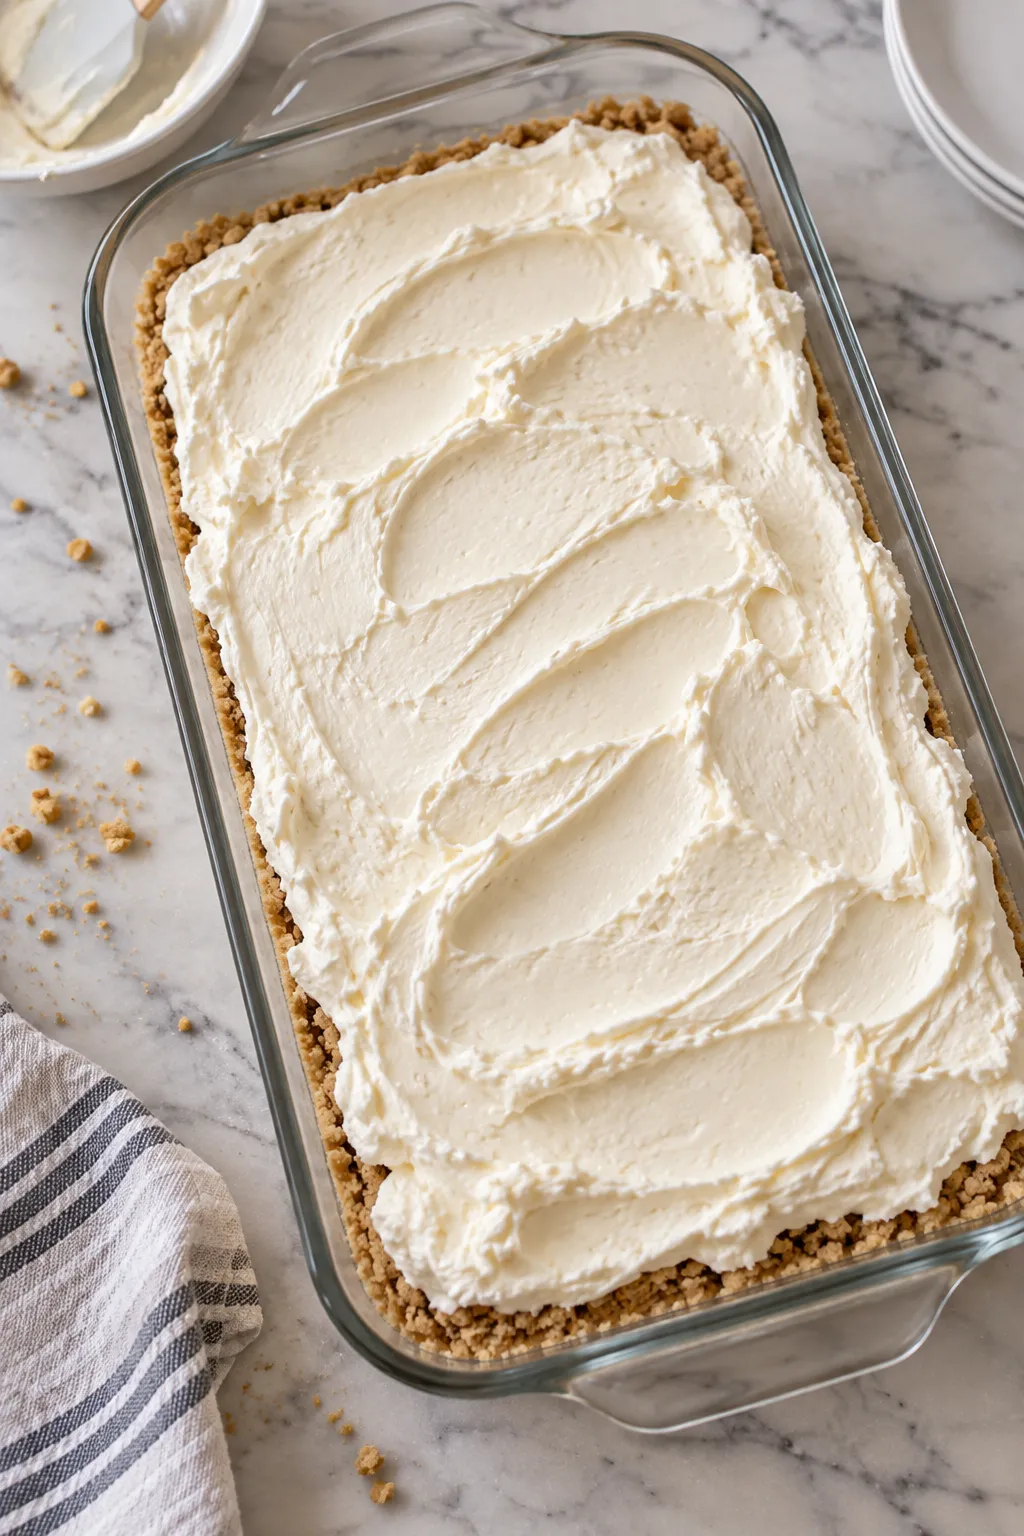
- Spread the cream cheese mixture carefully over the chilled cookie crust.
- For cleaner layers, use an offset spatula or the back of a spoon and avoid pressing too firmly into the crust.
- Make the cheesecake pudding layer
- In a separate mixing bowl, combine the cheesecake instant pudding mixes with the cold whole milk.
- Whisk until the mixture begins to thicken.
- Fold in about 1 cup of whipped topping until smooth and creamy.
- Don’t worry if the mixture becomes fairly thick. That’s exactly what you want so the dessert will hold its layers after chilling.
- Add the pudding layer
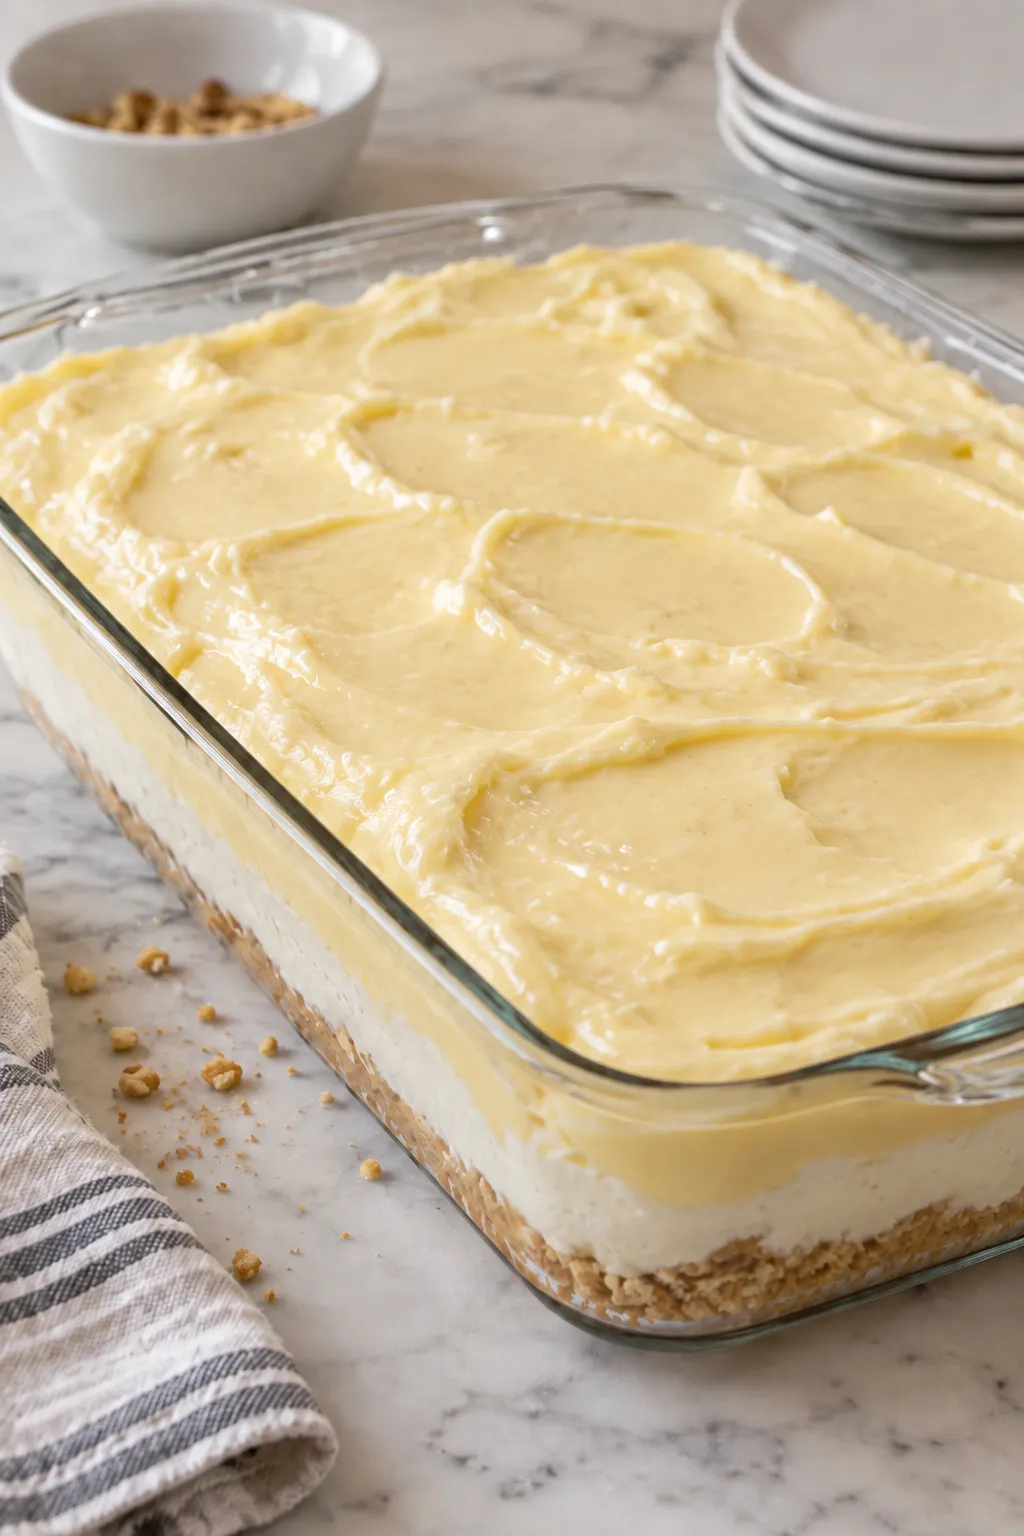
- Spoon the cheesecake pudding mixture over the cream cheese layer.
- Spread it gently from edge to edge, trying not to disturb the layer underneath.
- Add the cherries
- Spoon the cherry pie filling over the pudding layer.
- Gently spread the cherries across the surface without stirring them into the pudding.
- Finish with whipped topping
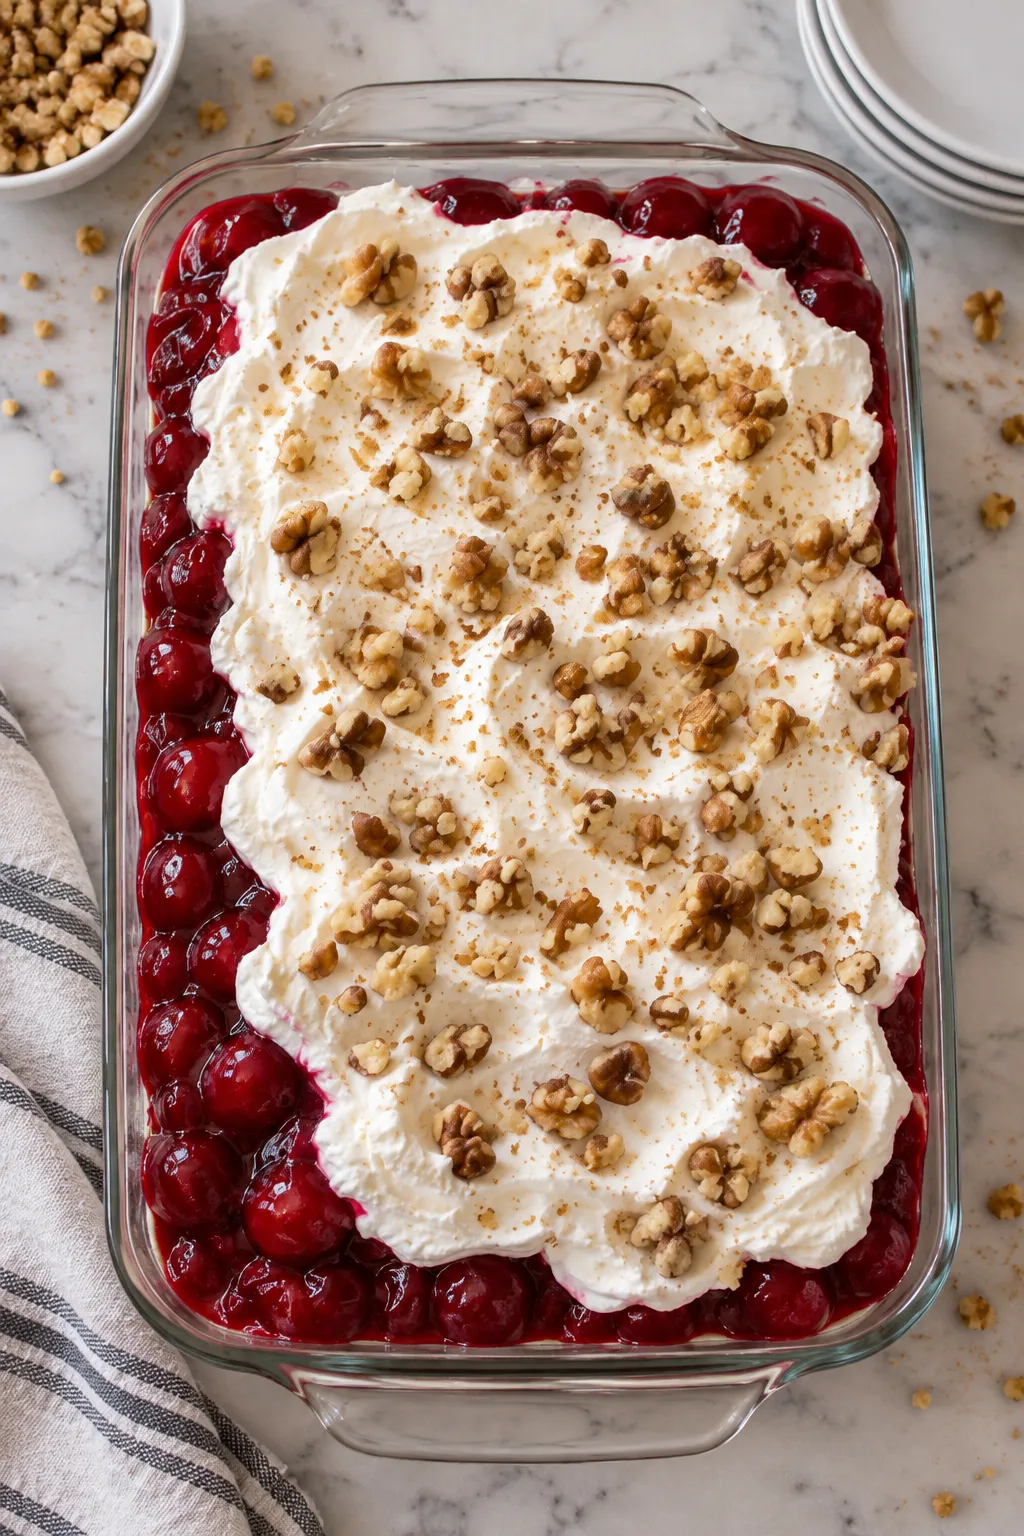
- Carefully spread additional thawed whipped topping over the cherry layer.
- It’s fine if a little of the cherry filling swirls into the whipped topping. Just avoid overmixing the two layers.
- Chill
- Cover the baking dish and refrigerate the dessert for at least 2 hours.
- For the firmest, cleanest slices, I prefer letting it chill for around 4 hours or even overnight.
- Garnish and serve
- Just before serving, sprinkle the chopped walnuts over the top.
- Slice into squares and serve cold.
Notes
How to Make Cherry Cheesecake Lush
1. Make the cookie crust
Mix the crushed vanilla sandwich cookies with melted butter and a pinch of salt until the crumbs are evenly moistened. Press the mixture firmly across the bottom of a 9×13-inch glass baking dish. I like using the flat bottom of a measuring cup to compact it without making the surface too hard.
2. Add the cream cheese layer
Beat the softened cream cheese until it looks smooth and fluffy, then mix in the powdered sugar. Fold in part of the thawed whipped topping to lighten the mixture. Spoon it over the chilled crust and spread it gently from edge to edge.
3. Make the cheesecake pudding layer
Whisk the cheesecake pudding mixes with cold whole milk until the mixture starts to thicken. Fold in more whipped topping, then spread the pudding gently over the cream cheese layer. The mixture should be fairly thick. That helps the finished dessert hold its shape.
4. Spread on the cherries
Spoon the cherry pie filling over the pudding layer and spread it carefully. Try not to press down too hard, because keeping the layers separate gives you a much prettier slice later.
5. Finish and chill
Spread the remaining whipped topping over the cherries, then refrigerate the dessert until firm. Two hours will set it, but I strongly prefer about 4 hours or an overnight chill when I want neat, well-defined layers. Sprinkle the walnuts over the top shortly before serving.
Tips for Clean, Creamy Layers
- Soften the cream cheese first. Cold cream cheese is harder to blend and can leave small lumps.
- Use cold milk for instant pudding. It helps the pudding thicken quickly and reliably.
- Chill the crust while you mix the filling. Even a short chill helps the base stay together.
- Dollop before spreading. Drop small spoonfuls of each creamy layer around the pan first, then connect them gently. This keeps you from dragging the layer underneath.
- Give it enough refrigerator time. If presentation matters, overnight is ideal.
Easy Variations
Cherry is my favorite version because the sweet-tart filling cuts through the creamy layers, but this dessert is easy to change. Strawberry, blueberry, raspberry, or peach pie filling can all work. You can also replace the walnuts with pecans or leave the nuts off completely.
If you enjoy easy chilled desserts, try my No-Bake Chocolate Eclair Cake or No-Bake Lemon Cream Cheese Pie. For another simple fruit dessert, the 3-Ingredient Pineapple Fluff Pie is another good make-ahead option.
Frequently Asked Questions
Can I make cherry cheesecake lush the night before?
Yes. In fact, making it the night before is one of the easiest ways to get clean slices. Cover the pan and refrigerate it overnight, then add the chopped walnuts before serving.
Why is my pudding layer too soft?
Make sure you are using instant pudding and cold milk. Also give the pudding enough time to thicken before spreading it over the cream cheese layer.
Can I use graham crackers instead of vanilla cookies?
Yes. A graham cracker crust works well, although the flavor will be slightly less sweet. Golden sandwich cookies or vanilla wafers are also good options.
How long should this dessert chill?
Four hours is a good target. You can serve it sooner if it feels firm, but a longer chill gives the crust and creamy layers more time to set.
More Easy Desserts to Try
If you like creamy cheesecake desserts, you may also enjoy Salted Maple Pecan Cheesecake Pie. And when you want something even simpler with cherry flavor, take a look at my Cherry Cream Cheese Cobbler Cake.
This is one of those desserts that looks like you spent much longer on it than you actually did. Keep it cold until serving, cut it with a clean knife, and enjoy all those creamy cherry layers.
