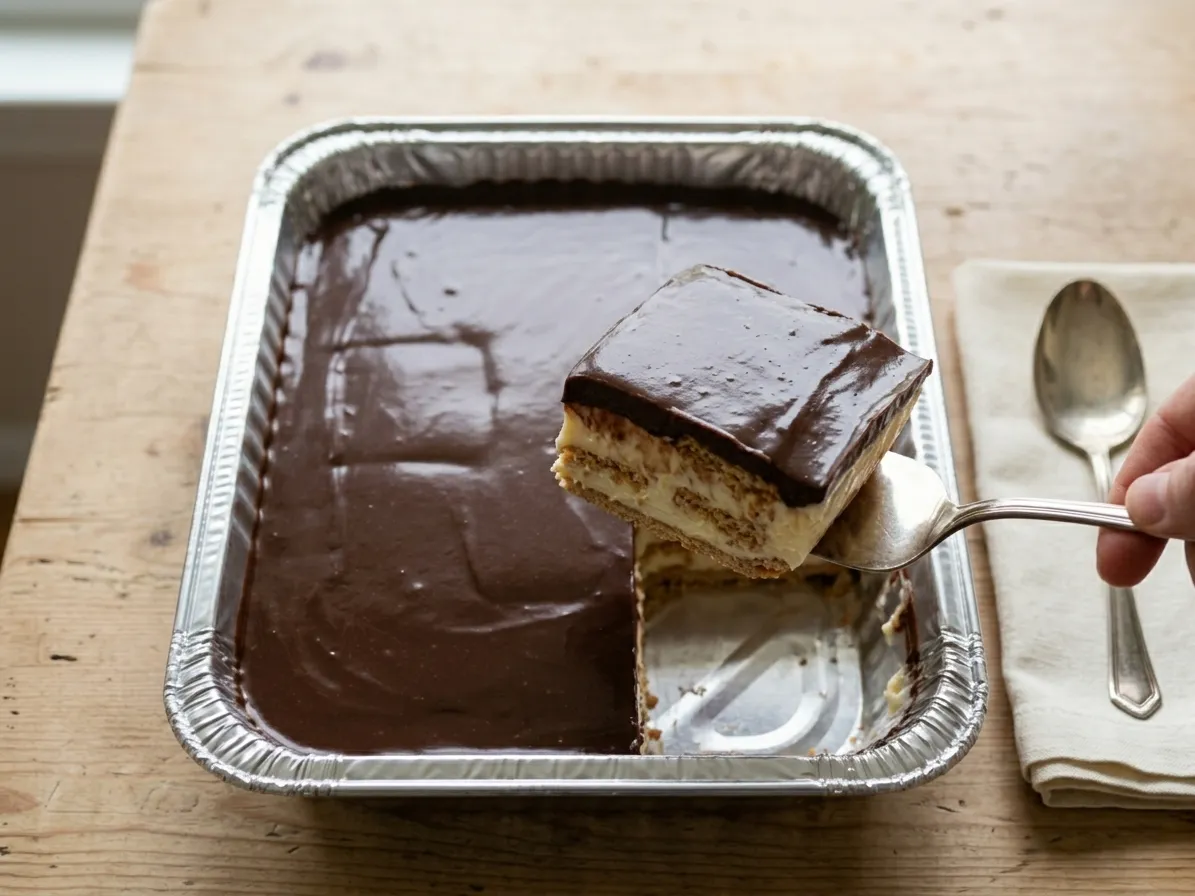
This Easy No-Bake Eclair Cake is not only simple to make but it is absolutely scrumptious. Absolutely no stovetop or oven is needed! The hardest part? Waiting to eat it! This is a great dessert for a crowd.
No-Bake Chocolate Eclair Cake (Just 5 Ingredients!)
There is something utterly magical about a dessert that requires just 15 minutes of active prep time but tastes like it took hours of careful pastry-making. If you are looking for the absolute best potluck dessert, weekend family treat, or a stress-free holiday sweet, this No-Bake Chocolate Eclair Cake is going to become your new secret weapon.
This classic icebox cake completely bypasses the complicated choux pastry and delicate tempering of chocolate required for traditional French eclairs. Instead, it relies on the brilliant science of layering. By combining crisp graham crackers with a rich, stabilized vanilla pudding cream, and topping it all off with a decadent chocolate fudge glaze, the refrigerator does all the heavy lifting. As it chills overnight, the graham crackers absorb the moisture from the pudding, miraculously transforming into a soft, cake-like, pastry texture that melts in your mouth.
Absolutely no stovetop or oven is needed. The hardest part of this entire recipe? Having the patience to wait for it to set in the fridge before diving in!
Why This Recipe is a Guaranteed Crowd-Pleaser
If you are wondering why this specific dessert consistently gets scraped clean at every gathering, here is why it works so flawlessly:
- Zero Baking Required: Perfect for hot summer days when you refuse to turn on the oven, or busy holidays when oven space is at a premium.
- Only 5 Ingredients: You can find everything you need at any local grocery store. No specialty items required.
- The Ultimate Make-Ahead Dessert: Unlike many desserts that degrade overnight, this eclair cake demands to be made a day in advance, taking all the last-minute stress off your plate.
- Incredible ROI (Return on Investment): For a recipe that costs very little and takes 15 minutes to assemble, the flavor profile is phenomenally rich and complex.
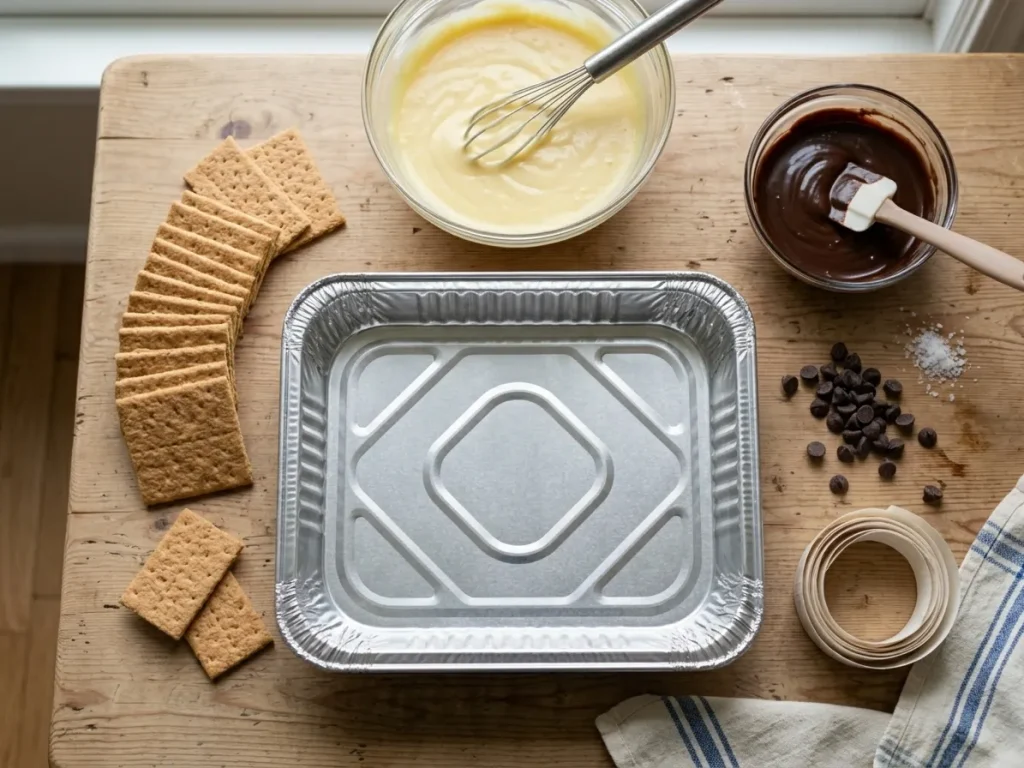
Ingredients You Will Need
To build this masterpiece, you only need five simple, accessible ingredients. Here is exactly what to look for at the store to ensure success:
- Graham Crackers (2 Sleeves): The foundational building block of the dessert. Stick to the classic honey graham crackers. Avoid cinnamon-sugar varieties, as they will compete with the classic vanilla and chocolate eclair flavor profile.
- Instant Vanilla Pudding Mix (Two 3.5 oz boxes): It is absolutely crucial that you purchase instant pudding mix, not the “cook and serve” variety. The instant formulation is what allows the filling to set up thickly without heat. For a richer flavor, you can substitute French Vanilla pudding.
- Cold Milk (3 Cups): Whole milk is highly recommended here for the richest, creamiest texture. 2% will work in a pinch, but avoid skim milk or watery dairy alternatives, as they can cause the pudding mixture to become too thin to set properly.
- Whipped Topping / Cool Whip (8 oz container): This needs to be completely thawed before mixing. Whipped topping provides stability to the pudding, ensuring your slices hold their shape beautifully when cut.
- Chocolate Frosting (One 16 oz tub): Store-bought chocolate fudge frosting is the ultimate shortcut for the topping. It mimics the glossy, thick ganache found on traditional eclairs without the hassle of melting chocolate chips and heavy cream.
Step-by-Step Instructions for Perfect Layers
Creating an eclair cake is all about the assembly. Here is how to construct the perfect layers so every bite has the ideal ratio of cake to cream.
1. Whip the Cream Filling
Start by taking a large mixing bowl and whisking together your instant vanilla pudding mix and cold milk. Whisk for about two minutes until the pudding begins to visibly thicken. Immediately fold in the thawed whipped topping. Use a rubber spatula to fold gently—you want to keep the mixture light and airy, avoiding aggressively stirring the air out of the whipped topping.
2. Build the Foundation
Grab a standard 9×13-inch baking dish. You do not need to grease it. Arrange a single, flat layer of graham cracker squares across the bottom of the dish. Do not worry if there are small gaps, but feel free to break a few crackers to fill in larger empty spaces along the edges.
3. The Middle Layers
Spoon exactly half of your fluffy vanilla pudding mixture over the base layer of graham crackers. Use an offset spatula or the back of a spoon to spread it evenly all the way to the corners.
Next, add a second complete layer of graham crackers right on top of the pudding. Follow this with the remaining half of your pudding mixture, smoothing it out just as before.
4. The Final Cracker Layer & First Chill
Place your third and final layer of graham crackers over the second layer of pudding. At this stage, cover the baking dish tightly with plastic wrap and place it in the refrigerator. Let it chill for 30 minutes to an hour. This crucial resting period allows the top layer of crackers to adhere to the pudding and firm up, which makes spreading the thick frosting infinitely easier.
5. Add the Chocolate Glaze
Once the cake has set slightly, remove the lid and the aluminum foil seal from your tub of chocolate frosting. Microwave the tub for exactly 15 seconds. Give it a good stir. It should be transformed from a stiff paste into a smooth, easily spreadable, glossy glaze.
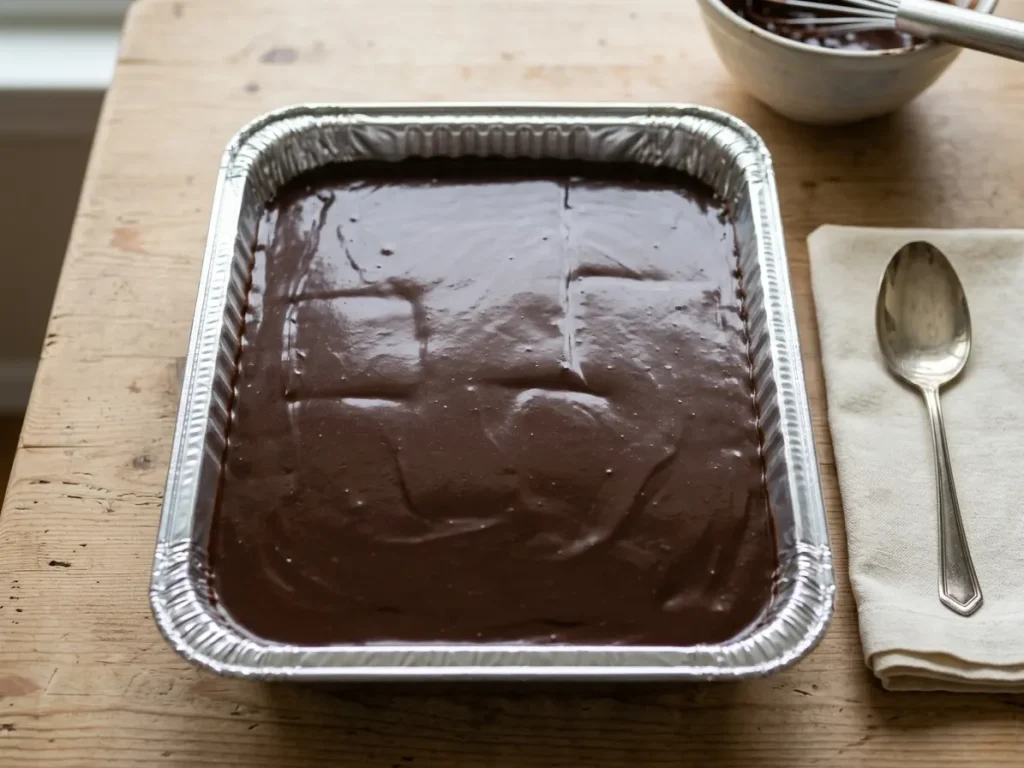
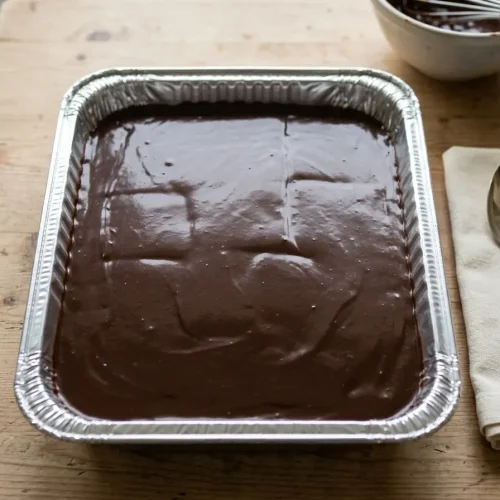
Remove the plastic wrap from your baking dish and pour the softened frosting directly over the top layer of graham crackers. Use an offset spatula to spread it gently and evenly from edge to edge.
6. The Overnight Chill (Do Not Skip!)
Cover the dish securely with plastic wrap once more, ensuring the wrap doesn’t touch the wet frosting. Return it to the refrigerator and let it chill overnight (or for an absolute minimum of 8 hours). This resting time is non-negotiable! The graham crackers need time to absorb the moisture from the pudding and frosting to transform from crunchy cookies into soft, tender “pastry” layers.
Pro Tips for the Best Results
- Thaw the Cool Whip properly: Do not try to microwave your whipped topping to thaw it, as it will break down and become a liquid mess. Leave it in the fridge for a few hours before you begin.
- Clean Slices: When it’s time to serve, run a sharp knife under hot water, wipe it dry, and make your cuts. Clean the knife between every single slice for bakery-worthy presentation.
- Frosting Consistency: If 15 seconds in the microwave doesn’t make your frosting pourable, do another 5 seconds. Every microwave is different, but be careful not to scorch the chocolate.
Fun Flavor Variations
Once you have mastered the classic No-Bake Chocolate Eclair Cake, try these delicious twists:
- Peanut Butter Eclair Cake: Swap the vanilla pudding for chocolate pudding, and use a peanut butter frosting on top.
- Strawberry Shortcake Eclair Cake: Use vanilla pudding, but add a layer of thinly sliced fresh strawberries over the pudding before adding the next cracker layer. Swap the chocolate frosting for strawberry or vanilla.
- Boston Cream Pie Icebox Cake: It’s essentially the same flavor profile, but you can add a layer of fresh banana slices for extra texture and taste.

Make-Ahead and Storage Instructions
How to store: Keep the eclair cake tightly covered with plastic wrap or a fitted lid in the refrigerator. It will stay fresh and delicious for 3 to 4 days. The graham crackers will continue to soften slightly each day, making it even more tender.
Can you freeze eclair cake? Yes, you can! If you want to store leftovers, place individual slices in airtight, freezer-safe containers for up to 2 months. To thaw, simply move a slice to the refrigerator for a few hours before eating. Some people even enjoy eating it semi-frozen like an ice cream cake!
Frequently Asked Questions (FAQ)
Can I use homemade whipped cream instead of Cool Whip? Yes, but with a caveat. Cool Whip is highly stabilized, which helps the cake hold its shape when sliced. If you use fresh heavy whipping cream, you will need to whip 1.5 cups of heavy cream to stiff peaks. To prevent it from weeping, I highly recommend stabilizing your fresh whipped cream with a little powdered sugar and a teaspoon of unflavored gelatin or piping gel before folding it into the pudding.
Can I use cook-and-serve pudding instead of instant? No. Cook-and-serve pudding requires boiling to activate the setting agents. If you use it in this recipe without cooking it, your filling will remain a thin liquid, resulting in a soggy, soupy mess rather than a sliceable cake.
Can I make this gluten-free? Absolutely! The only ingredient containing gluten in this recipe is the graham crackers. Simply swap the traditional graham crackers for your favorite brand of gluten-free graham-style crackers. Ensure your specific brands of instant pudding and frosting are certified gluten-free, and you are good to go!
No-Bake Chocolate Eclair Cake
Ingredients
- 2 3.5 oz packages instant vanilla pudding mix (do not use cook-and-serve)
- 3 cups cold whole milk
- 1 8 oz container whipped topping (like Cool Whip), completely thawed
- 2 sleeves honey graham cracker squares
- 1 16 oz tub chocolate fudge frosting
Instructions
- Mix the Filling: In a large mixing bowl, whisk together the instant vanilla pudding mix and the cold milk until it begins to thicken (about 2 minutes). Gently fold in the thawed whipped topping with a rubber spatula until smooth and combined.
- First Layer: In an ungreased 9×13-inch baking dish, arrange a single layer of graham crackers across the bottom. Break pieces as necessary to fit the edges.
- Layer the Cream: Spread exactly half of the pudding mixture evenly over the graham crackers.
- Repeat: Top the pudding with a second layer of graham crackers. Spread the remaining half of the pudding mixture evenly over the top.
- Final Crackers & Quick Chill: Place a third and final layer of graham crackers over the pudding. Cover the dish with plastic wrap and refrigerate for 30 to 60 minutes to allow the top layer to set up.
- Prepare the Glaze: Remove the lid and the foil seal from the tub of chocolate frosting. Microwave for 15 seconds to soften it. Stir well until the frosting is glossy and easily spreadable.
- Frost the Cake: Remove the cake from the fridge, take off the plastic wrap, and pour the softened frosting over the top. Spread it out evenly to the edges.
- Chill Overnight: Cover the dish tightly again with plastic wrap (ensuring it doesn’t touch the frosting) and refrigerate overnight, or for at least 8 hours. The crackers must have time to absorb the moisture and soften into a cake-like texture.
- Serve: Slice into squares and serve chilled!