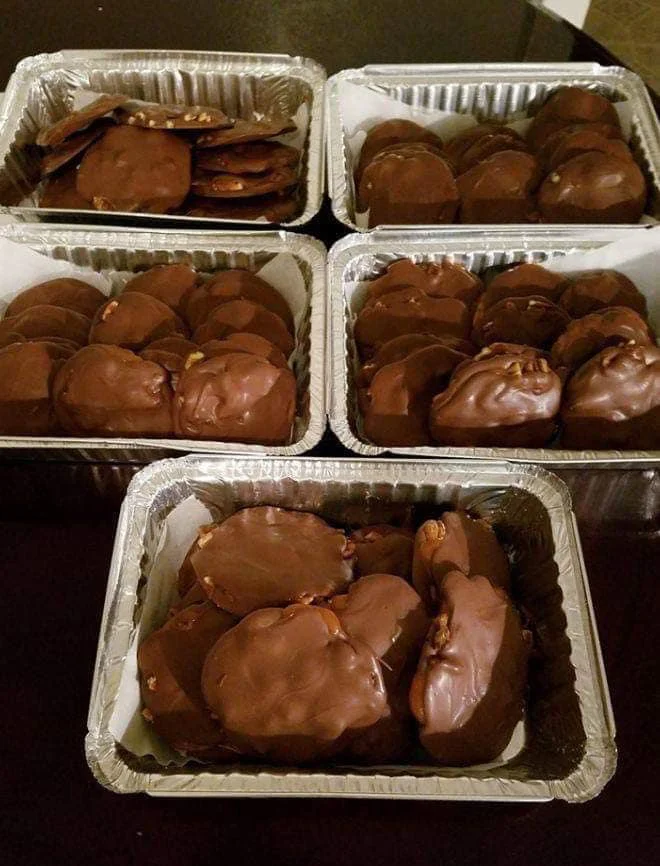
Homemade Pecan Turtle Candy is a simple three-part candy made with pecans, soft caramel, and melted chocolate. Four pecan halves form the base of each candy, a spoonful of caramel goes in the center, and melted chocolate finishes the top.
This version uses packaged caramels, so there is no candy thermometer or homemade caramel syrup to manage. The main job is arranging the pecans and working with the caramel and chocolate while they are still smooth enough to spoon.
These candies are useful for holiday trays, edible gifts, or a make-ahead dessert. Once set, they can be stored in a covered container with parchment between the layers.
For more easy homemade candy, try our Chocolate Rice Krispie Balls or browse our Dessert recipes.
Why This Turtle Candy Works
Pecan halves create the classic turtle shape and add crunch. Soft baking caramels melt quickly in the microwave, and a small amount of water helps the caramel stay spoonable.
Semi-sweet chocolate balances the sweetness of the caramel better than very sweet milk chocolate, though either can be used if that is what you prefer.
Ingredient Notes
Pecans: The recipe uses 64 pecan halves, enough to make 16 candies with four halves each.
Caramels: Use 11 ounces of individually wrapped baking or cooking caramels. Remove all wrappers before melting.
Chocolate chips: One standard bag of semi-sweet chocolate chips provides plenty of chocolate for topping. Melt only as much as you need if your bag is unusually large.
Ingredients
- 64 pecan halves
- 11 ounces baking or cooking caramels, unwrapped
- 1 tablespoon water
- 1 standard bag semi-sweet chocolate chips
- Parchment paper or a silicone baking mat
How to Make Homemade Pecan Turtle Candy
- Line a baking sheet or large tray with parchment paper or a silicone baking mat.
- Arrange the pecan halves in groups of four, with the ends pointing outward to resemble turtle legs. Leave space between each group.
- Place the unwrapped caramels and 1 tablespoon water in a microwave-safe bowl.
- Microwave in 30-second intervals, stirring after each interval, until the caramel is melted and smooth.
- Spoon a generous amount of melted caramel into the center of each group of pecans.
- Let the caramel stand for a few minutes so it begins to firm.
- Place the chocolate chips in a clean microwave-safe bowl.
- Microwave in 30-second intervals, stirring after each interval, until the chocolate is smooth. Stop heating as soon as the chips are melted.
- Spoon melted chocolate over the caramel center of each candy.
- Let the candies set at cool room temperature, or refrigerate them until firm.
- Once set, transfer to an airtight container.
Tips for Smooth Caramel and Chocolate
Microwave in short intervals. Caramel and chocolate can both scorch if overheated.
Stir thoroughly between heating rounds. Residual heat often melts more of the mixture than you expect.
Work in a cool room. The candies set faster and hold their shape better away from a warm oven or stovetop.
Easy Variations
Use milk chocolate or dark chocolate instead of semi-sweet, or sprinkle a few flakes of sea salt over the chocolate before it sets. Toasted pecans can give the candy a deeper nutty flavor.
Storage
Store the finished candies in an airtight container in a cool place. If your kitchen is warm, refrigerate them and let them stand for a few minutes before serving so the caramel softens slightly.
Frequently Asked Questions
Do I have to freeze turtle candy to set it?
No. Refrigeration speeds the process, but the candies can also set at a cool room temperature.
Can I toast the pecans first?
Yes. Toasting is optional but adds more nutty flavor. Let the pecans cool before assembling the candy.
