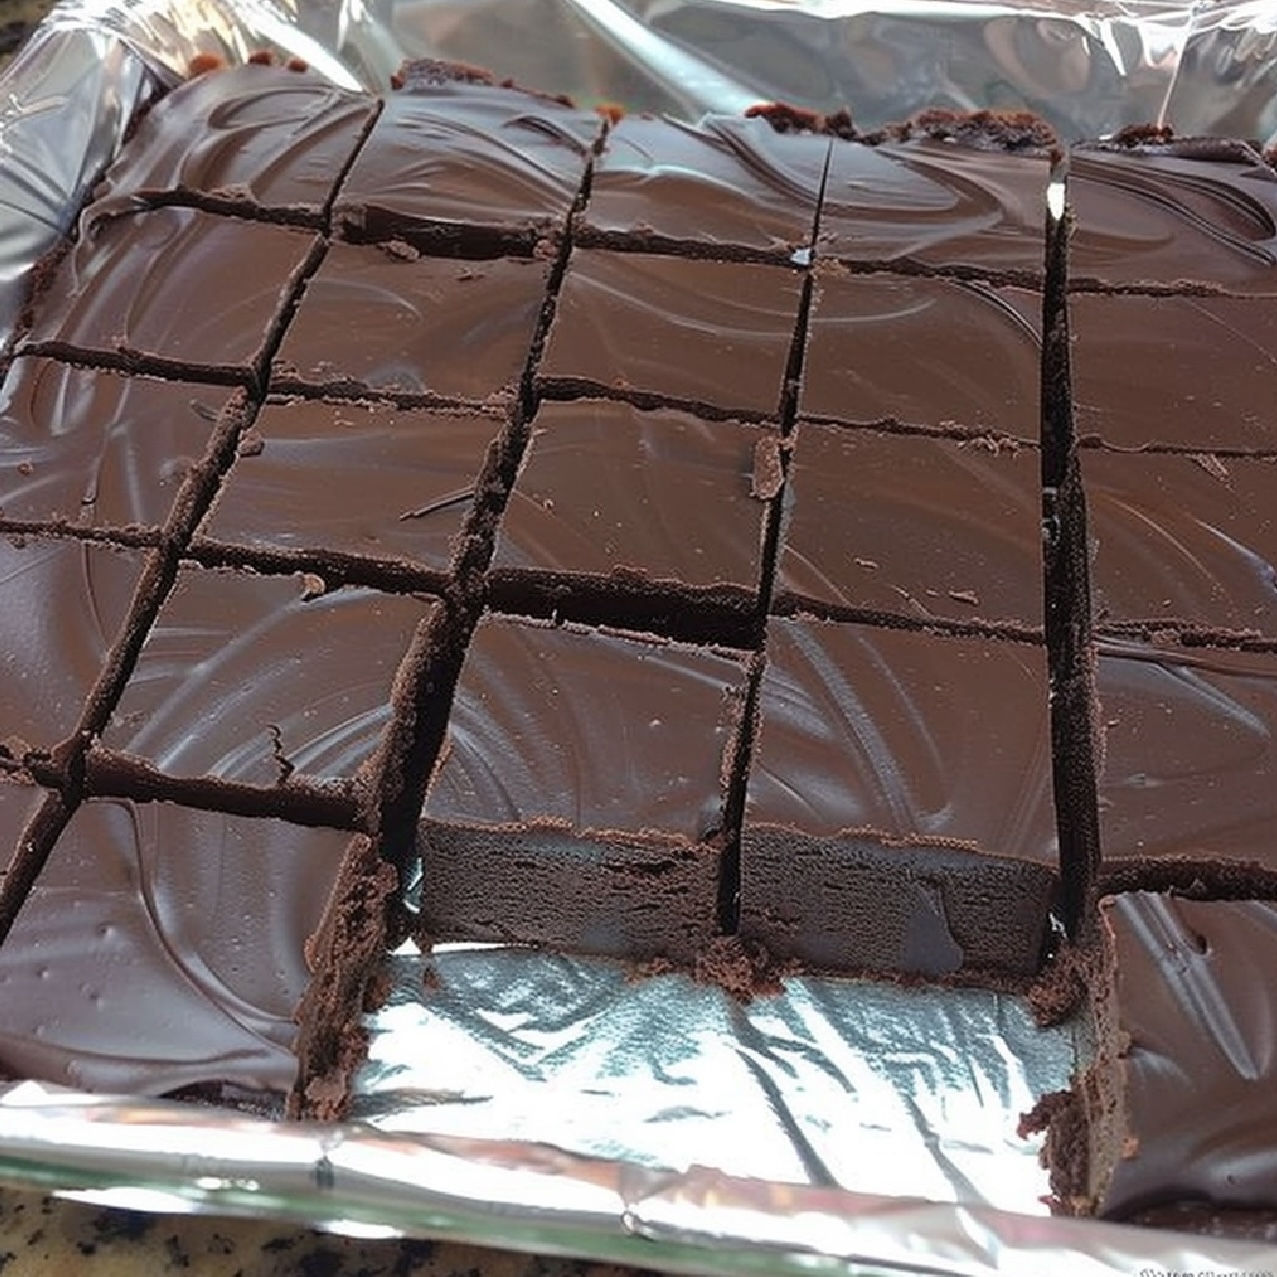
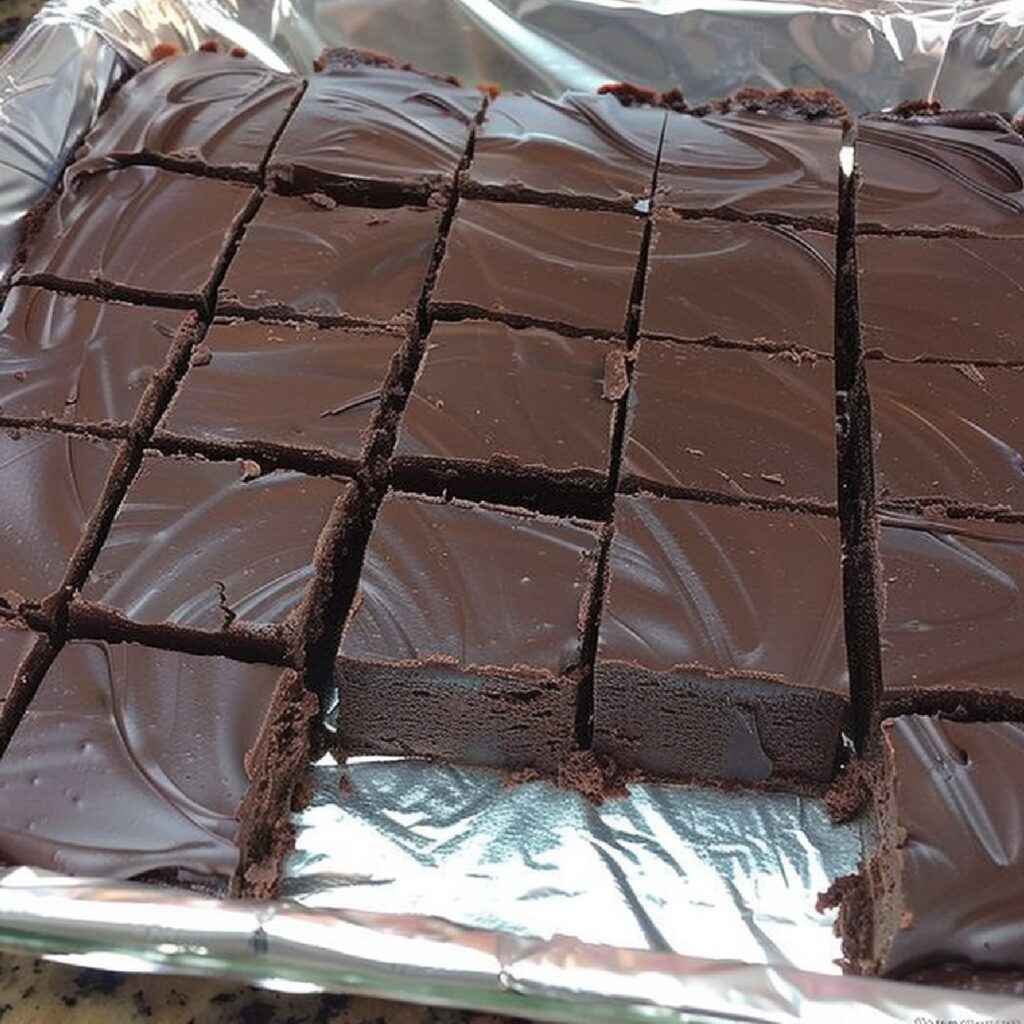
Old-Fashioned Cocoa Fudge with Evaporated Milk is the kind of stovetop candy recipe that depends on a short list of pantry ingredients and careful timing. Sugar, cocoa, butter, evaporated milk, and vanilla cook together into a rich chocolate fudge that sets firmly enough to cut into squares.
This is different from quick fudge made with chocolate chips or marshmallow creme. Here, the sugar-and-cocoa mixture is cooked until it reaches the soft-ball stage, then poured into the pan and left alone long enough to set.
I like this style when I want that classic homemade fudge texture and deep cocoa flavor without needing a long ingredient list. Chopped nuts are optional, so you can keep the fudge smooth or add a little crunch.
Why You’ll Love This Old-Fashioned Fudge
- Simple pantry ingredients: The base uses sugar, cocoa, butter, evaporated milk, and vanilla.
- Classic cocoa flavor: Unsweetened cocoa gives the fudge a straightforward chocolate taste.
- No chocolate chips required: This recipe builds its texture from cooked sugar rather than melted chips.
- Easy to customize: Add chopped pecans or walnuts, or leave the fudge plain.
- Good for gifting: Once set, the fudge cuts into small squares that are easy to package for holidays.
Ingredient Notes
Granulated sugar: Sugar provides both sweetness and structure. Measure it accurately and avoid making large substitutions because the way the sugar cooks is important to how the fudge sets.
Unsweetened cocoa: The recipe uses Hershey’s cocoa, but the important part is using unsweetened baking cocoa rather than a sweetened drink mix.
Salted butter: Butter adds richness and helps give the finished fudge a smooth bite.
Evaporated milk: The concentrated dairy gives the fudge more richness than regular milk while still keeping the ingredient list simple.
Vanilla: Add the vanilla after the pan comes off the heat so its flavor stays noticeable.
Nuts: Pecans or walnuts work well. Fold them in at the end so they stay evenly distributed instead of sinking or softening during cooking.
Ingredients
- 2 cups granulated sugar
- 4 tablespoons Hershey’s unsweetened cocoa
- 1 stick salted butter
- 1 (5-ounce) can Carnation evaporated milk
- 1 teaspoon vanilla extract
- Chopped nuts, optional
How to Make Old-Fashioned Cocoa Fudge
- Line an 8×8-inch pan with parchment paper or lightly grease it so the fudge is easier to remove after it sets.
- In a heavy saucepan, whisk together the sugar and cocoa until evenly combined.
- Add the salted butter and evaporated milk.
- Cook over medium heat, stirring constantly, until the mixture reaches a rolling boil.
- Continue boiling for about 3 to 4 minutes, stirring carefully, until the mixture reaches the soft-ball stage.
- Remove the saucepan from the heat.
- Stir in the vanilla extract.
- If using nuts, fold them into the hot fudge mixture.
- Immediately pour the fudge into the prepared pan and smooth the top.
- Let the fudge cool and set completely for several hours. For the firmest texture, allow it to stand overnight before cutting.
- Lift the fudge from the pan and cut it into small squares with a sharp knife.
What Is the Soft-Ball Stage?
The soft-ball stage is the point where a small amount of the hot sugar mixture dropped into cold water can be gathered into a soft ball that flattens when pressed. It is an old-fashioned candy-making test and is the doneness cue used in this recipe.
Because sugar mixtures become extremely hot, use a spoon to transfer the test portion and keep your fingers away from the saucepan. Let the sample cool in the water before touching it.
Tips for Better Homemade Fudge
Use a heavy saucepan. A sturdy pan distributes heat more evenly and gives you better control as the sugar mixture boils.
Prepare the pan first. Once the fudge is ready, you need to pour it quickly. Having the pan lined before you start prevents unnecessary delays.
Measure before cooking. Candy recipes move quickly once the mixture reaches a boil. I like to have the vanilla and optional nuts measured and ready beside the stove.
Do not cut the fudge too soon. Warm fudge is much softer than fully set fudge. Giving it several hours makes cleaner squares and a firmer bite.
Optional Nut Variations
Chopped pecans give the fudge a buttery, slightly sweet crunch, while walnuts have a stronger flavor that contrasts nicely with the cocoa. Toasting the nuts first can make their flavor more noticeable, but let them cool before stirring them into the fudge.
How to Store Cocoa Fudge
Once the fudge is fully set and cut, keep it in an airtight container. Place parchment or wax paper between layers so the squares do not stick together.
For longer storage, the fudge can be refrigerated in a tightly covered container. Let chilled pieces sit at room temperature briefly before serving if you prefer a softer texture.
For more simple sweets, browse the Dessert collection.
Frequently Asked Questions
Can I use regular milk instead of evaporated milk?
This recipe was developed around evaporated milk, which is more concentrated than regular milk. Changing the dairy can affect both cooking time and final texture, so I recommend using the evaporated milk called for here.
Why didn’t my fudge set?
The most common issue with cooked fudge is stopping the sugar mixture too early. The mixture needs to reach the soft-ball stage before it is removed from the heat.
Can I leave out the nuts?
Yes. The nuts are optional and do not need to be replaced. Leaving them out gives you a smooth, classic chocolate fudge.
